
Planting crocus bulbs is a rewarding way to welcome spring, but timing is everything. You should plant your crocus bulbs in the autumn, ideally six to eight weeks before the ground freezes solid in your area. Getting them in the soil during this specific window ensures they establish healthy, robust roots before winter arrives.
While these hardy flowers are relatively easy to grow, they do require a period of cold dormancy to trigger their vibrant blooms. Keep in mind that local climate zones significantly impact the exact calendar date for planting. If you put them in too early, they may sprout prematurely, while late planting risks stunted growth.
This guide provides all the practical information you need to successfully cultivate these early-season harbingers of spring. We will cover essential soil preparation techniques, optimal planting depth, and spacing requirements to help your garden thrive. Follow these expert tips to ensure your crocus bulbs emerge strong and colorful when the snow finally melts.
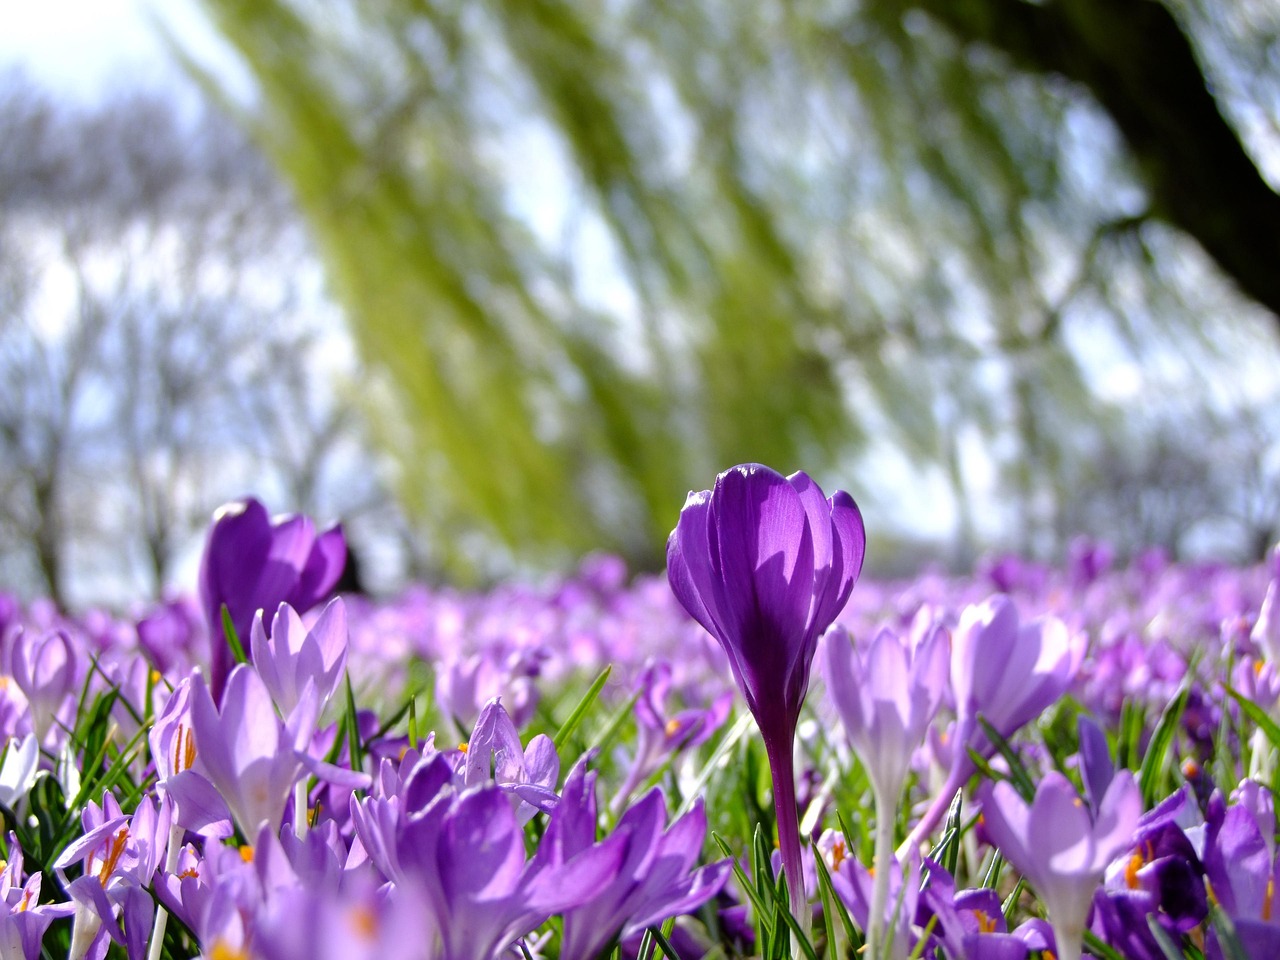
The Ideal Planting Window for Crocus Bulbs
Timing is the most critical factor in ensuring your crocus bulbs produce a vibrant display of spring color. As hardy perennials, these bulbs require a specific period of cold dormancy to trigger their blooming cycle. If you plant them too early, they may sprout prematurely; if you wait until the soil is frozen, the bulbs will struggle to establish roots.
The ideal window for planting crocus bulbs is during the autumn, typically between September and November. Your specific planting date should be determined by your local climate and frost schedule. To give your bulbs the best start, follow this rule of thumb:
- Aim to get your bulbs in the ground at least six weeks before the first hard frost.
- Ensure the ground is still workable, meaning it has not yet frozen solid.
- Planting during this window provides the bulbs with enough time to develop a robust root system before the winter chill sets in, which is essential for healthy spring growth.
If you live in a region with very mild winters, you may need to chill your bulbs in the refrigerator for several weeks before planting to simulate the necessary cold dormancy. Conversely, in northern climates with early, harsh winters, aim for the earlier side of the September–October window to ensure roots take hold before the soil temperature drops significantly.
Once planted, water the area thoroughly to settle the soil around the bulbs. This moisture helps initiate root development. After the initial watering, you can generally let nature take its course, as the autumn rains and subsequent winter snow cover will provide the necessary hydration until the soil begins to warm in early spring. By respecting this natural cycle, you set the stage for reliable, recurring blooms that signal the end of winter.
Selecting the Right Planting Site
The success of your crocus display begins long before you put a bulb in the ground. Choosing the right location is the most critical step in ensuring these early bloomers return year after year. To thrive, crocuses require a spot that receives full sun to partial shade. While they are resilient, they need adequate sunlight to fuel their growth cycle and produce vibrant flowers in late winter or early spring.
Soil quality is equally important. Crocuses demand well-draining soil to remain healthy. If your garden soil remains soggy or holds water for extended periods, the bulbs will likely succumb to rot before they ever have a chance to sprout. Before planting, perform a simple drainage test by digging a small hole and filling it with water; if it takes more than a few hours to drain, you need to amend your site.
If you are working with heavy clay soil, you can improve its structure significantly by incorporating organic material. Follow these steps to prepare your planting site effectively:
- Clear the area of weeds, grass, and large rocks to ensure the bulbs have room to develop.
- Mix in two to three inches of compost, aged manure, or leaf mold into the top six inches of soil.
- If drainage remains a concern, consider planting your crocuses in raised beds or on a slight slope to encourage water runoff.
- Avoid low-lying areas of the yard where rainwater tends to pool during the dormant season.
By taking the time to improve the soil texture and choosing a location with appropriate light levels, you create the ideal environment for your bulbs. Providing this foundation allows the roots to establish quickly, protecting them from winter moisture stress. Remember, a little preparation in the autumn is the best insurance policy for a spectacular, colorful bloom when the frost finally begins to thaw.

Proper Planting Depth and Technique
Achieving the perfect planting depth is essential for the long-term health and vitality of your crocus bulbs. For optimal growth, plant each bulb approximately 3 to 4 inches deep. Planting too shallow can expose the bulbs to temperature fluctuations and hungry pests, while planting too deep may delay or prevent spring emergence.
When placing the bulb in the soil, ensure the pointed end—the shoot—is facing upward. The flatter, root-bearing end should always face down. If you are unsure which end is which, planting the bulb on its side is a safe alternative; the sprout will naturally orient itself toward the surface as it grows.
To ensure a safe and efficient planting process, follow these practical steps:
- Wear protective gear: Always use sturdy, puncture-resistant gardening gloves. This protects your hands from sharp debris, hidden rocks, or the rugged edges of your tools.
- Prepare the site: Before digging, clear the area of large rocks and stubborn weeds. This prevents the bulb from sitting in an air pocket and ensures roots have easy access to nutrients.
- Maintain tool hygiene: Whether using a specialized bulb planter or a hand trowel, ensure your tools are clean before you begin. Sanitizing your equipment helps prevent the spread of soil-borne pathogens that can cause bulb rot.
- Dig with precision: Use your tool to create a clean hole, place the bulb firmly at the base, and backfill with loose, well-draining soil. Avoid compacting the earth too heavily over the top, as this can impede the delicate sprouts.
Once planted, gently firm the soil surface with your hands to eliminate large air pockets. A light watering immediately after planting will help settle the soil around the bulbs, providing the necessary contact for root initiation. By following these simple techniques, you create the ideal foundation for a vibrant, reliable display of spring blooms that will return year after year.
Safety Considerations for Garden Tools
Planting crocus bulbs is a rewarding task, but it often requires using specialized tools like trowels, hand cultivators, or bulb augers. Because these implements are designed to penetrate tough soil, they can pose significant safety risks if handled improperly. Prioritizing your physical well-being ensures that your gardening experience remains productive and injury-free.
When working with sharp hand tools, always store them securely in a dedicated shed or locked storage bin immediately after use. Never leave trowels or rakes lying on the grass, as they can become hidden hazards for children or pets. If you are using a bulb auger—especially a power-assisted model—follow these essential safety protocols:
- Wear eye protection: Soil, small stones, and debris can be ejected at high speeds during drilling. Impact-resistant safety glasses are a vital barrier against these projectiles.
- Maintain a firm grip: Power augers can catch on hidden roots or rocks, causing the tool to kick back. Hold the handle securely with both hands to maintain control and prevent sudden wrist strain or injury.
- Clear the area: Before starting, ensure children and pets are at a safe distance. The noise and vibration of power tools can be distracting, and it is best to keep the workspace clear of bystanders.
- Check your footing: Always plant on stable, level ground. If you are working on a slope, take extra care to ensure you have a solid foundation before applying pressure to your tools.
Beyond tool safety, consider your physical comfort. Gardening involves repetitive motions that can lead to fatigue. If you are planting a large number of crocus bulbs, take frequent breaks to stretch your back and shoulders. Using ergonomic tools with padded grips can also reduce vibration and pressure on your joints, allowing you to enjoy the planting process without unnecessary discomfort. By staying mindful of your surroundings and using your equipment correctly, you can focus entirely on creating a beautiful spring display.

Follow-up Care and Common Questions
After planting your crocus bulbs, water the area thoroughly. This initial soak settles the soil around the bulbs, eliminating air pockets and helping them establish root contact with the earth before winter dormancy. Once the ground freezes, you can apply a light layer of mulch to protect the soil temperature, though this is optional in many regions.
As spring arrives and the flowers fade, resist the urge to tidy up the garden immediately. The foliage must remain intact until it turns yellow and dies back naturally. During this period, the leaves perform photosynthesis, sending vital energy down into the bulb to fuel next year’s growth. Cutting the foliage prematurely often results in weak, non-blooming plants the following season.
If you notice that your crocus display is thinning or producing fewer flowers after three to five years, your bulbs have likely become overcrowded. To restore vigor, follow these steps:
- Wait until the foliage has completely yellowed and withered.
- Carefully dig up the clump using a garden fork, taking care not to pierce the bulbs.
- Gently separate the individual bulbs or offsets from the main cluster.
- Replant the bulbs immediately at the appropriate depth in fresh, well-draining soil.
Pests can occasionally be an issue, particularly squirrels or voles that may view bulbs as a snack. If you have active wildlife in your area, consider planting bulbs inside a wire mesh cage or covering the soil surface with hardware cloth until the shoots emerge.
Finally, remember that gardening is highly dependent on your specific microclimate. If you are struggling with bloom timing or suspect your soil conditions are unsuitable, consult your local agricultural extension office. These professionals provide region-specific guidance based on your local hardiness zone, ensuring your bulbs get the best possible start. By following these simple maintenance practices, you will enjoy a vibrant, reliable display of color each spring for years to come.

Dedicated team of gardening enthusiasts with years of hands-on experience testing lawn mowers, gardening tools, and outdoor equipment. We help home gardeners and professionals alike make informed buying decisions with honest, thorough reviews. From push mowers to pruning shears, we test it all so you don’t have to. Got a gardening tool you’d like us to review? Get in touch!