
You should divide your crocosmia every three to four years during the early spring as new growth begins to emerge. This essential practice prevents clumps from becoming overcrowded, which often leads to reduced flowering and weaker foliage. Regularly thinning these vibrant perennials ensures they remain healthy, vigorous, and continue to provide reliable color.
While crocosmia are incredibly hardy and resilient, they naturally expand over time, eventually exhausting the soil nutrients in their immediate vicinity. By understanding the optimal timing for division, you can successfully rejuvenate older, congested patches. Setting this maintenance routine into your gardening calendar will help you maximize blooms and expand your collection easily.
In the following guide, we provide practical, step-by-step instructions for lifting and separating these corms safely. You will learn how to prepare the soil, select the healthiest offsets for replanting, and ensure your garden stays full of life. Follow these simple techniques to keep your crocosmia thriving and blooming beautifully year after year.
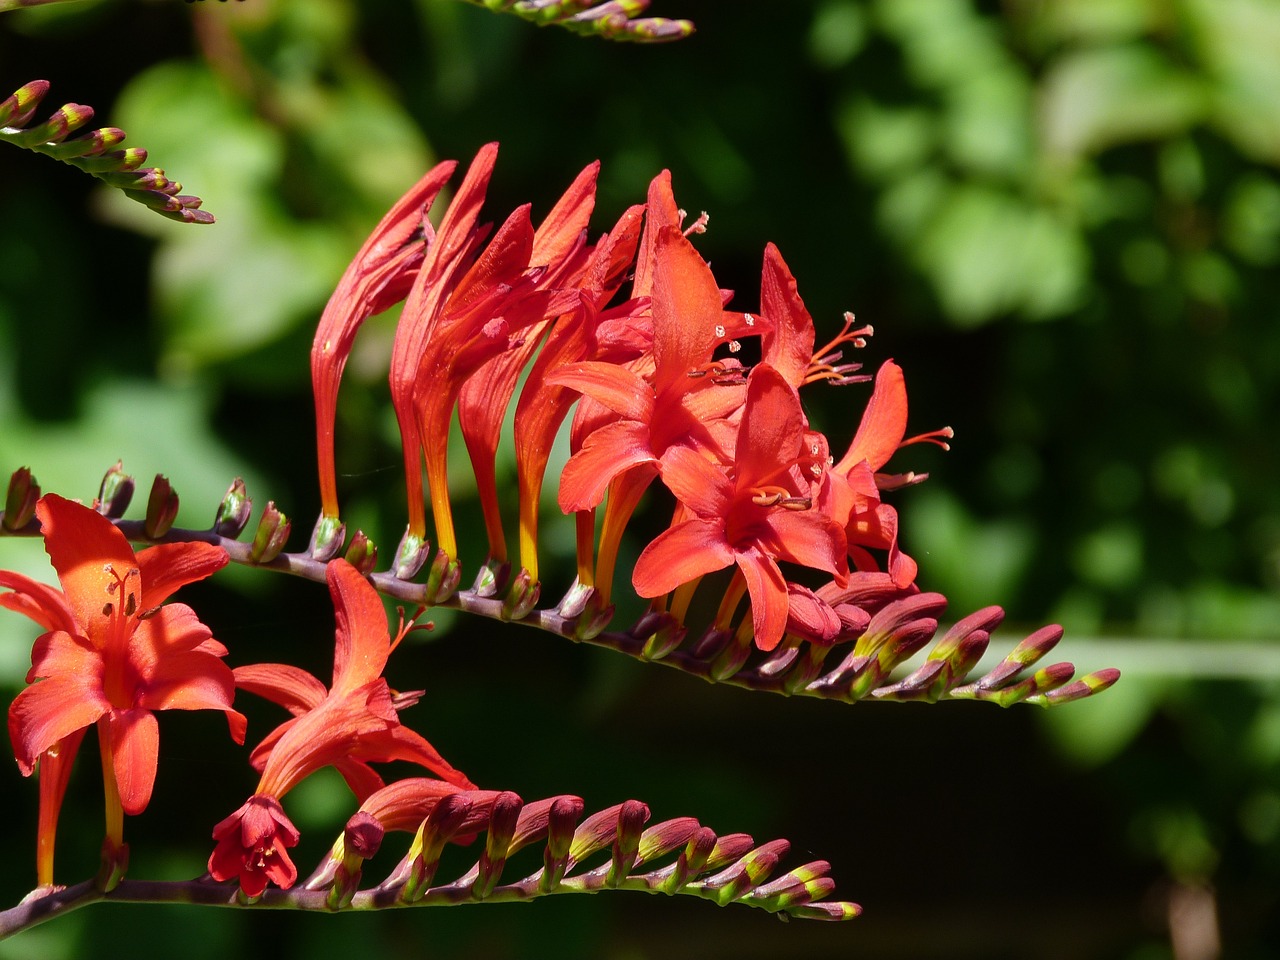
The Best Time to Divide Crocosmia
Timing is critical when dividing crocosmia to ensure the plants recover quickly and continue to bloom reliably. While you have two windows of opportunity, choosing the right one depends on your local climate and gardening schedule.
Early Spring: The Recommended Window
Most horticulturalists recommend dividing crocosmia in early spring, just as the first shoots begin to emerge from the soil. This timing is ideal because the plant is entering its active growth phase. By dividing now, you give the corms ample time to re-establish their root systems in the soil before the intense heat of summer arrives. This reduces transplant shock and helps the plants produce a strong display of flowers later in the season.
Late Autumn: The Alternative
If your spring schedule is too busy, you can divide crocosmia in late autumn after the foliage has naturally yellowed and died back. However, this method comes with a caveat: in colder regions, freshly disturbed corms may be more susceptible to winter frost damage. If you choose to divide in autumn, ensure the soil is well-drained and consider applying a layer of mulch over the replanted area to provide extra insulation.
Key Indicators for Division
Regardless of the season, you should look for specific physical signs that your crocosmia is ready for division:
- Reduced Flowering: If your clumps are producing fewer blooms than in previous years, they have likely become overcrowded.
- Center Die-back: If the center of the clump looks sparse or dead, the plant has exhausted the nutrients in that immediate area.
- Stunted Growth: When the corms become too tightly packed, they compete for resources, leading to weaker, smaller foliage.
When you dig up the clump, gently tease the corms apart using your hands or a garden fork. Discard any shriveled or damaged corms and replant the healthy, firm ones at the same depth they were previously growing. Water them thoroughly immediately after replanting to help settle the soil around the roots.
Signs Your Crocosmia Needs Dividing
Crocosmia are vigorous growers that thrive when given enough space to expand. However, over time, a healthy colony can become overcrowded. When the corms—the bulb-like structures at the base of the plant—become too congested, they begin to compete for nutrients, water, and sunlight. This competition inevitably leads to a decline in the plant’s overall health and aesthetic appeal.
The most reliable indicator that your crocosmia needs dividing is a noticeable reduction in flowering. If your patch was once a reliable display of vibrant, arching blooms but now produces only a few scattered flowers, the colony has likely become too dense. The energy of the plant is being diverted toward survival rather than reproduction.
Keep an eye out for these specific physical signs during the growing season:
- The “Doughnut” Effect: The center of the clump appears bare or dead, while growth is pushed toward the outer edges. This happens because the older, central corms have exhausted the soil nutrients.
- Diminished Foliage: The leaves appear smaller, thinner, or weaker compared to the lush, sword-like foliage seen in previous years.
- Stunted Growth: The overall height of the plant decreases, and the stems may lack the structural integrity to stand upright without support.
If you notice these symptoms, it is time to lift and divide the colony. Dividing not only refreshes the soil by allowing you to add compost or organic matter back into the planting hole, but it also provides the individual corms with the room necessary to regenerate. By thinning out the clump, you essentially reset the plant’s growth cycle, ensuring a more vigorous display of flowers in the coming seasons.
Ideally, perform this task in early spring as the new growth begins to emerge, or immediately after the foliage has died back in late autumn. This ensures the plant can re-establish its root system before the peak heat of summer or the harshness of winter arrives.

Safety and Tools for the Job
Before you begin dividing your crocosmia, preparation is essential to protect both your plants and your body. Having the right equipment ensures the process is efficient and minimizes damage to the corms, which are the underground storage organs that fuel next year’s growth.
Gather the following tools before heading into the garden:
- Sturdy garden fork: A fork is superior to a spade for this task, as it helps you lift the root ball without slicing through the delicate corms.
- Sharp, clean garden shears: Use these to trim back foliage to a few inches above the soil level once the clump is lifted, making it easier to handle and replant.
- Thick gardening gloves: These are vital to protect your hands from coarse soil, sharp debris, and potential skin irritation caused by the plant’s sap.
When you are ready to dig, position your fork several inches away from the base of the clump. Push the tines deep into the soil to reach beneath the root system. Gently lever the handle backward to lift the entire clump out of the ground in one piece. If the soil is particularly heavy, do not force it; rock the fork back and forth to loosen the earth gradually.
Your physical safety is just as important as plant health. To prevent back strain, keep your spine straight throughout the process. Bend at your knees—not your waist—when lifting the heavy root mass, and use the strength of your legs to carry the weight. If a clump feels too heavy or dense, use your fork to break it into smaller, more manageable sections while it is still partially in the ground.
Finally, ensure your shears are sterilized with rubbing alcohol before use. This simple step prevents the spread of soil-borne pathogens from one section of the garden to another. By working methodically and prioritizing good posture, you will successfully prepare your crocosmia for a vigorous, blooming season ahead.
Step-by-Step Division Process
Dividing crocosmia is a straightforward process that rejuvenates congested clumps and ensures vigorous flowering for years to come. Aim to perform this task in early spring, just as new growth begins to emerge, or immediately after the foliage has died back in autumn.
To begin, use a sturdy garden fork to lift the entire clump from the soil. Insert the fork several inches away from the base of the plant to avoid slicing through the corms. Once the clump is out of the ground, gently shake or brush away excess soil to clearly expose the corm structure.
Once the root system is visible, you can separate the clump into smaller, manageable sections. Follow these steps to ensure success:
- Separate: Use your hands to gently pull the clump apart. If the corms are tightly intertwined, use a sharp, sterilized knife to cut through the cluster.
- Inspect: Examine each section carefully. Each piece must contain healthy, firm corms and a healthy portion of attached roots.
- Cull: Discard any corms that appear shriveled, soft, or show signs of decay, as these will not thrive.
- Replant: Immediately replant the healthy sections into prepared soil. Position them at the same depth they were growing previously—typically about 3 to 4 inches deep.
After replanting, firm the soil gently around the base of the sections to eliminate large air pockets. Water the area thoroughly to help the roots settle into their new position. If you are dividing in the spring, keep the soil consistently moist during the first few weeks to support new root development. By removing dead or unproductive corms and providing the remaining sections with more space and fresh nutrients, you will encourage stronger stems and more prolific blooms in the coming season. This simple maintenance routine prevents the plant from becoming overcrowded, which is the most common cause of reduced flowering in established crocosmia patches.

Follow-Up Care and Common Questions
Once you have finished dividing and replanting your crocosmia, immediate aftercare is vital to ensure the corms establish themselves in their new location. Start by watering the area thoroughly. This initial soak is essential because it settles the soil around the corms, eliminating air pockets that could cause them to dry out prematurely.
After the soil has settled, apply a light layer of organic compost over the planting site. This provides a gentle, slow-release nutrient boost that supports vigorous growth during the upcoming season without the risk of burning the delicate roots. Avoid heavy mulching immediately after planting, as this can sometimes trap excessive moisture and lead to rot in newly disturbed corms.
To help your crocosmia thrive following division, keep these practical tips in mind:
- Monitor moisture: Keep the soil consistently moist but not waterlogged for the first few weeks until you see signs of new foliage growth.
- Avoid over-fertilizing: Crocosmia are relatively low-maintenance; a single layer of compost is usually sufficient. Avoid synthetic, high-nitrogen fertilizers, which may encourage leafy growth at the expense of flowers.
- Watch for pests: Newly planted corms can be vulnerable. Keep an eye out for slugs or snails, which are often attracted to tender new shoots.
If you encounter clumps that are too large or tightly knit to separate by hand, do not force them. Using a sterile, sharp garden spade or a Hori Hori knife can make the job easier, but if the root mass feels impenetrable, consider soaking the clump in a bucket of water for an hour to loosen the soil. This often makes the individual corms easier to identify and separate without damage.
If you remain unsure about the health of your corms—such as noticing soft, mushy spots or unusual discoloration—do not hesitate to consult a local horticultural expert or professional gardener. It is always better to seek advice than to plant diseased material that could spread issues to other parts of your garden. Proper care during this transition period will reward you with a robust, blooming display next season.

Dedicated team of gardening enthusiasts with years of hands-on experience testing lawn mowers, gardening tools, and outdoor equipment. We help home gardeners and professionals alike make informed buying decisions with honest, thorough reviews. From push mowers to pruning shears, we test it all so you don’t have to. Got a gardening tool you’d like us to review? Get in touch!