
You should plant Camassia bulbs in the autumn, ideally between September and November. Getting them into the ground before the first hard frost is essential for ensuring they establish strong roots and bloom reliably when the weather warms. These stunning wild hyacinths are a perfect, low-maintenance addition to any spring garden.
While these hardy bulbs are relatively easy to grow, timing is the most critical factor for success. They require a period of natural winter chilling to trigger their vibrant floral displays. By planting during this specific autumn window, you mimic their natural growth cycle, which helps prevent rot and promotes vigorous spring foliage.
In this guide, we will walk you through the practical steps for successful bulb placement and soil preparation. You will learn how to choose the right location, determine the proper planting depth, and provide the care necessary for your Camassia to thrive for years to come. Let’s get your garden ready for spring.
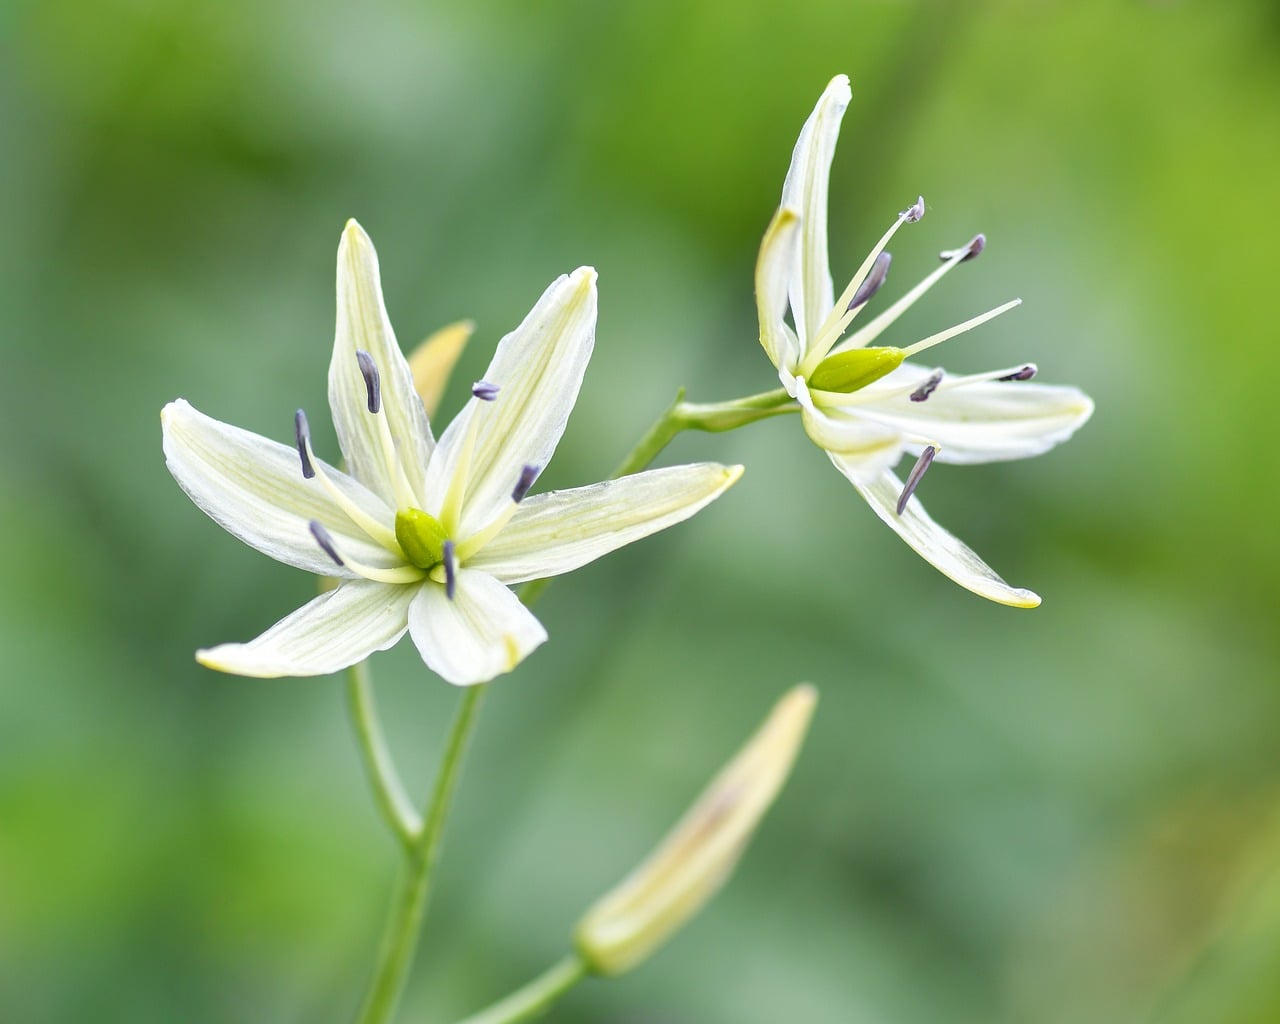
The Ideal Planting Window
To ensure your Camassia bulbs establish a strong foundation, timing is everything. These hardy perennials require a period of cool dormancy to trigger their spring growth, making autumn the only suitable time for planting. Aim to get your bulbs into the ground between September and November, depending on your local climate.
The primary goal is to allow the roots to develop before the ground becomes impenetrable. Camassia bulbs need to settle into the soil while it is still workable but cooling down. If you plant too early in the heat of late summer, the bulbs may suffer from dehydration or fungal issues; if you wait until the ground is frozen, root growth will be impossible.
Follow these guidelines to determine your specific planting window:
- The Six-Week Rule: Aim to plant your bulbs at least six weeks before the first hard frost is expected in your region. This timeframe provides sufficient opportunity for the root system to anchor itself firmly into the soil.
- Monitor Soil Temperature: Ideally, the soil should be below 60°F (15°C). This cooler temperature signals the bulb to focus energy on root production rather than premature top growth.
- Regional Adjustments: In colder climates with early, harsh winters, prioritize planting in September. In milder regions where the ground rarely freezes solid, you can comfortably push planting into late October or early November.
If you find yourself with bulbs late in the season, do not panic. Even if the soil has begun to chill, planting is still preferable to leaving them in storage, where they will inevitably dry out. However, if the ground is already frozen solid, it is better to store the bulbs in a cool, dark, and dry place—such as a basement or unheated garage—and plant them as soon as the soil thaws in early spring. While autumn remains the gold standard for success, providing a consistent, cool environment is the key to ensuring your Camassia returns year after year.
Selecting the Right Location
Choosing the ideal location for your Camassia bulbs is the most important step in ensuring they return year after year. Because these bulbs are native to meadows and woodland edges, they require a specific balance of moisture and light to thrive.
For the best results, select a site that receives full sun to partial shade. In cooler climates, full sun is preferred to encourage vigorous blooming. If you live in an area with intense summer heat, choose a spot that offers afternoon shade to protect the foliage as the plants enter their natural dormancy.
Soil composition is equally critical. Camassia bulbs need a location that stays consistently moist during the active spring growing season but drains well enough to prevent rot. Avoid heavy, waterlogged clay that stays saturated throughout the year, as this can cause the bulbs to decay.
To determine if your garden has the right conditions, look for these indicators:
- Spring Moisture: The area should naturally collect some moisture in early spring, such as a low-lying spot in your garden or near a rain garden.
- Summer Drainage: The soil must dry out slightly during the summer months. This transition is essential for the bulb to rest properly after flowering.
- Soil Quality: Amend heavy soils with organic matter, such as compost or leaf mold, to improve drainage and nutrient content before planting.
If your garden soil is naturally sandy or drains too quickly, you may need to incorporate moisture-retentive organic material to help the bulbs establish. Conversely, if your soil is heavy clay, planting on a slight slope or creating a raised bed can provide the necessary drainage while still allowing the bulbs to access the moisture they crave.
By mimicking the natural meadow conditions where Camassia originates, you create a low-maintenance environment that supports healthy root development and spectacular blooms. Once you have identified this “Goldilocks” zone in your garden, your bulbs will be perfectly positioned for long-term success.
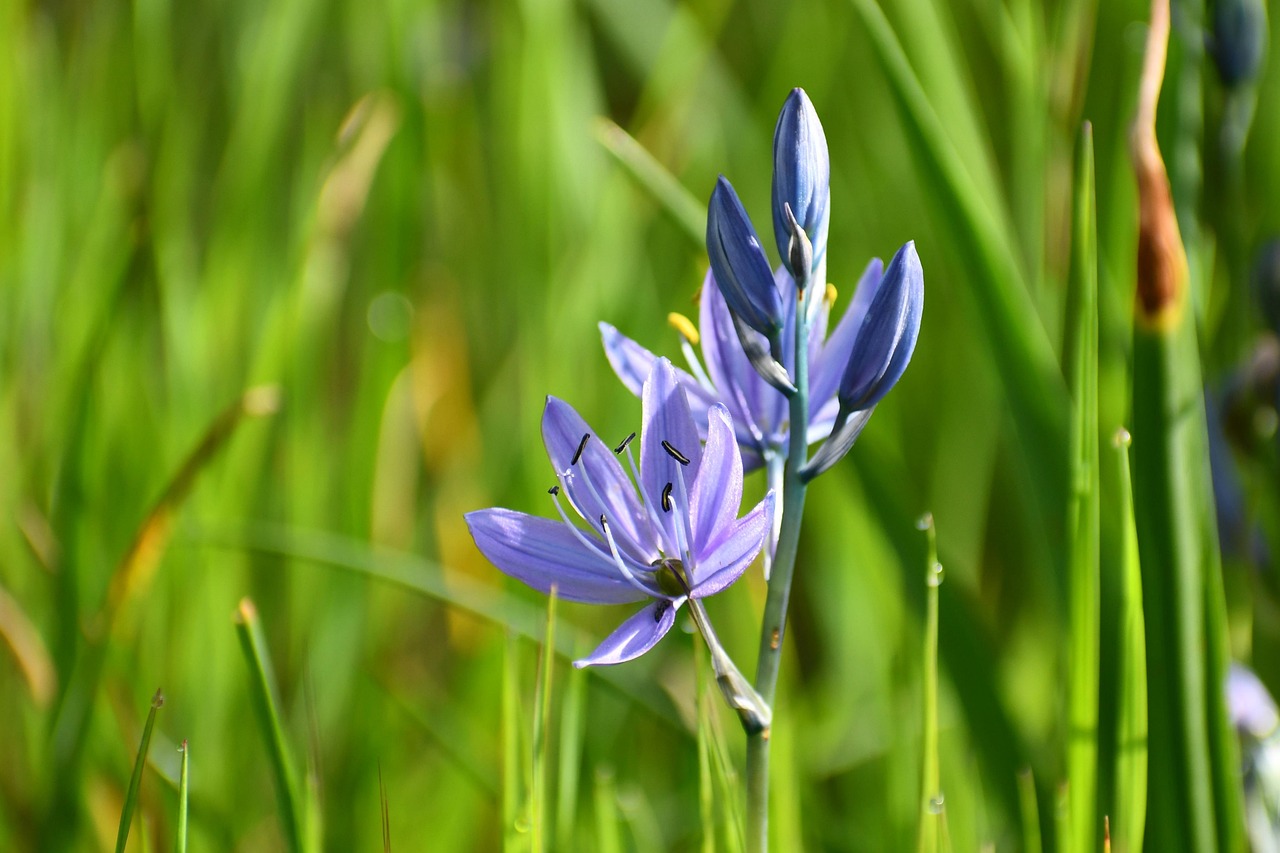
Essential Tools and Safety Precautions
Successfully planting Camassia bulbs requires minimal equipment, but choosing the right tools makes the process more efficient and protects your garden beds. For most home gardeners, a sturdy garden trowel is sufficient for digging individual holes. If you are planting a larger drift of bulbs, a dedicated bulb planter is a worthwhile investment. This tool allows you to remove a precise core of soil, ensuring your bulbs reach the recommended depth of four to six inches consistently.
Safety should always be your first priority when working in the soil. Always wear durable gardening gloves. These protect your skin from abrasions, potential allergens, and soil-borne bacteria that can cause minor infections if they enter small cuts or scrapes.
For those managing larger landscaping projects, a bulb auger attached to a power drill can significantly reduce physical strain. However, this equipment requires extra caution. Follow these safety protocols to prevent injury:
- Wear eye protection: Always use safety goggles to shield your eyes from flying soil, rocks, or debris kicked up by the spinning auger.
- Maintain a clear workspace: Keep your hands and feet well away from the drill bit while it is in motion.
- Secure your stance: Ensure you are standing on stable, level ground to prevent losing your balance if the drill hits a buried root or rock.
- Check for utilities: Even at shallow depths, be mindful of buried irrigation lines or landscape lighting cables before drilling.
Before you begin, clear the area of any sharp debris or large stones. If you are planting in heavy clay soil, consider adding a small amount of grit or compost to the bottom of each hole to improve drainage, as Camassia bulbs are susceptible to rot if they sit in standing water. By preparing your tools and prioritizing personal safety, you create a productive environment that makes the planting process both enjoyable and professional-grade.
Step-by-Step Planting Instructions
Successfully planting Camassia bulbs requires precision to ensure they thrive and return year after year. Because these perennials are excellent for naturalizing, taking care during the initial planting phase sets the stage for a lush, meadow-like display in late spring.
Follow these steps to plant your bulbs correctly:
- Prepare the site: Choose a location with well-draining soil that receives full sun to partial shade. Loosen the soil to a depth of at least 8 inches to allow for easy root penetration.
- Orient the bulbs: Place each bulb in the hole with the pointed, shoot-end facing upward. The flatter, root-end should sit firmly against the soil at the base of the hole.
- Measure depth: Position the bulbs at a depth of 4 to 6 inches. Planting at this depth protects the bulbs from extreme temperature fluctuations and helps prevent them from heaving out of the ground during winter freezes.
- Space appropriately: Aim for a spacing of 4 to 6 inches between each bulb. This distance provides enough room for the bulbs to multiply and form dense, healthy clumps over time without competing for nutrients.
- Cover and settle: Once the bulbs are positioned, backfill the holes with soil. Gently firm the surface with your hands to remove large air pockets, but avoid compacting the earth too heavily.
Immediately after planting, water the area thoroughly. This moisture is critical for settling the soil around the bulbs and signaling the start of the root development process. If you are planting in the autumn, ensure the soil remains moist until the first frost, but avoid waterlogging the area, as stagnant water can lead to bulb rot.
Once established, Camassia is remarkably low-maintenance. By providing this optimal start, you ensure the bulbs have the energy reserves needed to produce their signature spikes of star-shaped, blue-violet flowers when the growing season arrives.
Follow-Up Care and Common Questions
Once your Camassia bulbs are securely in the ground, proper follow-up care is essential to ensure they return year after year. Immediately after planting, apply a light layer of organic mulch, such as shredded bark or leaf mold, over the area. This helps insulate the soil against extreme temperature fluctuations and retains necessary moisture during the initial rooting phase.
Water management is the most critical aspect of maintenance. While Camassia bulbs appreciate moisture during their active growing season, they are susceptible to rot if left in standing water. Avoid overwatering during the winter months when the plants are dormant. If your region experiences heavy winter rainfall, ensure your planting site has excellent drainage to prevent the bulbs from decaying underground.
If you notice stunted growth or yellowing foliage when spring arrives, assess your soil conditions. Camassia thrives in deep, moisture-retentive soil, but it must not be waterlogged. If the soil remains saturated for long periods, consider amending it with compost or grit to improve drainage for the following season.
To ensure long-term success, keep these practical tips in mind:
- Monitor moisture: Keep the soil consistently moist during the spring growth period, but reduce watering as the foliage begins to fade in early summer.
- Avoid disturbance: Camassia bulbs prefer to remain undisturbed for several years. Only divide them if you notice a significant decline in flowering density.
- Naturalizing: Allow the foliage to die back naturally after flowering. This process allows the bulb to store energy for the next year’s blooms.
If you are uncertain about your specific soil quality or whether your local climate is suitable for Camassia, reach out to your local agricultural extension office. They provide region-specific advice based on your exact hardiness zone and soil type, helping you avoid common pitfalls. Taking these small, proactive steps will reward you with a reliable and vibrant display of star-shaped flowers each spring.

Dedicated team of gardening enthusiasts with years of hands-on experience testing lawn mowers, gardening tools, and outdoor equipment. We help home gardeners and professionals alike make informed buying decisions with honest, thorough reviews. From push mowers to pruning shears, we test it all so you don’t have to. Got a gardening tool you’d like us to review? Get in touch!