
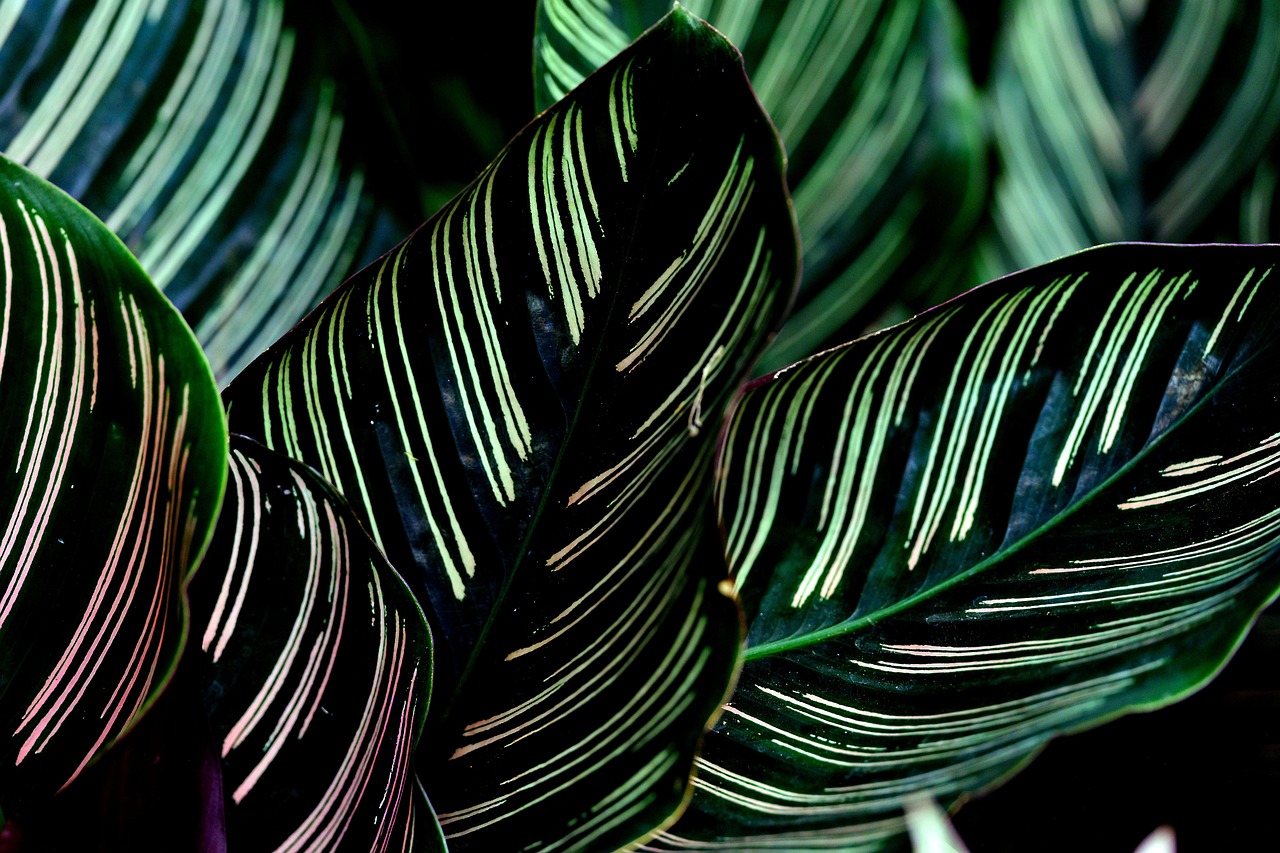
Learning calathea how to care for properly requires mastering humidity, light, and consistent watering habits. These stunning tropical plants are famous for their intricate, patterned foliage, but they often struggle when placed in typical household environments. By understanding their specific needs, you can successfully cultivate a thriving, vibrant Prayer Plant in your own home.
While calatheas have a reputation for being notoriously finicky, they are not impossible to grow if you provide the right conditions. They originate from the rainforest floor, meaning they thrive in indirect light and high moisture. Setting realistic expectations about their sensitivity to tap water and drafts is essential for long-term plant health.
This comprehensive guide simplifies the entire process, providing clear, actionable steps to help you master your plant’s environment. We will cover everything from ideal soil mixes and watering schedules to effective humidity hacks. Follow these practical maintenance tips to keep your beautiful foliage lush, healthy, and growing strong throughout every single season.

Understanding Light and Temperature Requirements
Calatheas are native to the forest floor, where they grow under the canopy of larger trees. To keep them healthy in your home, you must replicate this filtered, dappled light environment. Providing the right lighting is the most critical step in preventing leaf damage and ensuring vibrant foliage patterns.
The ideal location is bright, indirect light. If a Calathea receives direct sunlight, its delicate leaves will quickly scorch, leading to brown, crispy edges or bleached patches. Conversely, placing the plant in a dark corner will cause its growth to stall and may lead to the loss of its signature leaf variegation.
Follow these placement guidelines to find the “sweet spot” in your home:
- East-facing windows: These are often the best choice, as they provide gentle morning sun that is rarely intense enough to burn the leaves.
- South or west-facing windows: If you use these locations, place the plant a few feet back from the glass or use a sheer curtain to diffuse the light.
- Rotation: Periodically rotate your pot to ensure even growth, as the plant will naturally lean toward the light source.
Temperature stability is just as important as light. Calatheas are tropical plants that prefer consistent, comfortable room temperatures between 65 and 80 degrees Fahrenheit. They are highly sensitive to sudden environmental shifts, which can cause the leaves to curl or drop prematurely.
To maintain a stable climate for your plant, avoid the following areas:
- Drafty zones: Keep your Calathea away from exterior doors, open windows during winter, or air conditioning vents.
- Heat sources: Avoid placing the plant near radiators, space heaters, or above heating vents, as these create dry air that stresses the plant and encourages spider mites.
By mimicking the stable, shaded conditions of their natural habitat, you will provide the foundation necessary for your Calathea to produce healthy, lush new growth throughout the year.
Mastering Watering and Humidity
Calatheas are famously dramatic, but mastering their watering and humidity needs is the secret to keeping them lush and vibrant. Because these plants originate from tropical rainforest floors, they thrive in environments that mimic their natural habitat—consistently moist, yet never soggy.
To get the watering right, use the “finger test.” Stick your finger about an inch into the soil. If it feels dry, it is time to water. If the soil still feels damp, wait a few more days. Overwatering is the most common cause of root rot in Calatheas, so ensure your pot has adequate drainage holes and never let the plant sit in a saucer of standing water.
The quality of your water matters just as much as the frequency. Calatheas are sensitive to chemicals like fluoride and chlorine, as well as high mineral content often found in tap water. If you notice brown, crispy edges on your leaves, your plant is likely reacting to these impurities. To prevent this, use filtered, distilled, or rainwater whenever possible.
Humidity is the second half of the equation. These plants despise dry air, which often leads to curling leaves or spider mite infestations. To maintain the 50% or higher humidity levels they crave, try these practical methods:
- Group plants together: Placing your Calatheas near other houseplants creates a microclimate that traps moisture in the air through transpiration.
- Use a pebble tray: Fill a shallow tray with pebbles and water, then set your pot on top. Ensure the base of the pot sits above the water line to prevent root rot.
- Run a humidifier: This is the most effective solution, especially during winter months when indoor heating dries out the air.
By keeping the soil consistently damp and the surrounding air humid, you provide the stable environment necessary for your Calathea to thrive and showcase its stunning, patterned foliage.
Choosing the Right Soil and Fertilizer
Calatheas are native to tropical rainforest floors, where they thrive in loose, nutrient-rich soil that stays moist but never waterlogged. Because these plants are highly susceptible to root rot, your choice of potting medium is the most critical factor in their long-term health. Avoid using heavy, dense garden soil, which compacts easily and suffocates the delicate root system.
For the best results, use a high-quality, peat-based potting mix. If your mix feels too dense, you can easily improve its structure by adding aeration components. A simple, effective DIY blend includes:
- Two parts peat moss or coco coir for moisture retention.
- One part perlite or pumice to ensure proper drainage.
- One part orchid bark to create air pockets around the roots.
Proper drainage is essential. Always ensure your pot has at least one large drainage hole at the bottom. If you are using a decorative outer pot, remove the inner nursery pot before watering to allow excess moisture to drain away completely before replacing it.
Regarding nutrition, Calatheas are not heavy feeders, but they do benefit from consistent support during their active growing season, which runs from spring through early autumn. During this time, apply a balanced, water-soluble houseplant fertilizer to promote lush, vibrant foliage.
To prevent fertilizer burn—a common cause of brown leaf tips—always follow these safety steps:
- Dilute your liquid fertilizer to half the strength recommended on the product label.
- Apply the solution only once a month during the growing season.
- Never fertilize a dry plant; ensure the soil is slightly damp before application to protect the roots.
As the plant enters its natural dormancy period in late autumn and winter, stop fertilizing entirely. Resume your feeding schedule only when you see new growth emerging in the spring. By maintaining this balance of aeration and gentle nutrition, you provide the stable environment your Calathea needs to flourish indoors.
Safe Pruning and Maintenance Practices
Consistent maintenance is the secret to keeping your Calathea vibrant and free from stress. Because these plants are prized for their lush, patterned foliage, keeping the leaves in top condition is essential. Over time, it is natural for older leaves to yellow or develop brown, crispy edges. Removing these damaged parts allows the plant to redirect its energy toward healthy new growth rather than trying to sustain dying tissue.
When you notice a leaf that is yellowing or damaged, do not pull it off by hand, as this can tear the delicate stem and damage the crown of the plant. Instead, follow these steps for a clean, safe removal:
- Use a pair of sharp, high-quality pruning shears or scissors. Dull blades can crush the stem, creating jagged wounds that are slow to heal and prone to infection.
- Sanitize your cutting tool with rubbing alcohol before and after every session. This simple step prevents the accidental transmission of bacteria or fungal spores between stems.
- Make your cut at the very base of the stem, close to where it emerges from the soil or the main clump. Avoid leaving long, unsightly stubs that can rot.
Safety should always be a priority during your gardening routine. While Calatheas are generally non-toxic, some people may experience mild skin irritation from the sap or the fine hairs found on certain varieties. Wearing lightweight gardening gloves provides a protective barrier and ensures your hands remain clean while you work.
After pruning, take a moment to inspect the remaining foliage. Use a soft, damp cloth to gently wipe away dust from the leaves. This not only keeps your Calathea looking its best but also improves the plant’s ability to photosynthesize efficiently. By keeping your tools sterile and your maintenance routine consistent, you create an environment where your Calathea can thrive, maintaining its signature beauty and health throughout the growing season.

Troubleshooting Common Issues and When to Seek Help
Calatheas are famously expressive plants. When their environment isn’t quite right, they will often show you through changes in their foliage. Learning to read these signals early can save your plant from unnecessary stress.
Brown, crispy leaf edges are the most common complaint. This is rarely a sign of disease; instead, it usually points to low humidity or mineral buildup from tap water. To improve this, try grouping your plant with others to create a microclimate or use a humidifier. If you suspect water quality is the culprit, switch to distilled or filtered water to prevent salt accumulation.
If your Calathea’s leaves are drooping or curling, the plant is likely thirsty. Check the soil moisture by inserting your finger about two inches deep. If it feels dry, give the plant a thorough watering until liquid drains from the bottom of the pot. Ensure you never leave the plant sitting in standing water, as this can lead to root rot.
For persistent issues, perform a close inspection of the plant, focusing on the undersides of the leaves. Look for these signs:
- Spider Mites: Fine webbing or tiny, pale stippling on the leaves.
- Mealybugs: White, cotton-like masses in the leaf axils.
- Fungus Gnats: Tiny flies hovering around the soil surface, indicating soil that stays too wet.
If you have adjusted your watering and humidity levels but the plant continues to decline, or if you notice a persistent foul odor from the soil, it is time to seek professional help. A local nursery expert can help you determine if the plant is suffering from deep-seated root rot or a fungal infection that requires specialized treatment. Early intervention is key to reviving a struggling Calathea, so do not hesitate to ask for a professional assessment if your troubleshooting steps do not result in visible improvement within a few weeks.

Dedicated team of gardening enthusiasts with years of hands-on experience testing lawn mowers, gardening tools, and outdoor equipment. We help home gardeners and professionals alike make informed buying decisions with honest, thorough reviews. From push mowers to pruning shears, we test it all so you don’t have to. Got a gardening tool you’d like us to review? Get in touch!