
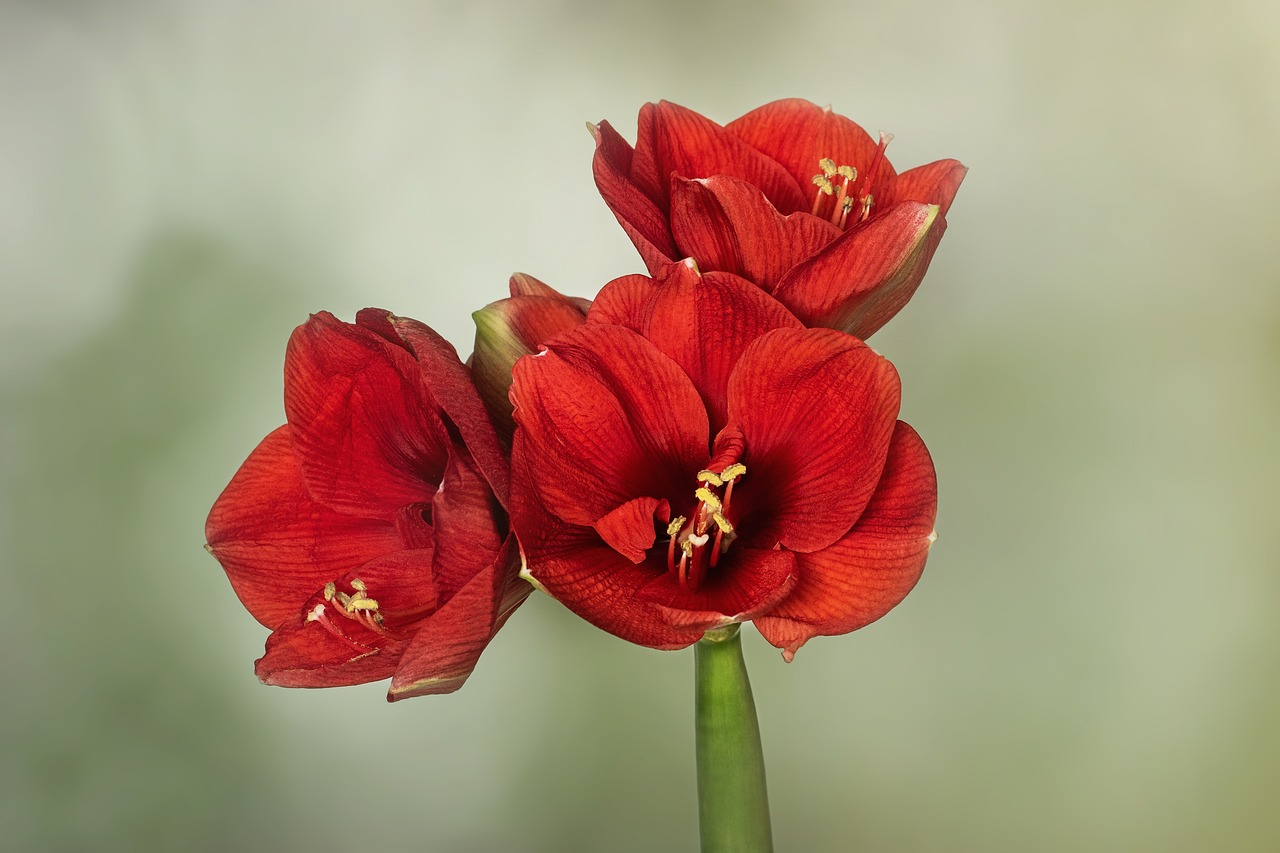
You should plant your amaryllis bulbs in late autumn or early winter to ensure they bloom during the darkest months of the year. Aim to get them into the soil between October and November if you want those spectacular, trumpet-shaped flowers to brighten your home by the holiday season or early January.
Keep in mind that these popular indoor plants typically require six to eight weeks from planting to reach their full flowering stage. While timing is essential for a winter display, individual bulb health and light exposure also play significant roles in how quickly your amaryllis will wake up and begin its growth cycle.
This guide provides all the practical steps you need to master your planting schedule and care for your bulbs effectively. From selecting the right pot size to managing water and light, we cover everything required to help your amaryllis thrive. Follow these expert tips to enjoy a stunning, vibrant floral display every single year.

Understanding the Amaryllis Planting Window
Timing is the most critical factor in successfully growing amaryllis. While these bulbs are resilient, understanding their natural cycle ensures you get the vibrant, trumpet-shaped blooms you expect. Generally, you can plant amaryllis bulbs anytime between October and April, but your specific goal determines the best start date.
If your objective is to enjoy spectacular flowers during the holiday season, you must work backward from your desired bloom date. Because amaryllis bulbs typically take six to ten weeks from planting to produce their first flower, precise planning is essential.
To ensure your amaryllis is in full bloom for the holidays, follow this timeline:
- For Christmas blooms: Plant your bulbs in late October or the very first week of November.
- For mid-winter color: If you prefer blooms in January or February, stagger your planting throughout December.
- For spring growth: Planting in March or April allows the bulbs to take advantage of increasing natural light, often resulting in faster growth cycles.
Keep in mind that environmental conditions play a significant role in how quickly your bulb wakes up. A warm, sunny windowsill will encourage faster development, while a cooler room may slightly delay the blooming process. If you notice your bulb is growing too slowly, moving it to a warmer spot can help accelerate the emergence of the flower stalk.
Avoid planting your bulbs too early in the autumn if you are not prepared to provide adequate light. Without sufficient sunlight, the foliage may become leggy and weak before the flower stalk has a chance to fully develop. Once you choose your planting window, ensure you have a well-draining pot and high-quality potting mix ready. Proper drainage is vital to prevent the bulb from rotting, which is the most common issue home gardeners face when starting their amaryllis indoors. By aligning your planting schedule with these timeframes, you set the stage for a healthy, long-lasting display that brightens your home during the darkest months of the year.
Essential Tools and Safety Precautions
Before you begin planting your amaryllis bulbs, gather the necessary supplies to ensure a smooth process. Having everything organized beforehand allows you to focus on proper planting depth and placement, which are critical for healthy growth.
You will need the following items:
- A pot with drainage holes: Amaryllis bulbs rot easily if left in standing water. Choose a container only one to two inches wider than the bulb itself.
- High-quality potting mix: Use a well-draining, peat-based mix to provide the right balance of moisture retention and aeration.
- A small trowel: This makes it easier to fill the pot around the bulb without damaging the roots.
Safety should be your priority while working with gardening tools. When using sharp implements like hand pruners or metal trowels, always handle them with care to avoid accidental cuts. Keep your fingers clear of the cutting path and store tools securely when they are not in immediate use.
If you have sensitive skin, it is highly recommended to wear gardening gloves. Amaryllis bulbs can occasionally cause minor skin irritation due to the texture of their papery outer scales, and soil can dry out or irritate your hands. Gloves also provide an extra layer of protection against accidental nicks from sharp tools.
Finally, ensure your workspace is clean, organized, and well-lit. A cluttered area increases the risk of tripping or knocking over your materials. Working in a bright, stable environment allows you to see exactly where you are positioning the bulb, ensuring the neck remains above the soil line as required. By preparing your space and using the right equipment, you set the stage for a successful blooming season.
Step-by-Step Planting Guide
Choosing the right container is the most critical first step for successful amaryllis growth. Select a pot that is only one to two inches wider than the bulb itself. Amaryllis bulbs actually prefer to be somewhat crowded, and a pot that is too large can hold excess moisture, which often leads to root rot.
Ensure your chosen pot has adequate drainage holes at the bottom. If you are using a decorative cachepot without holes, place the bulb in a plastic nursery liner first, then set that liner inside the decorative container to allow for proper water management.
Follow these steps to plant your bulb correctly:
- Fill the bottom of the pot with a high-quality, well-draining potting mix, leaving enough space so the top of the bulb sits just below the rim of the pot.
- Place the bulb in the center of the pot. The top third of the bulb must remain exposed above the soil line; burying the entire bulb can encourage decay.
- Gently fill in the sides with potting mix, firming the soil around the roots to ensure the bulb is stable and upright.
Once planted, water the soil lightly. It is essential to water sparingly during this initial phase. Because the bulb is dormant and lacks active foliage, it cannot process large amounts of water. Excess moisture at this stage is the leading cause of bulb failure.
Place your pot in a warm, bright location, but keep it away from direct, scorching sunlight. Monitor the soil moisture frequently, keeping it just barely damp to the touch. Do not increase your watering frequency until you see the first signs of green growth emerging from the neck of the bulb. Once the sprout appears, you can gradually increase watering as the plant begins its rapid growth phase, ensuring the soil remains consistently moist but never waterlogged.
Creating the Ideal Growth Environment
Once your amaryllis bulb is securely in its pot, the environment you provide is the most critical factor for successful blooming. Amaryllis bulbs thrive when they feel as though they are in a warm, tropical climate. Aim to place your container in a spot that maintains a consistent temperature between 68 and 70 degrees Fahrenheit. This warmth is essential for encouraging the bulb to break dormancy and develop a healthy, robust root system.
Lighting is equally important during this initial phase. Your bulb requires bright, indirect sunlight to fuel its rapid growth. Avoid placing the pot in direct, scorching sun, which can dehydrate the bulb or scorch the emerging foliage. A sunny windowsill that receives filtered light is typically the perfect location.
As the flower stalk begins to emerge from the center of the bulb, you will notice it reaching aggressively toward the light source. To ensure your amaryllis grows into a sturdy, symmetrical specimen rather than a leaning, top-heavy plant, follow these practical care tips:
- Rotate the pot: Turn the container a quarter-turn every few days. This prevents the stalk from bending toward the window and encourages even, upright growth.
- Monitor moisture: Keep the soil lightly moist but never waterlogged. Overwatering at this stage can lead to bulb rot before the flowers have a chance to open.
- Provide support: If the stalk grows exceptionally tall or heavy, gently insert a decorative bamboo stake into the soil and secure the stem with soft twine to prevent it from toppling over.
By mimicking these natural conditions, you provide the bulb with the energy it needs to produce those signature, trumpet-shaped blooms. Patience is key; while the initial growth may seem slow, once the stalk begins to rise, you will be rewarded with a spectacular display within just a few weeks. Keep a close eye on the soil moisture levels as the foliage develops, as the plant will become thirstier as it grows larger.

Follow-Up Care and Common Questions
Once your amaryllis blooms finish, your primary goal is to support the bulb’s energy storage for next season. Use clean, sharp shears to cut the flower stalk back to just above the top of the bulb, but be careful not to damage the neck. It is vital to leave all the foliage intact, as these leaves are essential for photosynthesis, which fuels the bulb’s growth.
Place the pot in a sunny window and continue to water it regularly. Treat your amaryllis like a standard houseplant throughout the spring and summer. To ensure the bulb remains vigorous, apply a balanced, water-soluble liquid fertilizer every two to four weeks during this active growing period.
If you have planted your bulb and it fails to show signs of life after 10 weeks, follow these troubleshooting steps:
- Check soil moisture: Ensure the soil is barely damp. If it is bone-dry, the bulb may be dormant; if it is waterlogged, it may be struggling to breathe.
- Inspect the bulb: Gently remove some soil from around the neck of the bulb. If the bulb feels firm and looks healthy, it may simply need more time or warmth.
- Identify rot: If the bulb feels soft or mushy to the touch, or if you detect a foul, swampy odor, it is likely suffering from rot. Unfortunately, a bulb in this condition is usually unsalvageable and should be discarded to prevent the spread of pathogens to other plants.
As autumn approaches, you can gradually reduce watering to encourage the bulb to enter its natural dormancy period. By allowing the foliage to yellow and die back naturally, you signal the plant to store nutrients, which is the secret to achieving spectacular, reliable blooms year after year. With consistent care and patience, your amaryllis will remain a healthy, long-lived addition to your indoor garden collection.

Dedicated team of gardening enthusiasts with years of hands-on experience testing lawn mowers, gardening tools, and outdoor equipment. We help home gardeners and professionals alike make informed buying decisions with honest, thorough reviews. From push mowers to pruning shears, we test it all so you don’t have to. Got a gardening tool you’d like us to review? Get in touch!