
You should cut back alliums only after the foliage has turned completely yellow or brown. Removing the leaves too early prevents the bulb from storing enough energy to bloom successfully next season. Knowing when to cut back alliums is essential for maintaining plant health and ensuring your ornamental onions return stronger each year.
While it is tempting to tidy up your garden beds immediately after flowering, patience is the key to long-term success. The plant needs this post-bloom period to photosynthesize and replenish its underground bulb. If you trim the greenery while it is still vibrant and green, you risk weakening the plant for future growth.
This guide explains the exact timing and proper techniques needed to manage your alliums effectively. We will cover how to identify the right moment for pruning and how to care for the bulb throughout the dormant winter months. Follow these practical steps to keep your garden looking beautiful while supporting the vitality of your plants.

The Ideal Timing for Cutting Back Alliums
Knowing exactly when to cut back your alliums is essential for ensuring a vibrant display next spring. While it is tempting to tidy up your garden beds as soon as the spectacular flower heads begin to fade, patience is your best strategy for long-term plant health.
You can safely remove the spent flower stalks once they lose their appeal. Simply snip the stem down to the base of the plant. However, you must resist the urge to remove the foliage at the same time. The leaves play a critical role in the plant’s life cycle, acting as solar panels that fuel the bulb for the following year.
Follow this simple guide to determine the right moment for a full cleanup:
- Wait for yellowing: Allow the leaves to remain in place until they have naturally turned yellow or brown. This process indicates that the plant has successfully retreated into dormancy.
- Energy storage: During this fading period, the foliage is actively photosynthesizing, sending vital nutrients and energy down into the bulb. If you cut the leaves while they are still green, you effectively starve the bulb, leading to smaller blooms or a complete lack of flowers next season.
- The “tug” test: Once the foliage has withered completely, it will usually detach from the bulb with a gentle tug. If the leaves still offer resistance, they are not quite ready to be removed.
If you find the dying foliage unsightly, consider planting companion perennials nearby, such as hostas, daylilies, or hardy geraniums. These plants grow larger as the season progresses, naturally masking the yellowing allium leaves without interfering with the bulb’s essential energy-gathering process.
By waiting until the leaves are fully withered, you ensure that your alliums remain robust and ready to produce their iconic, architectural globes year after year. Proper timing is the simplest way to guarantee a reliable, low-maintenance perennial display in your landscape.
Step-by-Step Pruning Technique
Pruning your alliums correctly is essential for maintaining plant health and ensuring a tidy aesthetic in your garden. When the foliage begins to yellow and wither after the blooms have faded, it is time to intervene. Using the proper technique prevents damage to the bulb and protects the plant from potential infection.
Before you begin, ensure your tools are prepared. Use sharp, high-quality bypass pruners to ensure a clean, precise cut. Dull blades tend to crush or tear plant tissue, creating jagged wounds that serve as entry points for rot and pests. Always sanitize your blades with rubbing alcohol both before and after you finish pruning to prevent the transmission of soil-borne pathogens between plants.
Follow these steps to prune your alliums safely:
- Identify the base of the stem where it meets the soil line or the cluster of basal leaves.
- Position your bypass pruners at a slight angle near the bottom of the stalk.
- Make a single, firm, clean cut in one motion. Avoid sawing or twisting the stem, as this can bruise the surrounding tissue.
- Ensure the cut is flush with the base, but be careful not to damage any emerging new growth or the bulb itself.
Once you have removed the spent stalks, gather the debris and dispose of it. If the foliage shows signs of fungal disease, do not add it to your home compost pile, as many pathogens can survive the composting process. Instead, discard infected material in your household waste.
By keeping your cuts clean and your tools sterile, you minimize stress on the plant. This allows the allium to focus its energy on the bulb, helping it store the nutrients necessary to produce robust, healthy blooms in the following season. Regular maintenance not only keeps your garden looking professional but also extends the longevity of your perennial displays.
Safety Precautions When Pruning
Pruning your alliums is a straightforward process, but prioritizing safety ensures the task remains enjoyable rather than hazardous. Before you begin, always wear a sturdy pair of gardening gloves. While allium stems are generally not toxic, some gardeners may experience mild skin irritation from the plant’s sap. Furthermore, gloves provide a necessary barrier against sharp, dried stalks or hidden debris in the garden bed.
When using pruning shears or garden scissors, maintain a high level of situational awareness. Follow these essential safety practices to prevent accidental injury:
- Maintain tool control: Always keep your free hand well away from the blades. Never reach into a dense cluster of stems while the shears are in motion.
- Ensure stability: Only prune when standing on level, dry ground. Avoid reaching over obstacles or stretching awkwardly, as this increases the risk of slipping.
- Use sharp tools: A clean, sharp blade requires less physical force to cut through a stem, which reduces the likelihood of the tool slipping or causing hand fatigue.
- Sanitize equipment: Wipe your blades with rubbing alcohol before and after use to prevent the spread of fungal pathogens between plants.
Once you have finished cutting back your alliums, immediate cleanup is vital. Gather all plant debris and dispose of it in your compost or green waste bin rather than leaving stalks on the ground, where they can become a tripping hazard or harbor pests.
Finally, treat your pruning tools with the same caution you would any sharp implement. Close the safety lock on your shears immediately after use and store them in a secure shed or locked toolbox. Never leave blades unattended on the ground or a potting bench, especially in households with curious children or pets. By treating your equipment with respect and keeping your workspace clear, you can safely maintain your garden’s health throughout the season.
Managing Spent Flower Heads
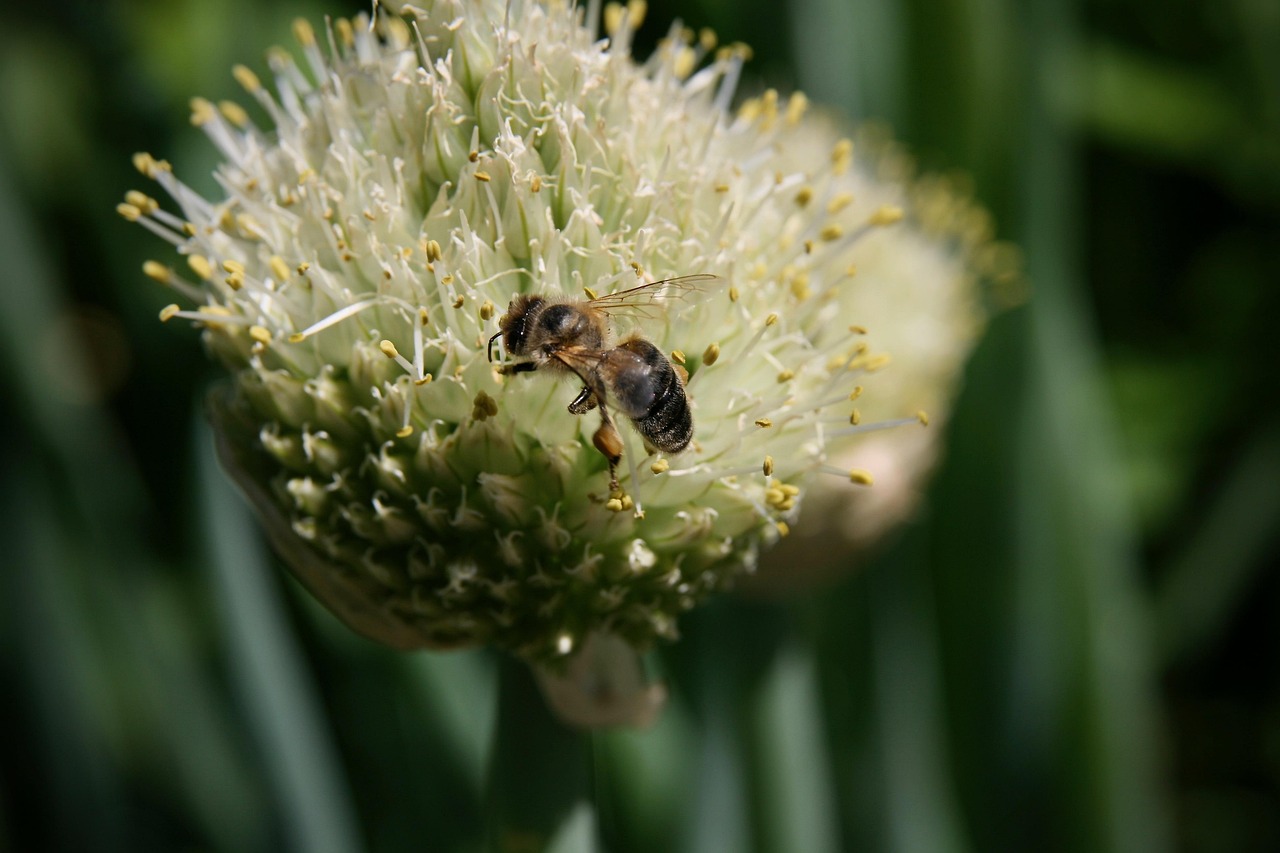
Once your alliums have passed their peak, you may notice the once-vibrant globes beginning to fade, brown, or lose their structural integrity. While some gardeners enjoy the architectural silhouette of dried allium seed heads throughout the summer, removing them is a practical step if you want to redirect the plant’s energy.
By cutting back spent flower heads, you prevent the plant from diverting resources into seed production. Instead, these nutrients are channeled back into the bulb, helping it store the energy required to produce a robust display for the following spring.
Follow these steps to manage your spent blooms effectively:
- Timing: Remove the flower heads as soon as they lose their visual appeal. Waiting too long can encourage the plant to focus entirely on seed development.
- Technique: Use clean, sharp garden shears or scissors. Snip the stalk just below the flower head itself.
- Precision: Avoid cutting the entire stem down to the ground at this stage. You only want to remove the bloom; the remaining stalk and the basal foliage must stay intact.
It is vital to leave the foliage alone until it has died back completely and turned yellow or brown on its own. The leaves act as a solar panel, absorbing sunlight and converting it into the energy stored in the bulb. If you cut the leaves prematurely, you risk weakening the bulb, which may result in smaller flowers or a total lack of blooms next season.
Once the foliage has withered entirely, it is safe to trim the remaining stem down to the soil level. This cleanup helps keep your garden tidy and prevents the accumulation of debris that could harbor pests or diseases over the winter months. By following this simple maintenance cycle, you ensure your alliums remain healthy, vigorous, and ready for a spectacular return next year.
Follow-up Care and Common Questions
Once you have cut back your alliums, your work isn’t finished. Proper post-pruning maintenance is essential to keep your garden healthy and productive for next season. Start by clearing away all the cut foliage and spent flower stalks from the base of the plant. Leaving this debris on the soil surface creates a damp, sheltered environment that encourages fungal diseases and attracts unwanted pests like slugs or snails.
If your alliums are failing to bloom, the issue is rarely the pruning process itself. Instead, look at your garden’s environmental conditions. Alliums thrive on consistency, and they require two specific factors to perform well:
- Full Sun: These plants need at least six to eight hours of direct sunlight daily to store enough energy for next year’s flowers. If they are shaded by taller perennials or shrubs, they may produce foliage but refuse to bloom.
- Well-Draining Soil: Alliums are bulbous plants that despise “wet feet.” If your soil is heavy clay or stays waterlogged, the bulbs can easily rot. Amend the area with organic matter or grit to improve drainage.
Occasionally, you may notice signs of trouble, such as soft, mushy growth near the base of the stem or a foul odor emanating from the soil. These can be symptoms of bulb rot or fungal pathogens. If you observe these issues, avoid applying DIY chemical treatments immediately. Instead, contact your local university extension office or a certified horticulturist.
These professionals can provide specific advice on soil management, such as solarization or soil amendments, tailored to your local climate and soil type. They can also help you determine if the bulbs need to be lifted and discarded to prevent the spread of disease to neighboring plants. By staying observant and keeping the garden bed tidy, you ensure that your alliums remain a reliable, striking feature of your landscape year after year.

Dedicated team of gardening enthusiasts with years of hands-on experience testing lawn mowers, gardening tools, and outdoor equipment. We help home gardeners and professionals alike make informed buying decisions with honest, thorough reviews. From push mowers to pruning shears, we test it all so you don’t have to. Got a gardening tool you’d like us to review? Get in touch!