
To care for an indoor aloe vera plant, place it in a spot with bright, indirect sunlight and water only when the top two inches of soil feel completely dry. This popular succulent is beloved for its soothing medicinal gel and its incredibly low-maintenance nature, making it an ideal choice for busy indoor gardeners.
While aloe vera is resilient, it is not invincible. Understanding its native desert environment is key to success, as overwatering is the most common mistake that leads to root rot. By mimicking these dry conditions and providing proper drainage, you can easily keep your plant vibrant and healthy throughout the entire year.
This guide provides all the practical steps you need to help your indoor aloe thrive. We will explore the precise balance of light, water, and soil requirements necessary for long-term growth. Follow these expert tips to troubleshoot common issues and ensure your aloe vera remains a flourishing, beautiful fixture in your home.

Optimal Light and Temperature Conditions
Aloe vera plants thrive when they receive plenty of bright, indirect sunlight. To mimic their natural desert environment while protecting them from damage, place your plant near a south or west-facing window. Aim for at least six hours of light daily to keep the plant healthy and robust.
While aloe vera loves light, it is sensitive to intense, direct exposure. Harsh afternoon sun can easily scorch the fleshy leaves, causing them to turn brown or develop unsightly dry patches. If your window receives strong, direct rays during the hottest part of the day, consider using a sheer curtain to diffuse the light.
Temperature management is equally important for long-term success. These succulents prefer a stable environment and will grow best when you follow these guidelines:
- Ideal range: Keep your plant in a room where temperatures consistently stay between 55 and 80 degrees Fahrenheit (13 to 27 degrees Celsius).
- Avoid extremes: Temperatures below 50 degrees Fahrenheit can cause cold damage, while extreme heat can dehydrate the plant too quickly.
- Mind the placement: Keep your aloe away from direct sources of fluctuating temperatures. Avoid placing the pot directly in front of drafty windows, air conditioning units, or active heating vents.
If you notice your plant leaning heavily toward the light source, it is likely not receiving enough sun. You can gently rotate the pot every few weeks to encourage balanced, upright growth. Conversely, if the leaves start to look thin or pale, try moving the plant slightly closer to a window, but monitor it closely for signs of sunburn. Finding the right balance of light and steady temperature is the foundation of a thriving indoor aloe vera. Once you have established the perfect spot, avoid moving the plant frequently, as it needs time to acclimate to its specific environment.
Watering Best Practices for Succulents
The most common reason for aloe vera decline is overwatering. Because these succulents store moisture in their thick, fleshy leaves, they are highly susceptible to root rot if left in constantly damp soil. To keep your plant healthy, you must prioritize proper hydration habits over a strict calendar schedule.
Before adding more water, always check the soil moisture level. Insert your finger into the potting mix to a depth of about two inches. If the soil still feels damp or cool, wait a few more days. Only proceed with watering once the top two inches of soil have dried out completely.
When it is time to water, follow this thorough technique to ensure the entire root system receives hydration:
- Pour water evenly over the soil surface until you see it flowing out of the drainage holes at the bottom of the pot.
- Allow the pot to sit for a few minutes so the excess water can drain away completely.
- Empty the saucer or decorative tray immediately. Never allow your aloe vera to sit in standing water, as this is a primary trigger for fungal decay and root death.
Your plant’s water requirements will change throughout the year. During the spring and summer, your aloe is in its active growth phase and will require more frequent watering. However, as temperatures drop and light levels decrease during the winter, the plant enters a period of dormancy.
During these colder months, reduce your watering frequency significantly. You may find that your aloe vera only needs water once every four to six weeks during the winter. Always prioritize the “dry soil” rule over a set routine; if the soil remains moist for longer periods during the winter, do not add more water. By mimicking the natural cycles of its arid native environment, you will ensure your aloe vera remains vibrant and healthy year-round.

Choosing the Right Pot and Soil Mix
The foundation of a healthy indoor aloe vera plant begins with the right environment. Because aloe vera is a succulent that stores water in its thick, fleshy leaves, it is highly susceptible to root rot if left in soggy conditions. Choosing the correct container and soil is the most effective way to prevent this common issue.
Always select a pot that features drainage holes at the bottom. This simple feature allows excess water to escape, ensuring the roots do not sit in stagnant moisture. While plastic or glazed ceramic pots are popular, terracotta is the superior choice for aloe vera. The porous nature of clay allows the soil to breathe and dry out more evenly between waterings, mimicking the arid conditions these plants naturally prefer.
Equally important is the growing medium. Do not use standard indoor potting soil, as it retains too much moisture. Instead, use a specialized cactus or succulent mix. These blends are formulated with extra perlite, sand, or pumice to ensure excellent aeration and rapid drainage.
If your plant develops dead, yellowing, or damaged leaves, you should remove them to maintain the plant’s health and appearance. Follow these steps for safe maintenance:
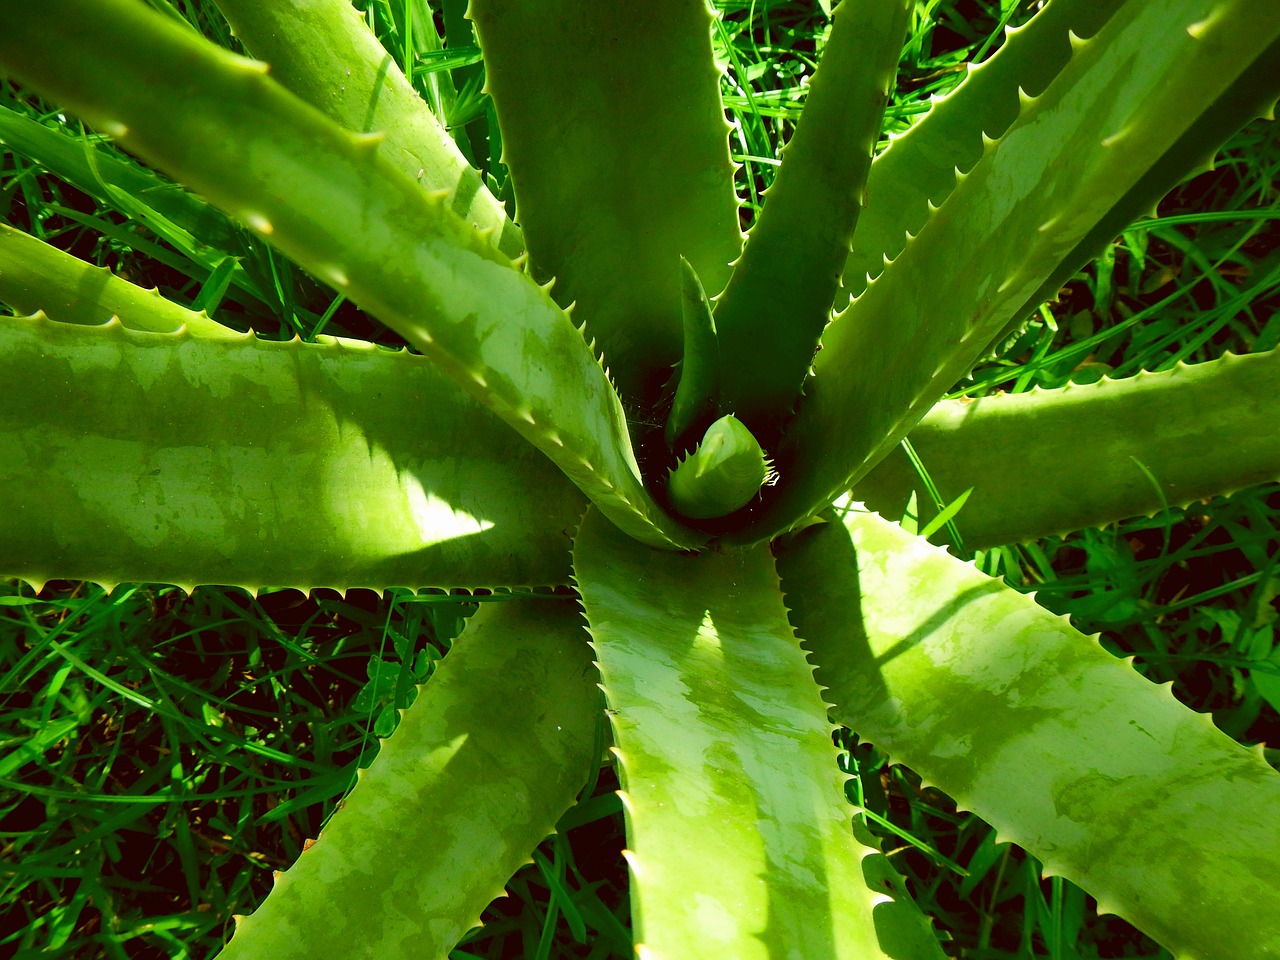
- Wear gardening gloves to protect your skin from the plant’s naturally serrated, sharp leaf edges.
- Use clean, sharp pruning shears or a sterilized knife to make a clean cut near the base of the leaf.
- Avoid pulling or tearing the leaves, as this can damage the main stem of the plant.
By prioritizing a porous pot and a fast-draining substrate, you create a stable foundation that encourages robust growth. Proper drainage is the single most significant factor in keeping your aloe vera thriving indoors for years to come. When you provide the right start, you minimize the risk of fungal issues and ensure your plant remains both vibrant and resilient against common household stressors.
Fertilizing and Maintenance
Aloe vera is a resilient succulent that thrives on neglect rather than heavy intervention. Unlike fast-growing leafy houseplants, aloe vera does not require frequent fertilization to remain healthy. In fact, over-fertilizing can lead to weak, leggy growth or damage the plant’s sensitive root system.
If you choose to feed your plant to encourage growth, follow these guidelines for safe application:
- Use the right formula: Select a balanced liquid houseplant fertilizer (such as a 10-10-10 ratio).
- Dilute for safety: Always dilute the fertilizer to half-strength to prevent nutrient burn.
- Time it correctly: Only apply fertilizer during the active growing season, which typically spans spring and summer.
- Respect dormancy: Never fertilize during the winter months when the plant enters a period of dormancy and growth naturally slows down.
Beyond feeding, maintenance is primarily about keeping the plant clean and monitoring its physical state. Dust and debris often accumulate on the thick, fleshy leaves over time. This layer of dust can block sunlight, hindering the plant’s ability to photosynthesize efficiently.
To clean your aloe vera, periodically wipe the leaves gently with a soft, damp cloth. Avoid using leaf shine sprays or oils, as these can clog the pores, known as stomata, which the plant uses to breathe. While cleaning, take a moment to inspect the leaves for signs of distress, such as soft spots or discoloration. If you notice any dead or shriveled outer leaves at the base, you can carefully trim them away with clean, sharp shears to keep the plant looking tidy and encourage new growth.
By keeping fertilization minimal and ensuring the leaves remain dust-free, you provide the optimal environment for your aloe vera to thrive indoors. Consistency is key; a little attention during the growing season is all this hardy succulent needs to stay vibrant and healthy year-round.
Troubleshooting Common Aloe Issues
Even the most attentive gardeners encounter challenges with indoor aloe vera. Because these succulents are highly sensitive to their environment, their physical appearance acts as a direct communication tool. Learning to interpret these signs early can save your plant from long-term damage.
If your aloe leaves are turning brown or feel soft and mushy to the touch, you are likely dealing with overwatering or poor drainage. Aloe vera thrives in arid conditions, and sitting in waterlogged soil quickly leads to root rot. To remedy this, immediately cease watering and ensure your pot has functional drainage holes. If the soil remains soggy, you may need to repot the plant into a fresh, well-draining succulent mix.
Conversely, look for these signs to adjust your care routine:
- Thin, curling leaves: This indicates the plant is dehydrated and needs a thorough watering.
- Pale or stretching leaves: This suggests the plant is “leggy” and requires more direct sunlight.
- Top-heavy or leaning: When the plant outgrows its container or becomes unstable, it is time to repot into a slightly larger vessel.
When you decide to repot, always handle the plant with extreme care. Aloe leaves are brittle and can snap easily under pressure. Use a soft cloth or your hands to support the base of the plant while gently lifting it from the old container. Always work on a sturdy, stable surface to prevent the pot from tipping, which protects both your furniture and the plant’s delicate structure.
If you suspect root rot during the repotting process, inspect the root system carefully. Healthy roots should be firm and light-colored. Use clean, sharp scissors to trim away any black, slimy, or foul-smelling roots before placing the plant in fresh, dry soil. After repotting, wait about a week before watering to allow any damaged roots to callous over, which helps prevent further rot and encourages healthy new growth.

Dedicated team of gardening enthusiasts with years of hands-on experience testing lawn mowers, gardening tools, and outdoor equipment. We help home gardeners and professionals alike make informed buying decisions with honest, thorough reviews. From push mowers to pruning shears, we test it all so you don’t have to. Got a gardening tool you’d like us to review? Get in touch!