
To get your hydrangea to grow, you must provide the perfect balance of morning sunlight, consistent moisture, and nutrient-rich, well-draining soil. These beloved shrubs are famous for their lush foliage and massive blooms, but they can be quite temperamental if their specific environmental needs are not met during the active growing season.
Achieving a vibrant display requires patience and a solid understanding of your plant’s variety. While some hydrangeas thrive in full sun, others prefer shaded retreats to prevent wilting. Recognizing that growth is a gradual process helps you avoid common mistakes like over-fertilizing, which often results in plenty of leaves but very few flowers.
This guide explains how to troubleshoot common growth issues and provide the right environment for your hydrangeas to thrive. We will walk you through essential practical tips, including proper pruning techniques, soil pH adjustments, and seasonal watering schedules. Follow these expert steps to ensure your garden remains healthy, resilient, and full of beautiful, long-lasting blossoms.
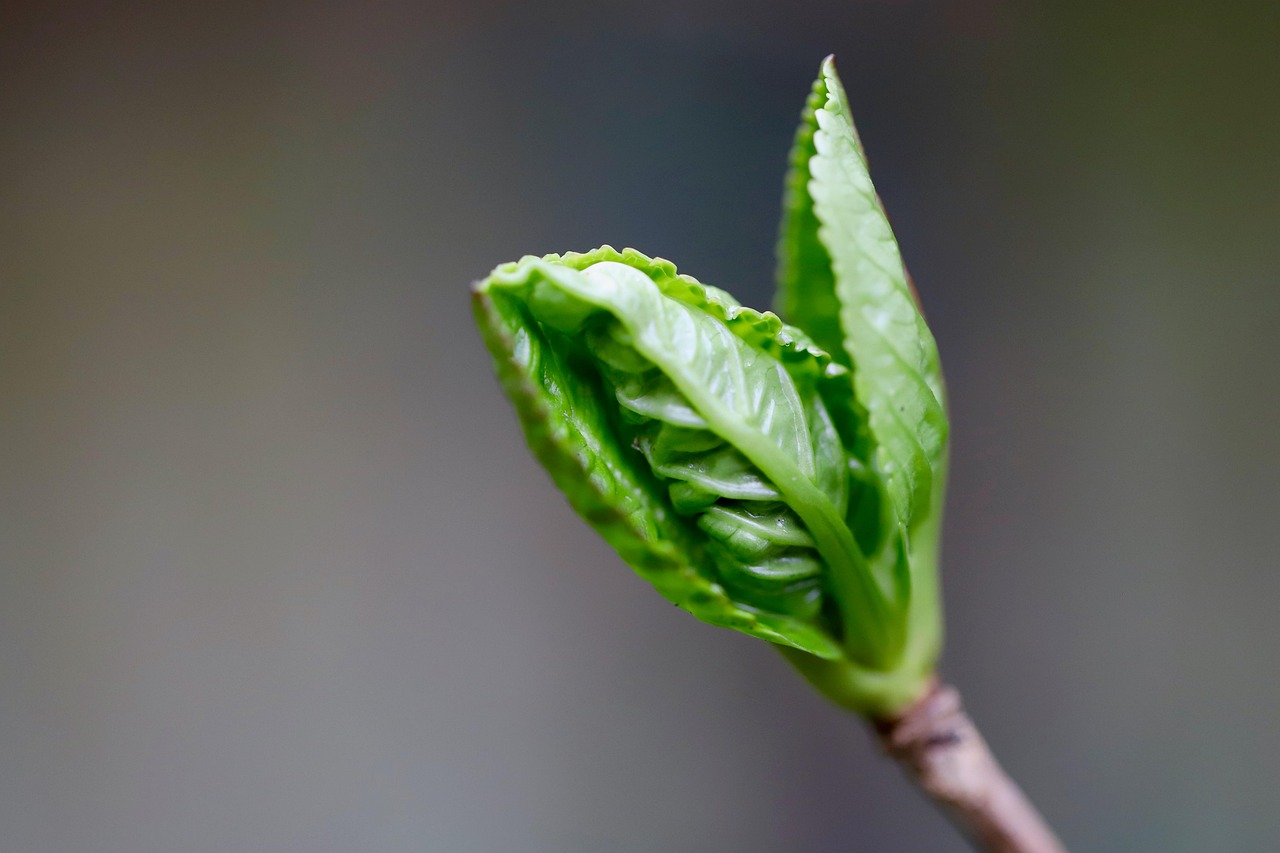
Understanding Your Hydrangea Variety
If your hydrangea is failing to thrive, the culprit is often a mismatch between the plant’s specific needs and its environment. Hydrangeas are not a one-size-fits-all shrub; they belong to distinct species that require different light levels, soil conditions, and pruning schedules to reach their full potential.
Before assuming your plant is sick, identify which variety you are growing:
- Bigleaf (Hydrangea macrophylla): Known for their large, mophead or lacecap blooms, these prefer partial shade and consistent moisture. They are sensitive to late spring frosts, which can kill the buds before they open.
- Panicle (Hydrangea paniculata): These are the most sun-tolerant varieties. They thrive in full sun to partial shade and produce cone-shaped flowers that bloom on new wood, making them very reliable for colder climates.
- Smooth (Hydrangea arborescens): Famous for the ‘Annabelle’ variety, these handle shade well and are incredibly hardy. They bloom on new wood and can be cut back hard in late winter.
- Oakleaf (Hydrangea quercifolia): Recognizable by their distinct, lobed leaves, these prefer partial shade. They offer excellent four-season interest, including vibrant fall foliage.
The most critical step in troubleshooting growth issues is checking your plant’s original tag or researching the specific cultivar name. Each variety has a designated hardiness zone rating. If you have planted a variety that is not cold-hardy for your specific region, it may survive the summer but fail to produce blooms or show signs of stress during the winter months.
Furthermore, observe your garden’s light patterns throughout the day. A variety that requires partial shade will struggle and exhibit scorched leaves if planted in a scorching, full-sun location. Conversely, a sun-loving panicle hydrangea will become leggy and produce few flowers if tucked into a deep, dark corner. Matching the plant to its preferred environment is the foundational step to achieving lush, healthy growth and consistent flowering year after year.
Optimizing Light and Soil Conditions
The secret to a thriving hydrangea starts with finding the “Goldilocks” zone for light. Most varieties, particularly the popular bigleaf (Hydrangea macrophylla) types, perform best when they receive bright morning sun followed by cooling afternoon shade. Intense, direct midday sun often causes leaves to scorch and flowers to wilt prematurely. If your plant is currently struggling in a harsh, exposed spot, consider transplanting it to an area protected from the scorching western sun.
Soil quality is equally critical. Hydrangeas crave soil that is consistently moist but never waterlogged. They thrive in rich, loamy earth packed with organic matter. Before planting, amend your native soil with compost, aged manure, or leaf mold. This improves aeration and drainage while ensuring a steady supply of nutrients throughout the growing season.
To ensure your soil drains well enough to prevent root rot, perform a simple drainage test:
- Dig a hole approximately 12 inches deep and 12 inches wide.
- Fill the hole with water and allow it to drain completely.
- Refill the hole with water and time how long it takes to empty.
- If the water remains after several hours, your soil is likely heavy clay and will need significant organic amendments or the addition of a raised bed to improve drainage.
For bigleaf hydrangeas, soil chemistry acts as a natural dye. The pH level directly influences bloom color by affecting how the plant absorbs aluminum from the soil:
Acidic Soil (pH below 6.0): Typically produces vibrant blue flowers. You can lower your soil pH by adding elemental sulfur or peat moss.
Alkaline Soil (pH above 7.0): Typically results in pink or red blooms. Adding garden lime can raise the pH if your soil is too acidic.
If you are unsure of your current levels, pick up an inexpensive soil test kit from a local nursery. Understanding your soil’s baseline is the most effective way to troubleshoot stunted growth and ensure your hydrangeas reach their full, colorful potential.

Proper Watering and Fertilization Techniques
Hydrangeas are notoriously thirsty plants. To help them establish a robust root system, consistent moisture is critical, particularly during their first year in your garden. The goal is to keep the soil evenly damp but never waterlogged. If the soil feels dry an inch below the surface, it is time to provide a deep soak.
When watering, always aim your hose or watering can directly at the base of the plant. Avoid overhead watering, which wets the foliage and increases the risk of fungal diseases like powdery mildew or leaf spot. By keeping the leaves dry, you ensure the plant stays healthy and focused on bloom production.
Fertilization is equally important, but it requires a balanced approach. While these plants appreciate nutrients, more is not always better. Follow these guidelines to encourage healthy growth and vibrant flowers:
- Timing: Apply a balanced, slow-release fertilizer (such as a 10-10-10 formula) once in early spring as new growth begins to emerge. A second application in late June is usually sufficient for most varieties.
- Avoid Excess Nitrogen: Be cautious with high-nitrogen fertilizers. Excessive nitrogen promotes lush, leafy green growth at the expense of flower buds. If you notice a large, healthy-looking shrub that refuses to bloom, you may be over-fertilizing.
- Stop in Late Summer: Cease all fertilization by late July or early August. Continuing to feed the plant late in the season encourages tender new growth that will likely be killed by the first frost.
If you are growing mophead or lacecap hydrangeas, remember that soil pH significantly influences bloom color. If you choose to use a color-altering amendment, apply it according to the package instructions during the same window as your spring fertilization. Always water the area thoroughly after applying any granular fertilizer to help the nutrients reach the root zone without burning the plant.
Safe Pruning and Maintenance Practices
Pruning at the incorrect time is the most frequent reason hydrangeas fail to bloom. To ensure your shrub produces flowers, you must first identify whether your specific variety blooms on “old wood” or “new wood.”
Old wood hydrangeas, such as Bigleaf (Hydrangea macrophylla) and Oakleaf varieties, set their flower buds during the previous summer and fall. If you prune these in late winter or spring, you will accidentally remove the developing blooms. For these plants, prune immediately after the flowers fade in mid-summer.
New wood hydrangeas, including Panicle (H. paniculata) and Smooth (H. arborescens) varieties, produce buds on the current season’s growth. These are best pruned in late winter or very early spring before new growth emerges. Because they bloom on new stems, pruning them early encourages more vigorous growth and larger flower clusters.
Regardless of the variety, proper technique and safety are essential for plant health and personal protection. Follow these guidelines to maintain your shrubs safely:
- Use the right tools: Always use sharp, clean bypass pruners. Dull blades crush stems rather than slicing through them, which invites disease and slows healing.
- Prioritize hygiene: Wipe your blades with rubbing alcohol between plants to prevent the spread of pathogens.
- Wear protection: Always wear sturdy gardening gloves. They protect your hands from hidden thorns, sharp debris, and potential skin irritants found on some stems.
- Practice tool safety: Never leave pruning shears unattended in the garden. When you are finished, clean the blades, lock the safety catch, and store them securely in a shed or garage, well out of reach of children.
By understanding your hydrangea’s specific blooming cycle and using well-maintained tools, you can keep your shrubs healthy and vibrant year after year. If you are ever unsure of your variety, it is safer to wait until the plant begins to leaf out in spring so you can easily identify and remove only dead or damaged wood.

Troubleshooting Common Growth Problems
If your hydrangea is producing lush, healthy foliage but refusing to bloom, the culprit is often improper pruning or environmental stress. Many popular varieties, such as Bigleaf hydrangeas, set their flower buds on “old wood” from the previous year. If you prune these in late winter or early spring, you inadvertently remove the buds before they can open. Ensure you are pruning at the correct time for your specific variety.
Late-season frosts can also devastate developing buds. If a sudden cold snap is forecasted after a warm spell, protect your plants by covering them with burlap or frost cloth overnight. Avoid using plastic, which can trap moisture and damage the foliage. Remove the covers once temperatures rise above freezing the next morning.
When dealing with persistent issues, don’t hesitate to seek expert advice. If you notice strange spots, distorted leaves, or unexplained wilting that doesn’t resolve with basic care, contact your local Cooperative Extension office. Master Gardeners can provide localized guidance, help identify specific regional pests, and offer advice on soil amendments tailored to your area.
To ensure long-term health and consistent blooms, follow this ongoing care checklist:
- Consistent Hydration: Hydrangeas require deep, consistent watering, especially during dry summer months. Aim for at least one inch of water per week.
- Mulching: Apply a two-to-three-inch layer of organic mulch, such as shredded bark or pine straw, around the base to retain soil moisture and regulate temperature.
- Soil Testing: Test your soil pH every two years. For blue blooms, the soil needs to be acidic; for pink blooms, it should be more alkaline.
- Fertilization: Apply a balanced, slow-release fertilizer in early spring as new growth emerges. Avoid heavy nitrogen fertilizers, which promote leaf growth at the expense of flowers.
- Observation: Inspect the undersides of leaves weekly for common pests like aphids or spider mites, addressing them early with insecticidal soap if necessary.

Dedicated team of gardening enthusiasts with years of hands-on experience testing lawn mowers, gardening tools, and outdoor equipment. We help home gardeners and professionals alike make informed buying decisions with honest, thorough reviews. From push mowers to pruning shears, we test it all so you don’t have to. Got a gardening tool you’d like us to review? Get in touch!