
To enjoy vibrant blooms, you should plant amaryllis bulbs in late autumn or early winter, typically between October and January. These popular choices for indoor color are prized for their large, trumpet-shaped flowers that brighten any home. By following the right timing, you can easily force these bulbs to produce stunning floral displays indoors.
Growing these striking plants is rewarding, but it requires patience and specific environmental conditions to achieve the best results. While amaryllis bulbs are relatively low-maintenance, they need consistent warmth, bright indirect light, and careful watering to develop properly. Setting realistic expectations ensures you provide the right environment for your bulbs to grow strong and healthy.
This guide explains the ideal timing for planting and the step-by-step process to ensure your bulbs thrive and bloom successfully. We will walk you through selecting the right pot, choosing quality soil, and managing watering schedules for optimal growth. Follow these practical tips to master the art of caring for your amaryllis from bulb to blossom.
When to Plant Amaryllis Bulbs
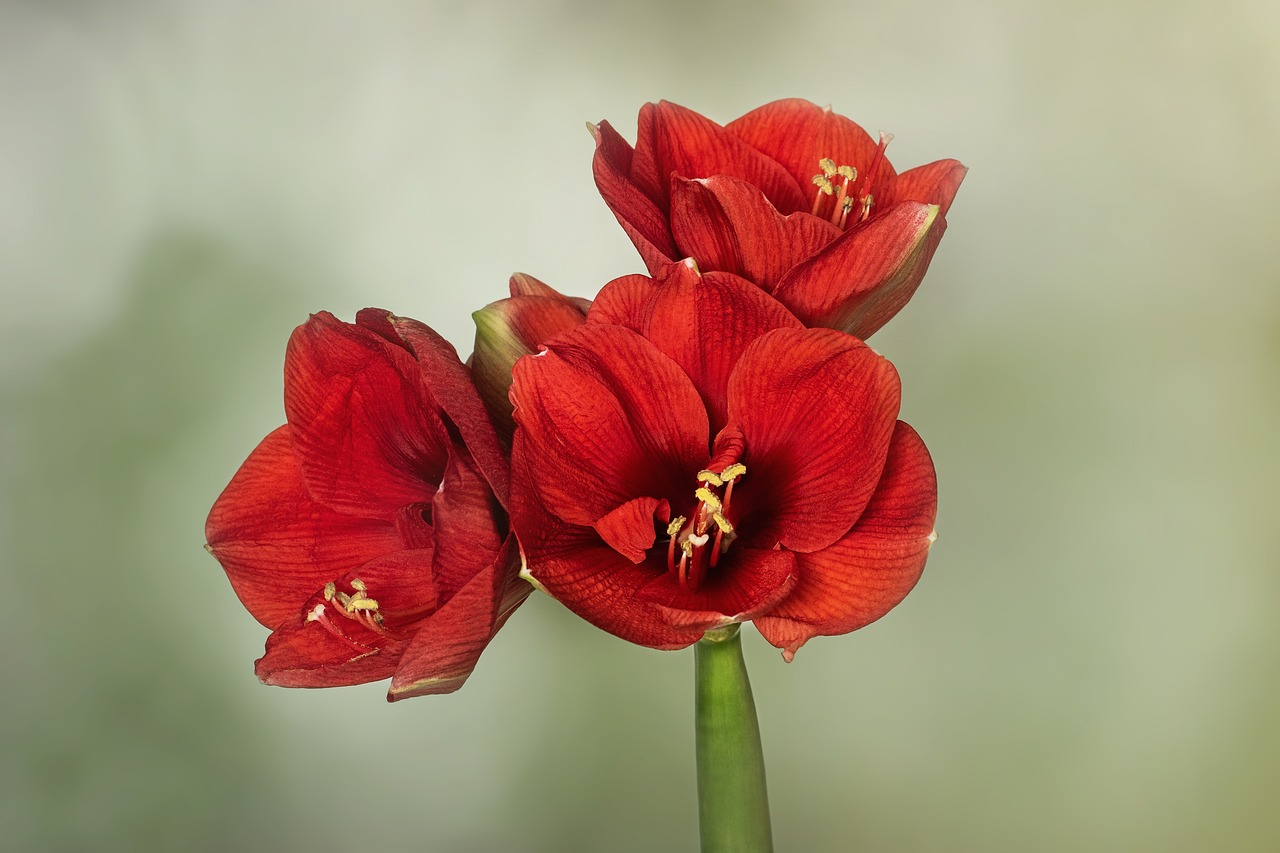
To enjoy vibrant amaryllis blooms throughout the dreary winter months, timing is everything. For most indoor gardeners, the ideal window to plant your bulbs is between October and January. Planting during this period ensures that your flowers will begin to open roughly six to eight weeks after potting, providing a much-needed splash of color when the outdoors is at its coldest.
If you want to avoid a single, short-lived burst of flowers, utilize a technique called succession planting. By staggering your planting schedule, you can ensure a continuous rotation of blooms rather than having them all flower at the same time.
Follow these steps to manage your flowering schedule effectively:
- Stagger your start dates: Pot your first batch of bulbs in mid-October.
- Space out intervals: Plant additional bulbs every two to three weeks through early January.
- Label your pots: Use small plant markers to note the date of planting on each container so you can track which bulbs are due to bloom next.
When selecting your bulbs, look for those that feel firm and heavy for their size, with no signs of mold or soft spots. Once planted, place your pots in a warm, well-lit spot, such as a sunny windowsill. Keep the soil lightly moist but not waterlogged to encourage root development. As the flower stalk begins to emerge, you can move the pot to a slightly cooler location to help the blooms last longer once they finally open.
Keep in mind that amaryllis bulbs are sensitive to extreme temperature fluctuations. Avoid placing them directly in the path of cold drafts from windows or near intense heat sources like radiators or heating vents. Providing a consistent, temperate environment will result in stronger stems and more impressive, long-lasting floral displays. By following this simple schedule, you can curate a beautiful indoor garden that provides fresh, dramatic color from mid-winter well into early spring.
Selecting the Right Pot and Soil
Selecting the correct container and medium is the most critical step in ensuring your amaryllis bulb thrives. Unlike many houseplants that require plenty of room to spread their roots, amaryllis bulbs prefer a snug environment. When choosing a pot, select one that is only one to two inches wider in diameter than the bulb itself. If the container is too large, the excess soil will hold too much moisture, which significantly increases the risk of bulb rot.
Regardless of the material—whether terracotta, ceramic, or plastic—the container must have functional drainage holes at the bottom. Amaryllis bulbs are highly susceptible to fungal issues if they sit in standing water. If you choose a decorative pot without holes, use it as a cachepot by placing the actual planting container inside it, ensuring you empty any excess water that collects after watering.
The quality of your growing medium is just as important as the pot size. Avoid using heavy garden soil, as it is often too dense and lacks the necessary aeration for bulb health. Instead, use a high-quality, sterile potting mix designed for indoor plants. For the best results, look for a mix that includes perlite or vermiculite to improve drainage.
To prepare your planting setup effectively, follow these guidelines:
- Check for drainage: Ensure the pot has at least one large hole at the bottom to allow excess water to escape freely.
- Choose the right mix: Opt for a lightweight, peat-based or coco-coir-based potting soil that allows for rapid water movement.
- Avoid over-potting: Keep the bulb tight; there should only be about an inch of space between the bulb and the side of the pot.
- Position correctly: When planting, ensure that the top third of the bulb remains exposed above the soil line to prevent the neck and foliage from rotting.
By providing this restricted, well-draining environment, you mimic the natural conditions these bulbs prefer, setting the stage for strong root development and a spectacular bloom.
Step-by-Step Planting Guide
Proper planting is the foundation for a healthy, vibrant amaryllis. Before you begin, inspect your bulbs. If the roots appear dry or brittle, soak them in a bowl of lukewarm water for a few hours to rehydrate them. This simple step encourages faster root establishment once they hit the soil.
Choose a pot that is only one to two inches wider than the bulb itself; amaryllis prefer a snug fit. Fill the container halfway with a high-quality, well-draining potting mix. Avoid heavy garden soil, which can lead to bulb rot.
Follow these steps to plant your bulb correctly:
- Place the bulb in the center of the pot with the pointed, neck-like end facing upward.
- Add potting mix around the bulb, pressing down gently to remove large air pockets.
- Ensure the top third of the bulb remains exposed above the soil line. Burying the bulb too deeply can cause the neck or leaves to rot.
- Firm the soil gently with your fingers to stabilize the bulb.
Safety is essential during the planting process. Amaryllis bulbs contain compounds that can cause skin irritation or rashes in sensitive individuals. Always wear gardening gloves when handling the bulbs to protect your hands. If you need to make adjustments to your planting depth or clear debris, use clean, sharp garden shears or a trowel. Never use your bare hands to dig or force the bulb into position.
Finally, keep all gardening tools, including shears and trowels, stored securely away from children and pets. Once planted, give your amaryllis a light watering to settle the soil, but be careful not to saturate it. Place the pot in a warm, bright location, and wait for the first signs of green growth to emerge. With the bulb properly positioned and the soil firmed, your amaryllis is now ready to begin its growth cycle.
Placement and Initial Care
Once you have nestled your amaryllis bulb into its pot, placement is the most critical factor for success. Position the container in a warm, bright location that receives plenty of indirect sunlight. A sunny windowsill is ideal, provided the glass does not become excessively hot, which could stress the developing bulb.
Proper moisture management during these early stages prevents bulb rot. Initially, water the soil sparingly. The bulb is essentially dormant and does not have an active root system to absorb large amounts of water yet. Keep the soil just slightly damp to the touch, but never soggy.
As soon as you notice the first signs of green growth emerging from the top of the bulb, you can gradually increase your watering frequency. At this stage, the plant is beginning to wake up and will require consistent moisture to support its rapid development. Always ensure the pot has adequate drainage holes to allow excess water to escape.
To ensure your amaryllis develops a strong, aesthetically pleasing form, follow these practical care tips:
- Rotate the pot: Amaryllis stems are phototropic, meaning they will naturally lean toward the strongest light source. Give your pot a quarter-turn every day or two to encourage the stalk to grow straight and upright.
- Monitor temperature: Keep the plant away from cold drafts, air conditioning vents, or direct heat sources like radiators, as these can cause the flower buds to blast or wither prematurely.
- Check soil moisture: Before watering, press your finger about an inch into the soil. If it feels dry, it is time to water; if it feels damp, wait another day or two.
By providing steady warmth and light while carefully managing water, you set the stage for a spectacular display. Patience during these first few weeks is essential, as the plant is busy establishing the foundation for the impressive blooms that will follow.
Ongoing Care and Troubleshooting
Once your amaryllis has finished blooming, proper care is essential to ensure the bulb stores enough energy to flower again next season. Use sharp, clean shears to cut the spent flower stalk off about one inch above the bulb’s neck. Be careful not to damage the strap-like leaves, as these are vital for photosynthesis.
Place the pot in a sunny, south-facing window. During this phase, treat your amaryllis like a standard houseplant. Follow these steps to encourage healthy foliage development:
- Watering: Keep the soil consistently moist but never waterlogged. Allow the top inch of soil to dry out slightly between waterings.
- Fertilizing: Apply a balanced, water-soluble fertilizer diluted to half-strength every two to four weeks. This provides the nutrients necessary for the bulb to regain its vigor.
- Sunlight: Ensure the plant receives at least six hours of bright, indirect light daily to support vigorous leaf growth.
Patience is key, but you should see signs of active growth within a few weeks. If your bulb fails to sprout after eight weeks, gently remove it from the soil to inspect its health. A firm, heavy bulb is healthy, but you must check for specific red flags:
If you notice a foul odor, dark mushy spots, or a soft, squishy texture, the bulb is likely suffering from rot caused by overwatering or poor drainage. If the bulb feels hollow or shows signs of persistent mold, discard it immediately. Do not attempt to compost or salvage decaying bulbs, as they can harbor pathogens that may spread to your other houseplants. If the bulb appears firm and healthy but simply hasn’t sprouted, ensure it is planted with the top third of the bulb exposed above the soil line and move it to a warmer location to stimulate root activity.

Dedicated team of gardening enthusiasts with years of hands-on experience testing lawn mowers, gardening tools, and outdoor equipment. We help home gardeners and professionals alike make informed buying decisions with honest, thorough reviews. From push mowers to pruning shears, we test it all so you don’t have to. Got a gardening tool you’d like us to review? Get in touch!