
You should plant crocus bulbs in the fall, specifically between September and November, before the ground freezes. This timing allows the bulbs to establish strong roots during the cooler months, ensuring a beautiful burst of early spring color in your garden. Getting them in the ground at the right time is essential.
While crocuses are hardy and relatively low-maintenance, they do require a period of dormancy in cold soil to trigger their vibrant blooms. Keep in mind that local climate zones significantly influence your specific planting window. If you live in a region with early frosts, aim to finish your planting before the soil hardens.
This comprehensive guide covers everything you need to know to get your bulbs in the ground at the right time. We will walk you through site selection, proper planting depth, and essential soil preparation techniques. Follow these practical steps to guarantee a healthy, thriving display that signals the very beginning of spring.
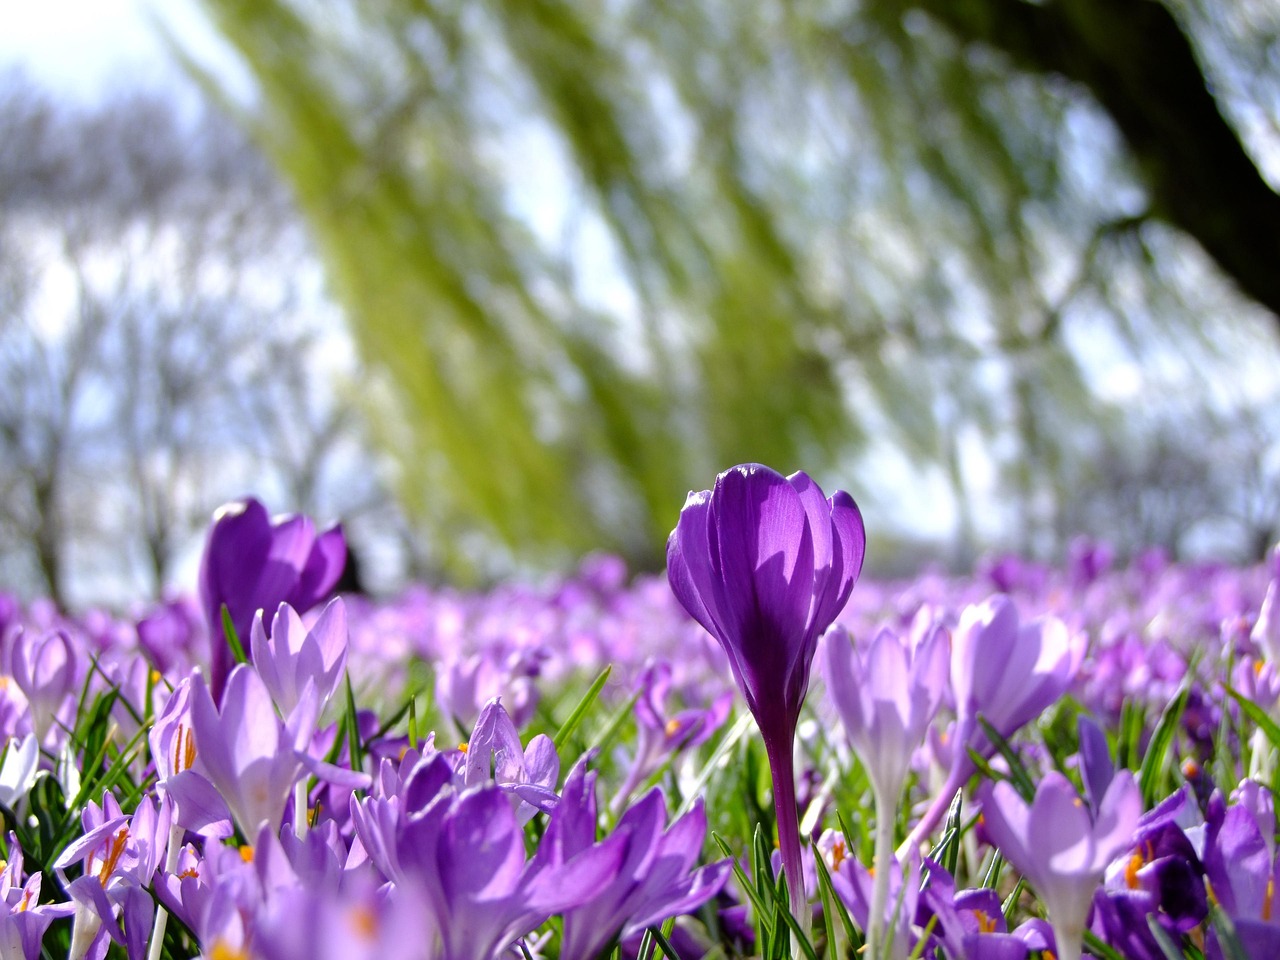
The Best Time to Plant Crocus Bulbs
Timing is critical when planting crocus bulbs. To ensure a vibrant display of early spring color, you must plant your bulbs during the autumn months, typically between September and November. The goal is to get the bulbs into the ground well before the first hard frost freezes the soil.
Planting during this window is essential because crocus bulbs require a period of cool soil temperatures to establish a healthy root system. If you plant them too early while the ground is still warm, the bulbs may sprout prematurely or become susceptible to rot. If you wait until the ground is frozen, it becomes physically difficult to dig, and the bulbs will not have sufficient time to settle before winter dormancy.
To determine the perfect moment for your specific location, consider these practical guidelines:
- Monitor your local frost dates: Aim to finish planting at least two to four weeks before your area’s average first killing frost.
- Check soil temperature: Ideally, the soil should be below 60°F (15°C) to encourage root growth without triggering top-side foliage development.
- Observe the weather: If an unseasonably early cold snap is forecast, prioritize planting immediately. If you have already purchased bulbs and the ground has frozen, you may be able to store them in a cool, dark, and dry place until the soil thaws, though success rates drop significantly.
Once planted, the bulbs will remain dormant throughout the winter months, protected by the soil. As the days lengthen and temperatures rise in late winter or early spring, the established roots will provide the necessary energy for the crocus to push through the soil. By respecting this natural autumn cycle, you provide your crocuses with the best possible foundation for vigorous growth and reliable blooms year after year. Proper timing is the simplest yet most effective way to guarantee a successful spring garden.
Selecting and Preparing Your Planting Site
Choosing the right location is the most critical step in ensuring your crocuses return year after year. These resilient bulbs thrive best in spots that receive full sun to partial shade. If you are planting early-blooming varieties, consider placing them under deciduous trees; the crocuses will soak up the sunlight before the tree leaves emerge in the spring.
Drainage is non-negotiable. Crocus bulbs are highly susceptible to rot if they sit in standing water. Avoid low-lying areas of your yard where rain tends to pool. If your garden consists of heavy clay soil, you must improve the drainage before planting to prevent the bulbs from decaying underground.
Follow these steps to prepare your planting site effectively:
- Clear the area: Remove all weeds, grass, and debris from the planting bed. Weeds compete for nutrients and can make it difficult for delicate crocus shoots to emerge.
- Loosen the soil: Use a garden fork or tiller to loosen the earth to a depth of at least 8 to 10 inches. This allows for better root penetration and aeration.
- Amend with organic matter: Mix in a generous layer of compost, leaf mold, or well-rotted manure. This improves soil structure, helping sandy soil retain moisture while encouraging heavy clay to drain more freely.
- Check for debris: Ensure the soil is friable and free of large stones or compacted clumps that might obstruct growth.
By taking the time to create a loose, nutrient-rich, and well-draining environment, you provide your bulbs with the best possible start. If you are uncertain about your soil’s drainage capacity, perform a simple test: dig a hole six inches deep and fill it with water. If it takes more than a few hours to drain completely, you should add more organic matter or consider planting in a raised bed or a slightly elevated mound to ensure your crocuses stay healthy and dry throughout the dormant winter months.

Step-by-Step Planting Guide and Safety
Successfully establishing crocus bulbs requires precision in both depth and spacing. For the best results, plant your crocus bulbs in the autumn, approximately six to eight weeks before the ground freezes. This timing allows the roots to establish before the winter dormancy period.
Follow these guidelines to ensure your bulbs thrive:
- Depth: Plant each bulb three to four inches deep. A good rule of thumb is to bury the bulb at a depth three times its height.
- Orientation: Place the bulb with the pointed end facing upward. If you cannot distinguish the top from the bottom, plant it on its side; the sprout will naturally find its way toward the surface.
- Spacing: Space bulbs two to three inches apart. For a natural, meadow-like appearance, plant them in informal clusters of 10 to 15 bulbs rather than in rigid, straight lines.
Safety is paramount when working with soil and tools. Always wear sturdy, puncture-resistant gardening gloves. These protect your skin from blisters caused by repetitive digging and act as a barrier against soil-borne bacteria or hidden sharp debris in the earth.
When using a trowel or a specialized bulb planter, maintain a firm grip and keep your fingers clear of the cutting edge. If the soil is particularly hard or rocky, do not force the tool; instead, moisten the area slightly to soften the ground before digging. This prevents undue strain on your wrists and reduces the risk of the tool slipping.
Once your planting is complete, clean your tools thoroughly to remove damp soil, which can cause rust and corrosion. Wipe blades with a cloth and, if necessary, sanitize them with a mild disinfectant. Store all gardening implements in a dry, secure location, out of reach of children and pets. Properly maintained tools not only last longer but also ensure that your next gardening session remains safe and efficient. By following these simple steps, you create the ideal foundation for a vibrant, early-spring display.
Planting Techniques for Naturalized Displays
To achieve a stunning, meadow-like appearance, avoid planting your crocus bulbs in rigid, straight rows. Instead, aim for a naturalized display by planting in irregular groups or sweeping drifts. This mimics how crocuses grow in the wild, creating a soft, organic look that integrates beautifully into lawns or woodland borders.
The most effective way to create this effect is to use the “scatter method.” Take a handful of bulbs and gently toss them over your intended planting area. Plant each bulb exactly where it lands. This random placement ensures that the resulting blooms appear spontaneous rather than manicured.
When you are ready to dig, keep these practical tips in mind for the best results:
- Depth Matters: Dig a hole approximately three to four inches deep. A good rule of thumb is to plant the bulb at a depth equal to three times its height.
- Orientation: Always place the bulb in the soil with the pointed end facing upward. This is the shoot end, and positioning it correctly ensures the plant spends its energy growing toward the surface rather than struggling to turn itself around.
- Spacing: While you want a natural look, avoid overcrowding. Aim for about two to three inches of space between each bulb to allow for proper airflow and nutrient absorption.
- Grouping: If you are planting in a lawn, consider removing a small section of turf, planting a cluster of five to seven bulbs, and then replacing the sod on top. This creates a dense, vibrant patch of color that looks professional and established.
Once your bulbs are positioned, backfill the holes with soil and press down firmly to eliminate any large air pockets. Water the area thoroughly to settle the soil and signal to the bulbs that it is time to begin root development. By focusing on these irregular groupings and proper orientation, you will create a resilient, long-lasting display that returns to brighten your landscape every spring.

Follow-up Care and Common Questions
Once your crocus bulbs are in the ground, they require minimal maintenance, but a few proactive steps can ensure a successful spring display. The most common challenge gardeners face is wildlife interference. Squirrels and chipmunks often dig up freshly planted bulbs. To protect your investment, place a piece of chicken wire or hardware cloth over the planting area, securing the edges with landscape staples. You can remove this barrier once the ground freezes or when the first green shoots appear in late winter.
Managing soil moisture is equally critical. Crocus bulbs prefer well-draining soil and will quickly rot in waterlogged conditions. If you live in an area with heavy clay soil, amend your planting holes with compost or horticultural grit to improve drainage. Avoid overwatering during the dormant winter months, as the bulbs need a period of relative dryness to prevent fungal issues.
Regarding bloom timing, patience is key. Crocuses typically emerge as soon as the snow begins to melt, often signaling the very first signs of spring. You can generally expect blooms within these timeframes:
- Early Spring Bloomers: Crocus chrysanthus varieties often appear as early as February or March.
- Mid-Spring Bloomers: Large-flowered Dutch crocuses usually follow a few weeks later.
If you notice that your bulbs are consistently failing to thrive, or if you face persistent pest infestations despite your best efforts, do not get discouraged. Soil composition and local pest populations vary significantly by climate and geography. In such cases, the best course of action is to reach out to your local university extension office or contact a certified Master Gardener in your area. These professionals provide region-specific, science-based advice tailored to your unique microclimate, ensuring you get the most accurate guidance for your garden’s specific needs. By monitoring moisture levels and providing basic physical protection, you set the stage for a vibrant, reliable bloom year after year.

Dedicated team of gardening enthusiasts with years of hands-on experience testing lawn mowers, gardening tools, and outdoor equipment. We help home gardeners and professionals alike make informed buying decisions with honest, thorough reviews. From push mowers to pruning shears, we test it all so you don’t have to. Got a gardening tool you’d like us to review? Get in touch!