
You should buy dahlia tubers in late winter or very early spring, typically between January and March. Purchasing during this window ensures you secure the most popular, high-demand varieties before top-tier nurseries sell out. Planning your dahlia garden starts long before the first frost melts, so ordering early is essential for a successful season.
Understanding the best time to purchase your tubers helps you align your planting schedule with your local climate for the best blooms. While early ordering guarantees availability, remember that you must store these tubers in a cool, dry place until the soil warms up. Patience is vital, as planting too early in cold, wet ground can cause rot.
This guide provides practical advice on navigating the dahlia market and preparing your garden for success. We will walk you through how to evaluate tuber quality, identify the best suppliers, and determine exactly when to transition your plants outdoors based on your specific hardiness zone. Get ready to cultivate a stunning, vibrant display this year.

The Ideal Buying Window
To secure the best selection for your summer garden, timing is everything. The ideal window to purchase dahlia tubers is late winter through early spring, specifically between January and March. While it may feel early to think about planting, this period is critical for accessing the widest variety of colors, shapes, and sizes.
Specialized dahlia nurseries often release their inventory during these months. Because many unique or award-winning cultivars are grown in limited quantities, they frequently sell out within weeks—or even days—of being listed. By shopping early, you ensure you aren’t left with only the most common options later in the season.
When planning your purchases during this window, keep these practical tips in mind:
- Check shipping dates: Most reputable sellers will not ship tubers until your local risk of frost has passed. Look for the estimated shipping schedule on the nursery’s website to ensure it aligns with your climate zone.
- Prioritize quality over price: Dahlia tubers can vary in size and health. Buying from specialized growers rather than big-box stores typically guarantees true-to-name varieties and healthier, more vigorous clumps.
- Plan your layout: Use the time between ordering and planting to map out your garden. Consider the mature height of the varieties you purchased to ensure taller dahlias don’t shade out shorter plants.
If you miss the early spring rush, do not worry. Many nurseries maintain secondary inventory, and some garden centers begin stocking tubers in April or May. However, waiting until late spring significantly limits your choices. If you have your heart set on a specific “dinnerplate” variety or a rare color palette, aim to finalize your orders no later than mid-March.
Once your tubers arrive, store them in a cool, dry, and dark location—such as a basement or closet—until the soil warms up and you are ready to plant. Proper storage ensures your investment remains dormant and healthy until the ground is ready.
Considering Your Hardiness Zone
Your local climate is the most critical factor in determining when to schedule your dahlia tuber shipment. Because dahlias are tender perennials that cannot survive freezing ground temperatures, timing your delivery to align with your region’s specific frost dates is essential for success.
If you live in a colder region with long, harsh winters, aim for a shipping date that ensures your tubers arrive just two to four weeks before your final expected frost date. Receiving them too early can be problematic; if stored in a warm home, the tubers may begin to sprout prematurely, leading to weak, leggy growth that is difficult to manage before it is safe to plant outdoors.
To determine the best window for your area, follow these practical steps:
- Identify your USDA Hardiness Zone to understand your general climate profile.
- Consult a local university extension website or a reliable weather service to find the average date of the last spring frost in your specific zip code.
- Check the shipping policies of your chosen supplier. Many reputable growers allow you to select a “ship week” based on your zone; always prioritize a date that lands shortly before your frost-free window opens.
If your tubers arrive and the ground is still frozen or the soil is too wet and cold to work, do not panic. You can safely hold them in storage for a short period. Keep them in a cool, dark, and well-ventilated location—ideally between 45°F and 55°F. Avoid storing them in plastic bags, which can trap moisture and encourage rot; instead, use a cardboard box filled with slightly damp peat moss, vermiculite, or wood shavings.
By coordinating your delivery with your local frost schedule, you ensure that your tubers remain dormant until they can be placed directly into the warming soil of your garden. This synchronization promotes vigorous root development and leads to a more robust, flower-filled display throughout the late summer and autumn months.

Inspecting Quality Upon Arrival
Once your dahlia tubers arrive, open the package immediately. Do not leave them stored in the shipping box, as trapped moisture can quickly lead to rot. Inspecting them right away allows you to address any issues or contact the supplier while the order is still fresh.
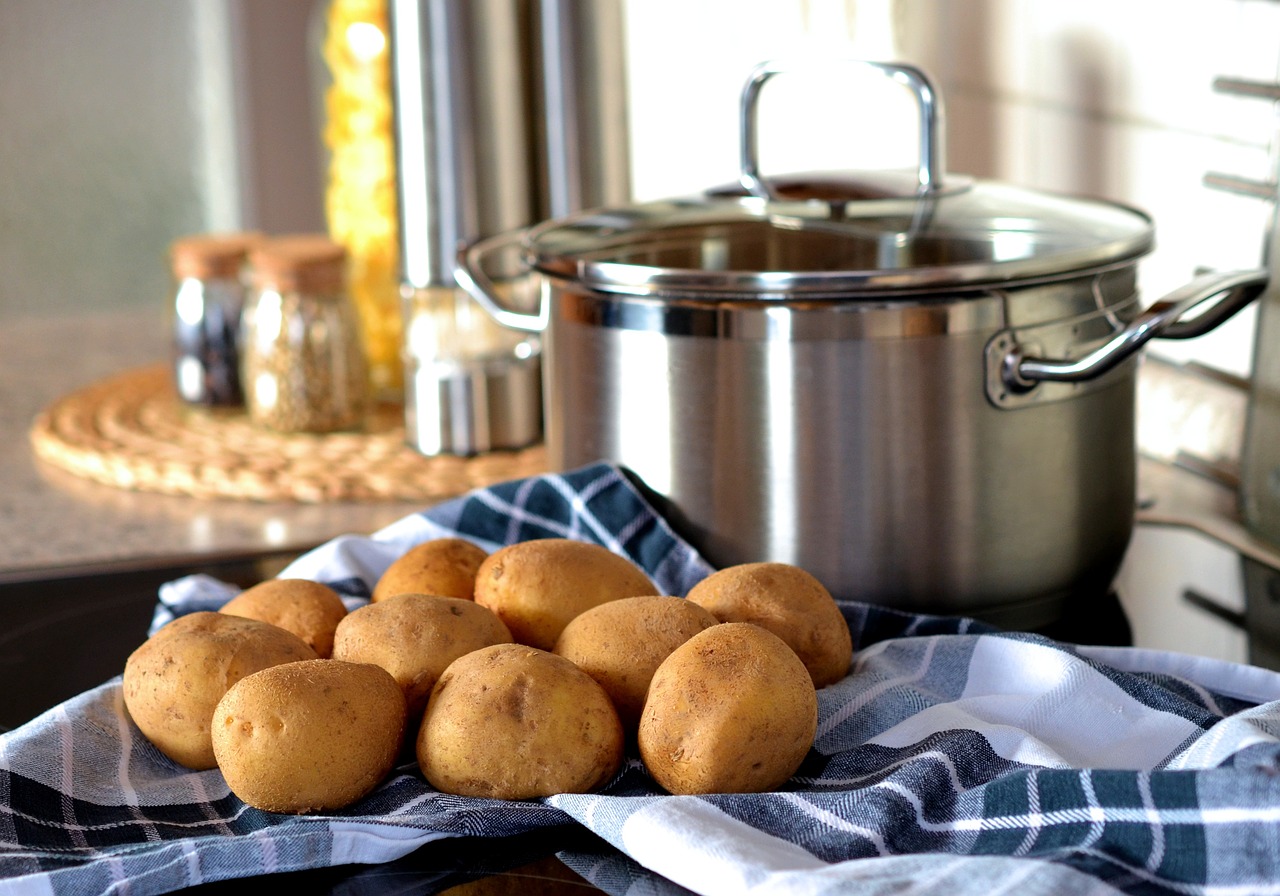
A healthy dahlia tuber should feel firm and heavy, similar to the texture of a raw potato. If you give the tuber a gentle squeeze, it should show no signs of “give” or soft spots. Look for these specific indicators of quality:
- Visible Eyes: The most important sign of life is a visible “eye.” This is a small, bump-like growth point, usually found near the neck where the tuber meets the main stem. Without an eye, the tuber will not produce a plant.
- Firm Skin: The skin should be taut. While minor superficial wrinkles are common after winter storage, the tuber should not be deeply shriveled or leathery.
- Intact Neck: Ensure the neck—the thin area connecting the tuber to the crown—is not broken or snapped. A broken neck prevents nutrients from reaching the plant.
Conversely, reject any tubers that display signs of distress. If a tuber feels mushy, smells foul, or shows fuzzy white or gray mold, it is likely compromised. While minor surface mold can sometimes be wiped away with a diluted hydrogen peroxide solution, soft, decaying tissue is a sign of rot that will not recover once planted.
If you are not ready to plant immediately, store your healthy tubers in a cool, dark, and dry location. Place them in a breathable container, such as a cardboard box or a mesh bag, packed with slightly damp peat moss, vermiculite, or wood shavings. Keep the temperature between 40°F and 50°F (4°C–10°C) to keep them dormant until the threat of frost has passed and the soil has warmed sufficiently for planting.
Safety Tips for Handling and Preparation
Before you begin planting, proper preparation of your dahlia tubers is essential for a healthy growing season. Because tubers often grow in dense clumps, you will likely need to divide them to encourage vigorous blooms. Always use sharp, high-quality garden shears or a dedicated hori-hori knife for this task. Dull blades tend to crush plant tissue rather than slicing through it, which increases the risk of rot and disease.
Safety should be your priority during this process. Follow these guidelines to protect yourself and your plants:
- Wear durable gloves: Use sturdy gardening gloves to shield your hands from sharp tuber edges, rough garden tools, and potential soil-borne irritants.
- Sanitize your tools: Between each plant, wipe your cutting blades with a solution of isopropyl alcohol or a mild bleach mixture. This prevents the accidental spread of viruses or fungal pathogens from one tuber to another.
- Maintain a steady surface: Perform your cutting on a stable, flat workbench rather than holding the tuber in your hand. This reduces the risk of accidental slips or self-inflicted cuts.
If you are preparing your garden beds using power equipment, such as a rototiller, additional safety measures are required. Soil often contains hidden rocks, roots, or hard debris that can be ejected at high speeds when struck by mechanical blades. Always wear impact-resistant safety goggles to protect your eyes from flying soil or rock fragments. Furthermore, ensure you are wearing closed-toe boots and long trousers to protect your feet and legs from accidental contact with the equipment.
Finally, inspect your tubers carefully before planting. If you notice any signs of mold or soft, mushy spots, discard those sections immediately rather than attempting to save them. By keeping your tools clean and your body protected, you ensure that the process of starting your dahlia garden is both efficient and injury-free. Taking these small precautions now will pay off with a more productive and enjoyable gardening experience throughout the summer months.
Storing and Early Care
If your dahlia tubers arrive before the soil in your garden has warmed to at least 60°F (15°C), do not plant them immediately. Cold, wet soil can cause tubers to rot before they have a chance to sprout. Instead, you must provide them with a temporary holding environment that mimics dormancy.
To store your tubers safely until the weather improves, follow these steps:
- Select a cardboard box or a breathable container with small ventilation holes.
- Fill the container with a moisture-retaining but airy medium, such as slightly damp peat moss, vermiculite, or wood shavings.
- Place the tubers inside, ensuring they are not touching one another to prevent the spread of decay.
- Store the container in a cool, dark, and well-ventilated location, such as an unheated basement or a garage where temperatures remain between 40°F and 50°F.
During this storage period, check your tubers every two weeks. If you notice any signs of shriveling, lightly mist the packing medium with water. Conversely, if you observe soft, mushy spots or a foul odor, remove the affected tuber immediately to protect the healthy ones. Storing them in a space with good airflow is the best defense against fungal growth.
If you are unsure about your specific planting timing or notice persistent signs of rot, do not hesitate to reach out for professional guidance. Your local university extension office or a certified master gardener can provide region-specific advice based on your local microclimate and last frost dates. These experts can help you determine the exact window when your soil conditions are ideal for planting.
By keeping your tubers cool and dry, you ensure they remain dormant and healthy. This patient approach prevents early losses and sets the stage for a vigorous, bloom-filled growing season once the danger of frost has passed and the ground is ready for your garden beds.

Dedicated team of gardening enthusiasts with years of hands-on experience testing lawn mowers, gardening tools, and outdoor equipment. We help home gardeners and professionals alike make informed buying decisions with honest, thorough reviews. From push mowers to pruning shears, we test it all so you don’t have to. Got a gardening tool you’d like us to review? Get in touch!