
To cut a beech hedge effectively, you should prune it once a year in late summer to encourage dense, healthy growth. Using sharp, reliable hand tools or power equipment ensures clean cuts that prevent disease and maintain the hedge’s signature attractive shape and retained winter foliage throughout the colder months.
Achieving a professional finish requires patience, the right approach, and proper garden maintenance techniques. While beech hedges are relatively low-maintenance, they do demand consistent care to remain thick and manageable. Understanding how to handle your outdoor power equipment safely will make the process much easier, protecting both your plants and your tools.
This guide provides practical steps for achieving a healthy, well-maintained beech hedge while ensuring safety and tool longevity. We will cover the essential gardening tools you need, the best techniques for trimming, and expert tips for long-term hedge health. Follow these instructions to transform your outdoor space into a perfectly manicured, vibrant landscape.
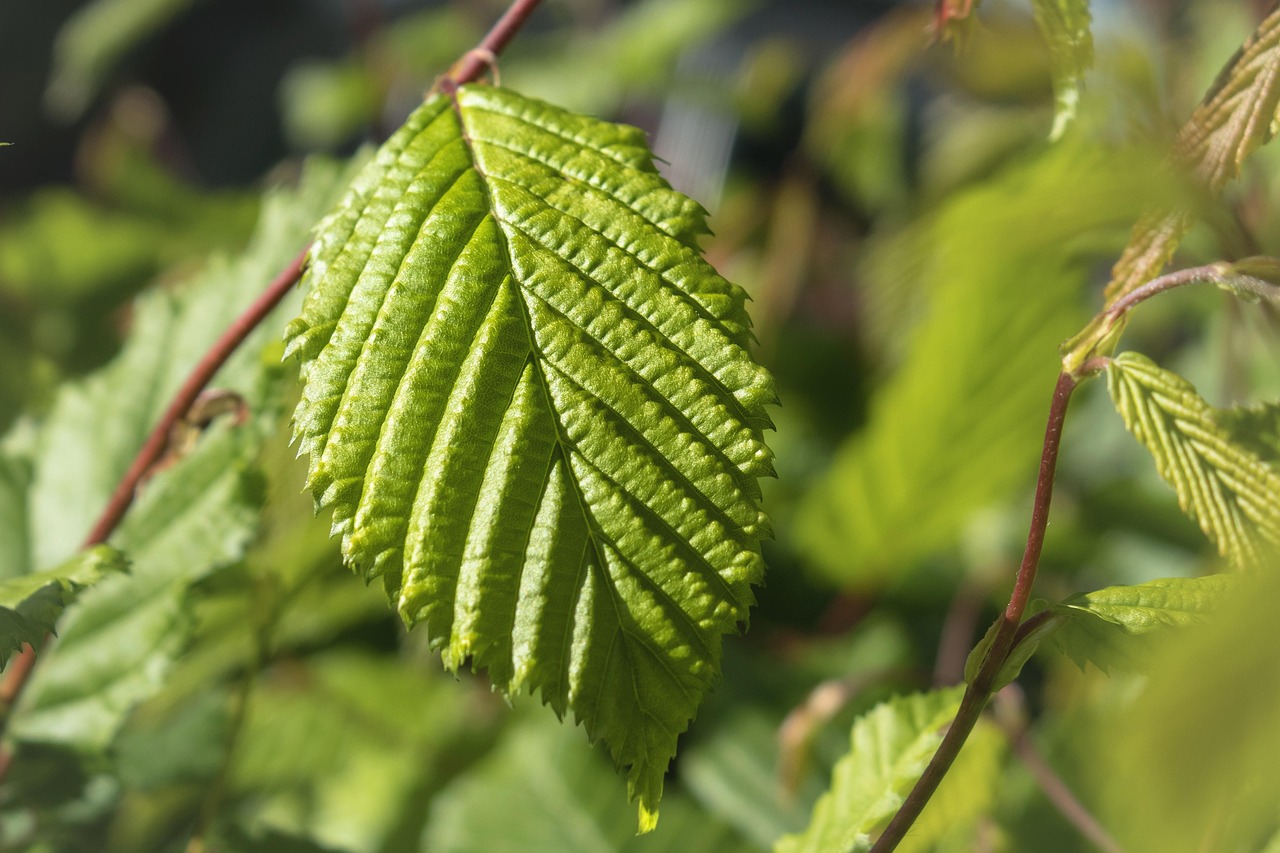
The Best Time to Prune Beech Hedges
Timing is critical when maintaining a healthy, dense beech hedge. While many shrubs tolerate pruning throughout the growing season, beech (Fagus sylvatica) thrives best when trimmed in late summer. Aim to complete your pruning in August for the most professional results.
Pruning at this specific time offers two major advantages:
- Structural Integrity: By cutting in late summer, you allow the hedge to set its shape before growth slows down. Because beech retains its copper-colored dead leaves throughout the winter, a clean, sharp cut in August ensures the hedge remains tidy and well-defined during the colder months.
- Wildlife Protection: It is essential to avoid trimming during mid-spring and early summer. This period coincides with the peak nesting season for garden birds. Cutting back hedges during these months can disturb active nests, which is not only harmful to local biodiversity but also prohibited under the Wildlife and Countryside Act in many regions.
Before you begin, inspect the hedge carefully. If you spot any signs of nesting activity, delay your maintenance until you are certain the birds have fledged. By waiting until August, you ensure the nesting season has concluded, allowing you to work without the risk of harming wildlife.
When you are ready to prune, ensure your hand tools—specifically your hedge shears or long-reach pruners—are sharp and clean. Dull blades can tear the bark, creating entry points for pests and diseases. If you are using outdoor power equipment, such as a petrol or cordless hedge trimmer, verify that the blades are lubricated and the safety guard is securely in place.
For a perfect finish, always trim the hedge slightly narrower at the top than at the bottom. This “A-frame” shape ensures that sunlight reaches the lower branches, preventing the base from becoming thin or woody over time. By adhering to this late-summer schedule, you promote vigorous growth for the following spring while keeping your garden looking immaculate through the winter. Consistent, well-timed maintenance is the secret to a long-lived, vibrant beech hedge that provides both privacy and a beautiful aesthetic backdrop for your home.
Essential Tools and Safety Equipment
Achieving a clean, healthy beech hedge requires the right equipment. Using dull or inappropriate tools can tear the leaves rather than cutting them cleanly, which increases the risk of disease and results in unsightly brown edges. Before you begin, ensure your tools are clean and sharp to promote rapid healing and vigorous regrowth.
For smaller hedges or fine-tuning the top and sides, a pair of high-quality, sharp manual hedge shears is ideal. They provide the precision needed for shaping and cause minimal stress to the branches. If you are maintaining a larger, established hedge, a powered hedge trimmer—whether electric, battery-operated, or petrol—will significantly reduce the time and physical effort required.
Your safety should always be the priority when working with cutting equipment. Always wear the following personal protective equipment (PPE) before making the first cut:
- Safety goggles: Protect your eyes from flying debris, sap, and stray twigs.
- Sturdy gloves: Choose a pair with good grip and puncture resistance to protect your hands from thorns or sharp edges.
- Non-slip footwear: Wear heavy-duty boots to provide stability, especially if you are using a ladder or working on uneven ground.
- Long sleeves and trousers: These offer a final layer of defense against scratches and flying clippings.
Before switching on any powered equipment, perform a brief maintenance check. If you are using a corded electric trimmer, inspect the entire length of the cable for any nicks, exposed wires, or fraying. Never use a damaged cord, as this poses a severe shock hazard. If you rely on battery-powered tools, ensure the battery is fully charged and securely locked into the housing. Check that the blades are free of debris and lightly lubricated, as this ensures the motor runs efficiently and prevents the tool from overheating during the job.
Finally, if you are using a ladder to reach the top of a tall beech hedge, ensure it is placed on firm, level ground. Never overreach; instead, reposition the ladder frequently to maintain a stable center of gravity. Keeping your workspace clear of clippings as you go will also help prevent slips and trips, ensuring a safe and productive gardening session.

Preparing for a Clean Cut
Before you make the first cut, your equipment needs to be in peak condition. A beech hedge is susceptible to disease if branches are torn or crushed by dull blades. Using sharp, clean tools ensures a precise, surgical cut that allows the plant to heal rapidly and prevents the jagged edges that invite pests or fungal infections.
Start by thoroughly cleaning your hedge trimmers or shears to remove sap and debris. Once clean, sharpen the blades using a fine-grit file or honing stone. If you are using power equipment, ensure the blades are lubricated and the engine or battery is fully serviced. A sharp blade glides through beech stems effortlessly, whereas a dull one will struggle, leading to uneven growth and unnecessary stress on the shrub.
Next, focus on your workspace to ensure safety and precision:
- Clear the base: Remove fallen leaves, stones, or garden ornaments from the area beneath the hedge. This provides a clean surface to place a tarp, which makes collecting clippings much easier.
- Check for hazards: Inspect the hedge interior for hidden obstacles like wire, old trellises, or bird nests. Never cut into a hedge if you suspect a nest is present.
- Set your lines: To achieve a perfectly level top and straight sides, use a string line. Drive two stakes into the ground at either end of the hedge and pull a taut string at your desired height.
The string line acts as a vital guide, preventing the common mistake of “wavy” hedge tops. For the sides, you can use a plumb line or a simple wooden frame to maintain a consistent angle. Beech hedges look best when slightly tapered—wider at the bottom than the top—to ensure the lower branches receive adequate sunlight.
Finally, dress appropriately. Wear sturdy gloves to protect your hands from sharp twigs and safety goggles to shield your eyes from flying debris. By taking these few minutes to prepare your tools and your workspace, you transform a potentially difficult task into a methodical process. A well-prepared start is the secret to a professional, healthy finish that will keep your beech hedge dense and vibrant for seasons to come.
Step-by-Step Trimming Technique
Achieving a professional finish on a beech hedge requires a methodical approach. Always begin by trimming the sides before moving to the top. This sequence ensures that falling debris does not get caught in sections you have already manicured, keeping your workspace clean and your cuts precise.
When trimming the sides, always work from the bottom upward. Using long-handled hedge shears or a powered hedge trimmer, make sweeping, upward motions. This technique allows clippings to fall freely to the ground rather than becoming trapped within the foliage, which can cause brown patches or fungal issues.
To maintain a healthy, dense hedge, you must master the “tapered” shape technique. Never cut the sides perfectly vertical. Instead, angle your cuts so the base of the hedge is slightly wider than the top. This inward slope, often called a “batter,” is essential for plant health. It ensures that the lower branches receive adequate sunlight, preventing them from becoming thin, woody, or sparse over time.
Once the sides are shaped, move on to the top of the hedge. For a perfectly level finish, follow these steps:
- Drive two wooden stakes into the ground at either end of the hedge.
- Tie a taut string between the stakes at your desired final height.
- Use the string as a visual guide to ensure a perfectly straight horizontal line as you trim.
- If the hedge is particularly tall, use a sturdy, level platform rather than a ladder to ensure you remain stable while operating power equipment.
After completing the top, step back to inspect the hedge from a distance. Look for any uneven spots or protruding branches that disrupt the silhouette. A light touch-up is better than over-trimming; beech hedges generally respond best to two light trims per year rather than one aggressive cut. If you are using powered equipment, always ensure the blades are sharp and clean before you begin. Dull blades tear the leaves rather than slicing them, which can leave the edges of the beech leaves brown and unsightly. Finally, clear away all clippings from the base of the hedge to promote good airflow and prevent moisture buildup, which keeps your hedge vibrant and healthy throughout the growing season.

Post-Pruning Care and Common Questions
Once you have finished shaping your beech hedge, post-pruning care is essential to help the plants recover from the stress of the cut. Beech hedges are resilient, but they require specific attention immediately after heavy maintenance to ensure healthy regrowth.
Start by inspecting the hedge for any dead, damaged, or diseased branches that may have been missed during the initial trim. Use sharp, sterilized hand pruners to make clean, angled cuts just outside the branch collar—the swollen area where the branch meets the main stem. Removing these sections prevents the spread of fungal pathogens and allows the plant to direct its energy toward new, healthy foliage.
After pruning, your hedge will benefit from extra moisture and nutrients. Follow these steps to support recovery:
- Watering: Deeply water the base of the hedge, especially if the weather is dry. Consistent moisture helps the root system support the remaining canopy.
- Mulching: Apply a 2-to-3-inch layer of organic mulch, such as well-rotted compost or bark chippings, around the base. Keep the mulch a few inches away from the main stems to prevent rot. This retains soil moisture and suppresses competing weeds.
- Feeding: If the hedge looks sparse, a light application of a balanced granular fertilizer can encourage vigorous spring growth.
While DIY maintenance is rewarding, certain situations require professional intervention. Do not attempt to prune your hedge if you encounter the following:
- Dangerous Heights: If you cannot reach the top of the hedge safely while standing firmly on the ground, do not use ladders. Working at height with power equipment is a major safety risk; hire a professional with the proper insurance and hydraulic gear.
- Significant Infestation: If you notice heavy webbing, unusual discoloration, or large clusters of insects that do not respond to basic cleaning, consult an arborist. They can identify specific pests, such as woolly aphid, and provide targeted treatments that won’t harm the surrounding ecosystem.
- Structural Decay: If the main stems show signs of deep rot or significant structural instability, a professional should assess whether the hedge needs to be surgically thinned or replaced entirely to prevent collapse.
By monitoring your hedge in the weeks following a prune, you ensure it remains a dense, healthy, and attractive feature of your garden for years to come.

Dedicated team of gardening enthusiasts with years of hands-on experience testing lawn mowers, gardening tools, and outdoor equipment. We help home gardeners and professionals alike make informed buying decisions with honest, thorough reviews. From push mowers to pruning shears, we test it all so you don’t have to. Got a gardening tool you’d like us to review? Get in touch!