
Phalaenopsis orchids, or moth orchids, are popular houseplants known for their long-lasting, elegant blooms. Learning how to care for Phalaenopsis orchids indoors is surprisingly straightforward when you understand their unique needs. By mimicking their natural tropical environment, you can easily maintain these beautiful plants and enjoy their stunning, exotic flowers for many months.
While these orchids often have an unfair reputation for being difficult, they actually thrive indoors when provided with the right balance of light, water, and humidity. They are not traditional soil-dwelling plants, meaning they require specific potting media to ensure proper airflow around their roots. Understanding these basic biological requirements is the true secret to success.
This guide explains the essential steps to keep your orchid healthy and encourage repeat flowering throughout the year. We will cover everything from choosing the perfect sunny spot to mastering a consistent watering routine. Follow these practical tips to transform your home into a thriving indoor garden and keep your moth orchids blooming beautifully.
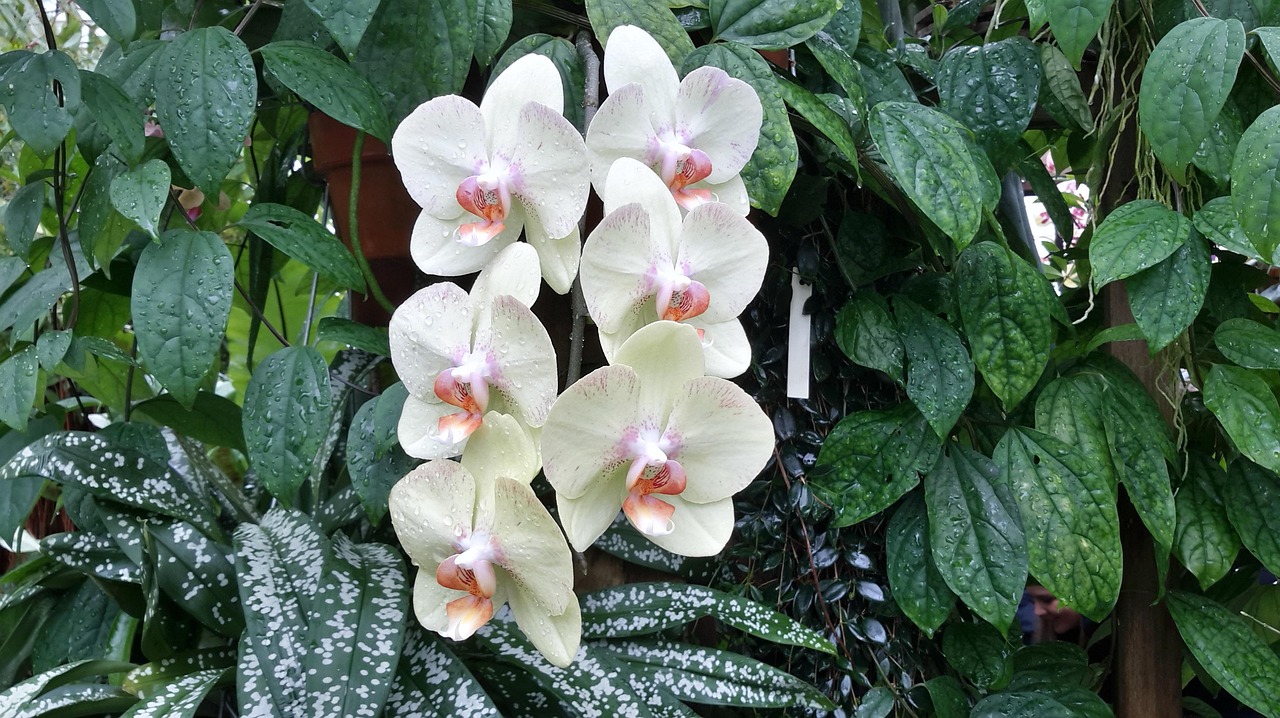
Ideal Light and Temperature Requirements
Phalaenopsis orchids are highly adaptable to indoor environments, but their health depends heavily on mimicking their natural tropical habitat. Providing the correct balance of light and temperature is the most effective way to encourage consistent, healthy blooms.
Optimizing Light Exposure
These orchids thrive in bright, indirect light. Direct sunlight is often too intense and can quickly scorch their broad, fleshy leaves, leading to permanent damage. To find the perfect spot in your home, consider these placement tips:
- East-facing windows: These are ideal, as they provide gentle morning light that is rarely strong enough to burn the foliage.
- South or West-facing windows: These locations provide high light intensity. If you choose these spots, you must use a sheer curtain to diffuse the rays and protect the plant.
- Signs of light stress: If the leaves turn a dark, grassy green, the plant is likely receiving too little light. Conversely, leaves that turn yellow or develop bleached, sunken spots indicate the plant is getting too much sun.
Maintaining Stable Temperatures
Phalaenopsis orchids prefer the same temperature range that most people find comfortable. They thrive best in daytime temperatures between 65°F and 75°F (18°C to 24°C). While they can tolerate slight fluctuations, consistency is key to preventing stress.
To keep your orchid stable, avoid the following locations:
- Cold drafts: Keep plants away from exterior doors or windows that leak cold air during winter months.
- HVAC vents: Direct blasts of air from heating or air conditioning vents will dehydrate the plant rapidly.
- Heat sources: Avoid placing orchids near radiators, fireplaces, or space heaters.
Sudden temperature shifts or exposure to extreme heat or cold are the primary causes of “bud blast,” where the orchid drops its unopened flower buds prematurely. By keeping your plant in a stable, temperate area with filtered light, you provide the foundation necessary for it to remain healthy and produce vibrant, long-lasting flowers year after year.
Watering Techniques for Healthy Roots
The most common reason Phalaenopsis orchids fail in a home environment is overwatering. Because these plants are epiphytes—meaning they grow on trees in nature rather than in soil—their roots require excellent airflow and a distinct wet-dry cycle to remain healthy. Saturating the potting medium constantly will quickly lead to root rot, which is often fatal.
To determine if your orchid needs water, touch the top inch of the potting medium. If it feels dry, it is time to water. For most indoor environments, this typically occurs every 7 to 10 days, though your specific humidity and temperature levels may fluctuate this schedule. Always use room-temperature water to avoid shocking the plant’s sensitive root system.
When you water, follow these precise steps to ensure plant longevity:
- Direct the flow: Pour water directly into the potting medium, avoiding the leaves and the center of the plant.
- Protect the crown: Never allow water to pool in the crown, which is the area where the leaves meet at the base. Standing water in this spot is a primary cause of crown rot.
- Blot immediately: If water accidentally splashes into the crown during the process, use a clean paper towel to gently blot the area dry.
- Ensure drainage: Always ensure your pot has drainage holes. Never let the orchid sit in a saucer of standing water, as this will suffocate the roots.
If you are using a decorative outer pot, remove the inner plastic liner before watering. Allow the water to run freely through the potting medium and out of the drainage holes in the sink. Wait until all excess moisture has stopped dripping before placing the plant back into its decorative container. By prioritizing root aeration and keeping the crown dry, you create the ideal conditions for your orchid to thrive and bloom repeatedly.
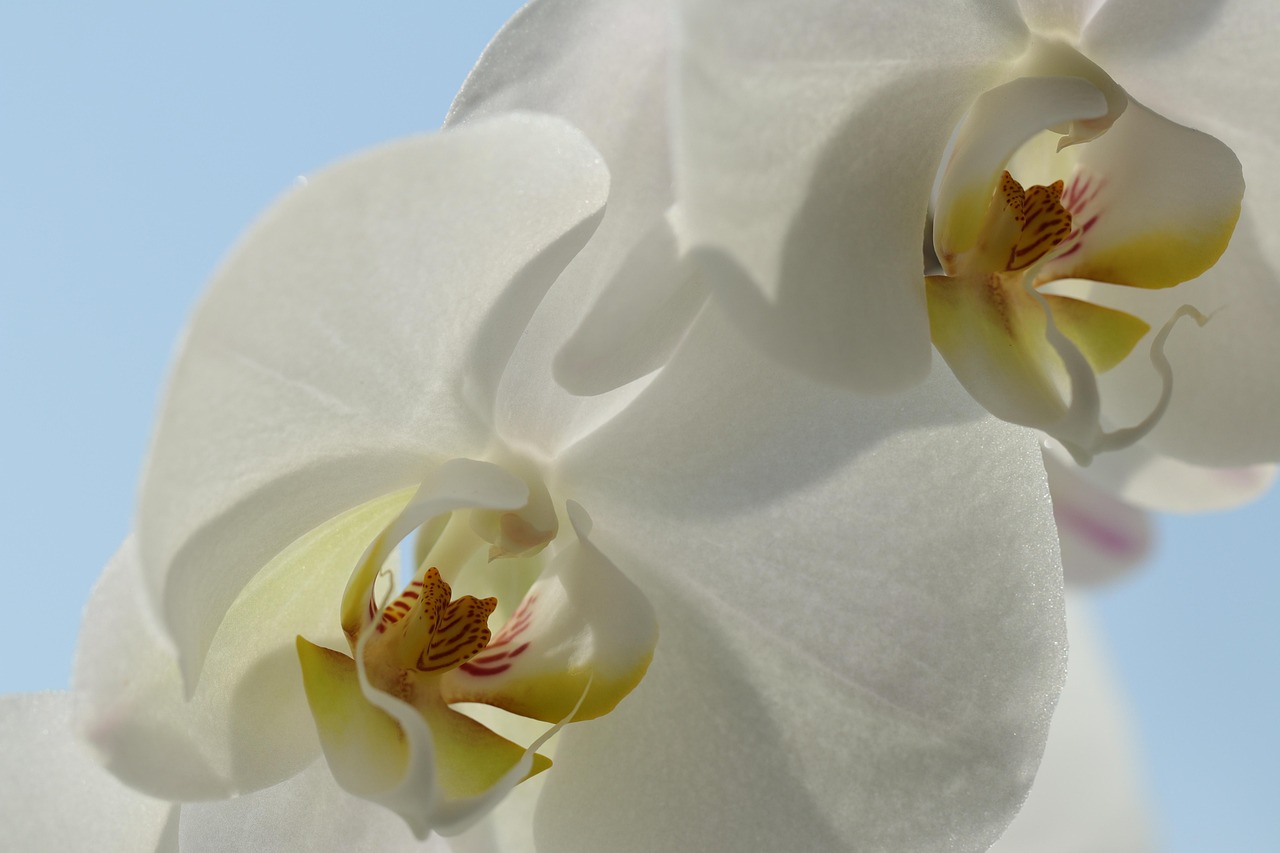
Choosing the Right Potting Medium and Container
Phalaenopsis orchids are epiphytes, meaning they naturally grow on tree branches rather than in the ground. Because of this, their roots are accustomed to constant airflow and quick drainage. Never use standard potting soil for your orchid; it is too dense and will suffocate the roots, leading to fatal rot.
Instead, choose a specialized orchid bark mix. These mixes typically contain fir bark, perlite, and charcoal, which provide the necessary structure and aeration for healthy root development. When selecting a container, prioritize function over aesthetics. Your pot must have ample drainage holes at the bottom to ensure excess water escapes immediately after watering.
If you are repotting your orchid, follow these steps to ensure a healthy transition:
- Sterilize your tools: Always use sharp pruning shears cleaned with rubbing alcohol to prevent the spread of pathogens.
- Protect your hands: Wear gardening gloves to protect your skin from sharp edges or potential sap irritation.
- Inspect the roots: Gently remove the old medium and inspect the root system. Healthy roots should be firm and green or silvery-white.
- Trim carefully: Using your sterilized shears, carefully snip away any roots that appear brown, mushy, or hollow. Only leave behind firm, healthy tissue.
- Repot firmly: Place the orchid back into the pot and gently work the fresh bark mix around the roots, ensuring the plant is stable without packing the medium too tightly.
Proper drainage and airflow are the two most critical factors in preventing root rot. If you notice your orchid sitting in a decorative pot without holes, simply place it in a plastic nursery liner pot first. This allows you to remove the plant for watering, let it drain completely in the sink, and then return it to the decorative container. This simple two-pot system is the most effective way to maintain the ideal moisture balance for indoor Phalaenopsis.
Humidity and Fertilization
Phalaenopsis orchids thrive in environments that mimic their native tropical habitats, which means they prefer higher humidity levels than the average home provides. Ideally, aim for a range between 50 and 70 percent. If your indoor air is too dry, especially during winter months when heating systems are running, your orchid may struggle to bloom or maintain healthy foliage.
The most effective way to increase ambient moisture without risking root rot is to use a humidity tray. Follow these simple steps to create one:
- Fill a shallow tray or saucer with a layer of decorative pebbles.
- Add enough water to reach just below the top of the stones.
- Place your orchid pot directly on top of the pebbles.
It is critical that the bottom of the pot never touches the water. If the roots sit in standing water, they will quickly suffocate and decay. As the water in the tray evaporates, it creates a localized microclimate of humidity directly around your plant.
In addition to proper moisture, consistent nutrition is vital for sustained growth. Phalaenopsis orchids are not heavy feeders, but they do require regular nutrients to produce healthy spikes and vibrant flowers. Use a balanced, water-soluble orchid fertilizer specifically formulated for epiphytes.
During the active growing season—typically when you see new leaves or roots emerging—feed your orchid once or twice a month. Always dilute the fertilizer to half-strength, even if the label suggests a higher concentration, to avoid burning the sensitive root system. To prevent salt buildup, flush the potting medium with plain, room-temperature water once a month between fertilizing sessions.
If your orchid is in a period of dormancy or resting after a bloom cycle, reduce your fertilization frequency. Always observe your plant’s response; dark green leaves often indicate the plant is receiving adequate nutrients, while light, yellowish-green leaves may suggest it is time to increase your feeding schedule slightly. Always follow the specific instructions on your chosen fertilizer product for the safest results.

Troubleshooting and Long-Term Care
If your Phalaenopsis orchid stops blooming, it is often simply resting. To encourage a new flower spike, place the plant in a spot where it experiences a consistent temperature drop of about 10–15 degrees Fahrenheit at night for two to four weeks. This mimicry of seasonal changes signals the orchid that it is time to produce new buds.
Most long-term care issues stem from improper watering habits. Observe your plant closely to diagnose these common stressors:
- Yellowing leaves: This is frequently a sign of overwatering or poor drainage, which can lead to root rot. Ensure your pot has adequate drainage holes and never let the plant sit in standing water.
- Wrinkled or limp foliage: This typically indicates dehydration. The plant may not be receiving enough water, or the root system may be too damaged to absorb moisture efficiently.
Pests can occasionally hitch a ride on indoor plants. If you spot cottony white mealybugs or hard, brown bumps (scale) on the leaves or stems, take immediate action. Isolate the affected orchid from your other houseplants to prevent spread. Gently wipe the leaves with a soft cloth dipped in diluted insecticidal soap or a mild solution of water and a drop of dish soap. Repeat this process weekly until the infestation is completely eradicated.
If your orchid appears to be failing despite your best efforts, do not be discouraged. Orchids have unique root systems that can be difficult to assess through the potting medium alone. If the plant looks sickly or the crown appears mushy, consult a local nursery or a master gardener. They can provide a professional assessment of the root health and determine if a repotting session or a change in environment is necessary to save the plant. With patience and minor adjustments, most Phalaenopsis orchids can be coaxed back to health and provide years of beautiful, recurring blooms.

Dedicated team of gardening enthusiasts with years of hands-on experience testing lawn mowers, gardening tools, and outdoor equipment. We help home gardeners and professionals alike make informed buying decisions with honest, thorough reviews. From push mowers to pruning shears, we test it all so you don’t have to. Got a gardening tool you’d like us to review? Get in touch!