
Norfolk Island Pines are popular holiday houseplants that can thrive year-round with the right environment. This guide covers the essential light, water, and humidity needs to keep your tree healthy and vibrant in an indoor setting. By mimicking their native tropical habitat, you can ensure your evergreen remains a stunning focal point in your home.
While these trees are often purchased as festive seasonal decor, they are actually long-lived perennials that require consistent care. They are not particularly fast-growing indoors, but they do demand specific conditions to prevent needle browning and lower branch loss. Understanding their unique growth habits is the first step toward successfully keeping them healthy for many years.
In the following sections, we will break down the practical steps for maintaining your Norfolk Pine. You will learn how to provide the bright, indirect light they crave, establish a proper watering schedule, and boost indoor humidity levels effectively. Follow these expert tips to troubleshoot common issues and help your indoor tree flourish throughout every season.

Ideal Light and Temperature Requirements
Norfolk Island Pines are native to tropical environments, so replicating those conditions indoors is essential for keeping your tree vibrant and symmetrical. Understanding the balance between light and temperature is the most important step in preventing needle drop and browning.
These plants thrive in bright, indirect light. While they can tolerate some morning sun, harsh afternoon rays can quickly scorch their delicate needles. To ensure healthy growth, follow these placement guidelines:
- Optimal Positioning: Place your tree near a south or west-facing window. If the light is too intense, use a sheer curtain to diffuse the rays.
- Rotate Regularly: Norfolk Island Pines grow toward the light source. Rotate the pot a quarter-turn every week to ensure even, symmetrical growth on all sides.
- Avoid Low Light: If the plant receives insufficient light, its branches will become leggy and weak, eventually losing their signature pine-like structure.
Temperature stability is equally critical for the long-term health of your Norfolk Island Pine. These trees prefer moderate indoor temperatures, ideally between 60°F and 75°F. They are sensitive to rapid fluctuations, which can cause the plant to go into shock and shed foliage.
To maintain a stable environment, keep your plant away from the following hazards:
- Heating and Cooling Vents: Direct airflow from HVAC systems will dry out the needles rapidly, leading to crisp, brown tips.
- Radiators and Fireplaces: High-heat sources create localized dry zones that are detrimental to the plant’s moisture retention.
- Cold Drafts: Avoid placing the tree near drafty entryways or windows during winter months. Exposure to freezing temperatures or icy gusts can damage the plant’s vascular system.
By mimicking a consistent, temperate, and bright environment, you provide your Norfolk Island Pine with the stability it needs to remain a lush, green centerpiece in your home throughout the year.
Watering and Humidity Best Practices
Proper hydration is the most critical factor in keeping a Norfolk Island Pine healthy indoors. Unlike many desert succulents, these trees prefer consistent moisture, but they are highly sensitive to “wet feet.”
To determine when to water, stick your finger about one inch into the soil. If the soil feels dry at that depth, it is time to water. If it still feels damp, wait a few more days. Always ensure your pot has functional drainage holes at the bottom. Never allow the plant to sit in a saucer of standing water, as this quickly leads to root rot, which is often fatal for this species.
Because Norfolk Island Pines are native to tropical regions, they require higher ambient humidity than the average household provides. Dry indoor air, especially during winter when heaters are running, can cause the needles to turn brown and brittle. To maintain a healthy environment, consider these practical steps:
- Use a humidifier: Placing a humidifier near the plant is the most effective way to maintain consistent moisture levels in the air.
- Mist regularly: Use a spray bottle filled with room-temperature water to mist the needles several times a week. This mimics the tropical dew the plant receives in its natural habitat.
- Group plants together: Placing your pine near other houseplants creates a microclimate that naturally increases the humidity around the foliage.
- Avoid heat sources: Keep your tree away from direct drafts, air vents, radiators, or fireplaces, as these will rapidly dehydrate the needles.
If you notice the lower branches drooping or the tips of the needles turning yellow, it is often a sign that the plant is struggling with low humidity or improper watering cycles. Adjusting your routine to favor slightly more humid conditions and ensuring the soil remains lightly moist—but never waterlogged—will help your Norfolk Island Pine remain lush and vibrant throughout the year.
Soil and Fertilization Needs
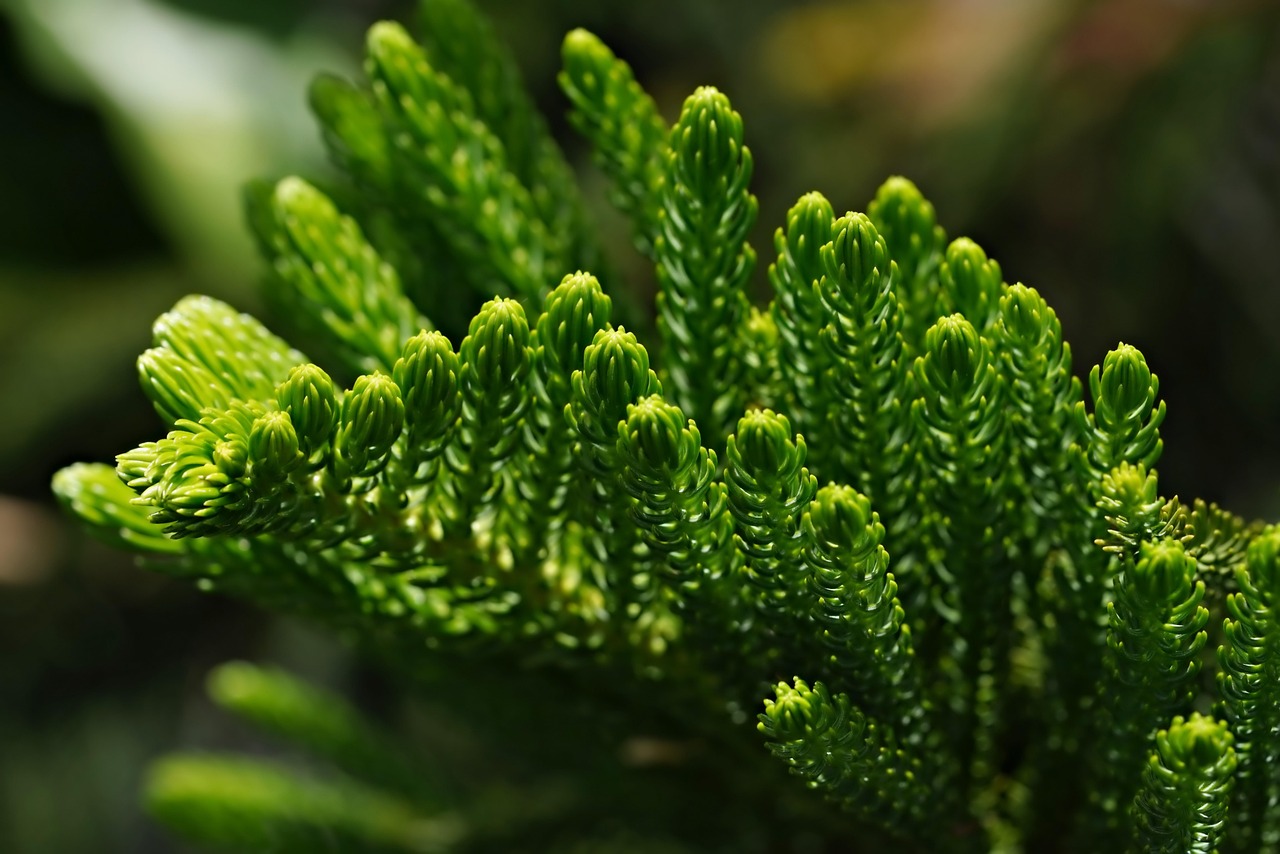
Norfolk Island Pines are not true pines, but tropical conifers that require specific soil conditions to thrive indoors. Because they are susceptible to root rot, drainage is the most critical factor when selecting your potting medium. Avoid heavy garden soil, which retains too much moisture and can suffocate the roots.
Instead, use a well-draining, slightly acidic potting mix. A high-quality peat-based blend is ideal, as it provides the necessary aeration while holding just enough moisture to keep the root ball hydrated. If your mix feels too dense, you can improve drainage by incorporating a small amount of perlite or orchid bark to ensure excess water flows away from the roots quickly.
Proper fertilization supports the lush, symmetrical growth characteristic of a healthy Norfolk Island Pine. Follow these guidelines to keep your plant nourished without causing fertilizer burn:
- Active Growth: Feed your plant once a month during the spring and summer months. Use a balanced, water-soluble liquid houseplant fertilizer diluted to half-strength.
- Dormancy: Stop all fertilization during the autumn and winter. As light levels drop, the plant enters a period of dormancy and does not require extra nutrients. Applying fertilizer during this time can lead to weak, leggy growth.
- Application: Always apply fertilizer to damp soil rather than bone-dry soil. This prevents the concentrated salts from damaging the sensitive root system.
Consistency is key for this species. Because Norfolk Island Pines are slow growers, they do not require heavy feeding. If you notice the needles turning yellow or the plant struggling, check your drainage first rather than reaching for more fertilizer. Over-fertilizing can lead to salt buildup in the soil, which often manifests as brown, crispy needle tips. If you suspect salt accumulation, flush the soil thoroughly with lukewarm water, allowing it to drain completely from the bottom of the pot. Always ensure your container has functional drainage holes to prevent the plant from sitting in standing water.
Pruning and Maintenance Safety
Unlike many other houseplants, Norfolk Island Pines do not require regular or heavy pruning to maintain their shape. In fact, these trees naturally grow in a symmetrical, tiered pattern that is best left undisturbed. However, you may occasionally need to remove lower branches that have turned brown or brittle due to age or environmental stress.
When you spot dead growth, it is important to address it promptly to keep the plant looking tidy and healthy. Follow these steps to ensure you do not damage the main trunk or surrounding healthy foliage:
- Use the right tools: Always use sharp, sterilized pruning shears. Dull blades can crush the branch tissue, creating jagged wounds that are slow to heal and susceptible to disease.
- Make clean cuts: Position your shears as close to the main trunk as possible without cutting into the branch collar—the slightly swollen area where the branch meets the trunk.
- Protect your skin: Norfolk Island Pine needles can be stiff and slightly abrasive. Always wear gardening gloves to protect your hands from scratches while you work.
Safety should be your top priority during maintenance, especially as your tree grows taller. If you need to reach upper branches, use a sturdy, stable step stool or a small ladder. Avoid the temptation to stand on chairs, tables, or other household furniture, as these are often unstable and increase your risk of a fall.
If you notice that a significant portion of the tree is turning brown, it is often a sign of improper watering or low humidity rather than a need for pruning. Before you start cutting, check the soil moisture and ensure the plant is away from heat vents or cold drafts. If the brown needles are localized to the very bottom, it is simply a natural part of the tree’s aging process. Simply snip them away, clean your tools thoroughly with rubbing alcohol, and let the plant continue its natural, slow-growing cycle.
Troubleshooting Common Issues
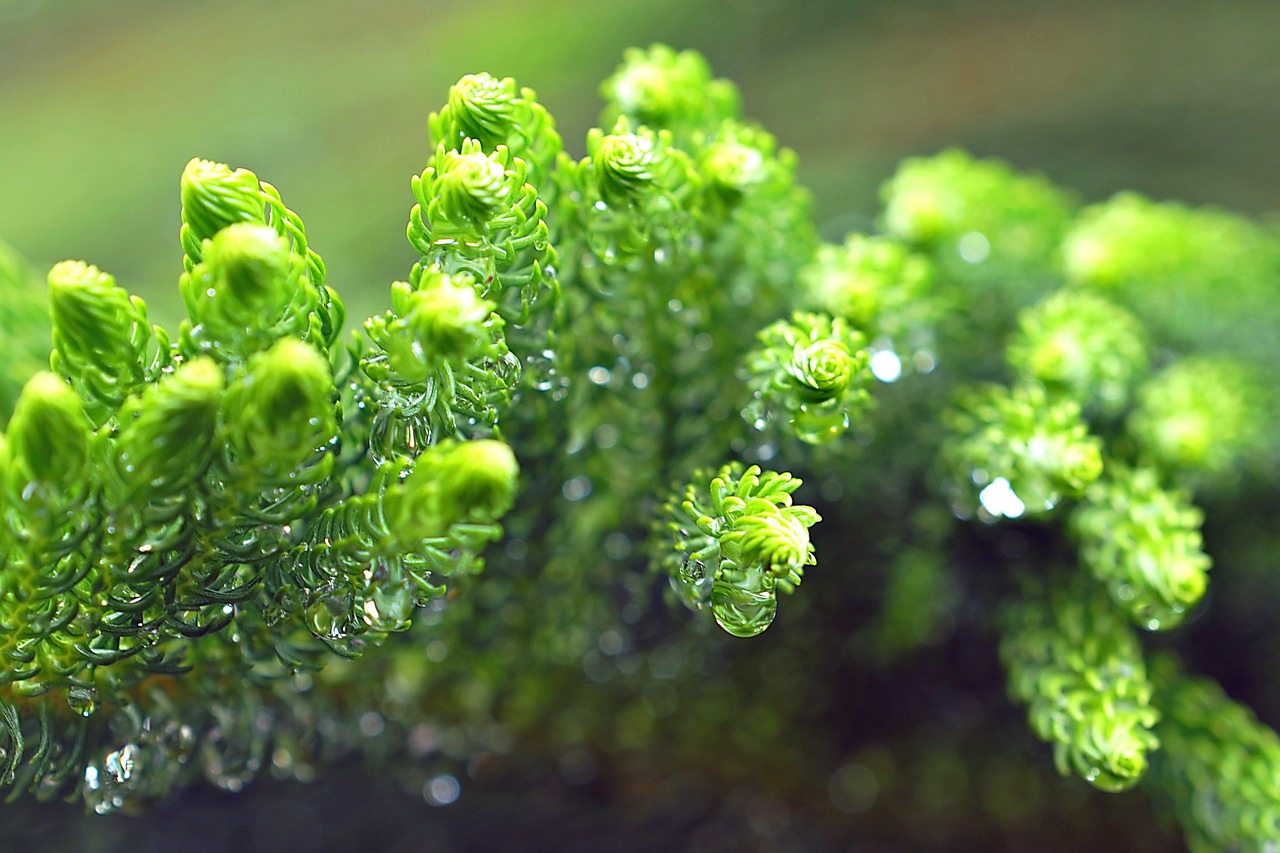
Norfolk Island pines are sensitive to their environment, and they will quickly signal distress through their needles. If you notice needles turning brown, crisping, or falling off, your plant is likely struggling with its immediate surroundings. The most common culprits are low humidity and inconsistent watering schedules.
To address these issues, prioritize consistent moisture. Water your pine when the top inch of soil feels dry to the touch, but never allow the pot to sit in standing water, as this leads to root rot. Because these plants are native to tropical regions, they crave humidity. If your indoor air is dry, especially during winter months, use a pebble tray filled with water or a room humidifier to increase ambient moisture levels.
If the needles appear speckled or you notice fine webbing between the branches, your plant may be hosting spider mites. These pests thrive in the dry, warm air of modern homes. To manage an infestation, follow these steps:
- Gently wash the foliage with a soft, damp cloth or a lukewarm shower to physically remove the mites.
- Increase the humidity around the plant to make the environment less hospitable for pests.
- Apply neem oil or insecticidal soap according to the manufacturer’s instructions if the infestation persists.
Sometimes, despite your best efforts, a plant may outgrow its container or suffer from severe health issues. If your Norfolk pine has become too large for your living space or shows signs of advanced root rot—such as a persistent foul odor from the soil or mushy, blackened roots—it is time to seek expert help. Consult a local nursery professional for advice on specialized repotting techniques or to determine if the plant can be salvaged. Taking proactive steps early is the best way to ensure your Norfolk pine remains a vibrant, healthy centerpiece in your home for years to come.

Dedicated team of gardening enthusiasts with years of hands-on experience testing lawn mowers, gardening tools, and outdoor equipment. We help home gardeners and professionals alike make informed buying decisions with honest, thorough reviews. From push mowers to pruning shears, we test it all so you don’t have to. Got a gardening tool you’d like us to review? Get in touch!