
Learning how to care for indoor spider plants is straightforward because these resilient houseplants are incredibly forgiving for beginners. By providing bright, indirect light and well-draining soil, you can ensure your Chlorophytum comosum remains healthy, vibrant, and thriving in your home environment for many years to come.
Spider plants are widely popular for their iconic arching leaves and the adorable baby plantlets they produce as they mature. While they are known for their hardiness, they still require consistent attention to reach their full potential. Understanding their basic needs will help you avoid common issues like brown tips or root rot.
This guide covers the essential care requirements you need to master, including proper watering schedules, ideal humidity levels, and light placement tips. We will also walk you through troubleshooting common problems and propagating your plantlets. Follow these practical steps to enjoy a lush, beautiful spider plant that adds natural charm to any room.

Light and Temperature Requirements
Spider plants (*Chlorophytum comosum*) are exceptionally adaptable, but they perform best when their light and temperature needs are met. Getting these two factors right is the quickest way to encourage vibrant growth and the production of “spiderettes.”
For lighting, aim for bright, indirect sunlight. A spot near an east-facing window is often ideal, as it provides gentle morning light. If you must use a south or west-facing window, place the plant a few feet back or use a sheer curtain to filter the rays. Direct, harsh sunlight will quickly scorch the leaves, causing brown, crispy tips or bleached patches.
Regarding temperature, spider plants are quite comfortable in typical household conditions. They thrive in temperatures between 60°F and 80°F (15°C to 27°C). Because they are sensitive to sudden environmental shifts, keep these practical tips in mind:
- Avoid placing your plant directly in the path of cold drafts from windows or doors during the winter.
- Keep the pot away from direct heat sources, such as radiators, space heaters, or air vents, which can dry out the foliage and soil too rapidly.
- If your home temperature drops below 55°F, the plant may enter a period of dormancy or show signs of stress.
Consistency is the key to a healthy spider plant. While they can tolerate lower light levels, they will grow more slowly and may lose some of their variegation if kept in deep shade. If you notice the leaves becoming pale or the plant looking “leggy” with large gaps between the leaves, it is a clear sign that it needs more light. Conversely, if the leaves develop brown, dry spots, move the plant to a location with less intense exposure. By balancing these environmental factors, you create a stable foundation that allows your spider plant to flourish year-round.
Watering and Soil Needs
Mastering the balance of moisture is the most critical aspect of keeping a spider plant healthy. These plants prefer to dry out slightly between waterings rather than sitting in consistently damp soil. To determine if it is time to water, insert your finger about an inch deep into the soil. If it feels dry to the touch, it is time to provide a drink. If the soil still feels cool or damp, wait a few more days.
When you do water, aim to saturate the soil thoroughly until you see liquid flowing out of the drainage holes at the bottom of the container. This practice ensures the entire root system receives hydration and helps flush out any mineral salt buildup from tap water.
The foundation of successful watering is your choice of soil and pot. Spider plants are prone to root rot if their roots remain waterlogged. To avoid this, follow these essential guidelines:
- Use Well-Draining Soil: Choose a high-quality, peat-based potting mix. Adding a handful of perlite or coarse sand can further improve aeration and drainage.
- Prioritize Drainage Holes: Never plant a spider plant in a pot without drainage holes. If you use a decorative outer pot, always keep the plant in a plastic nursery liner so you can easily discard excess water.
- Empty the Saucer: If your pot sits on a saucer, check it 15 minutes after watering. If there is standing water, empty it immediately. Allowing the plant to sit in a pool of water will quickly lead to mushy, decaying roots.
If you notice the tips of your spider plant leaves turning brown, it may be a sign of inconsistent watering or sensitivity to chemicals like fluoride found in some tap water. If your local water quality is poor, consider using filtered or distilled water to maintain vibrant, green foliage. By maintaining this consistent, well-draining environment, your spider plant will thrive and produce healthy “spiderettes” for years to come.

Pruning and Maintenance
Spider plants are resilient, but they occasionally develop brown tips or yellowing leaves. This is a natural part of their growth cycle, often caused by low humidity, mineral buildup from tap water, or irregular watering. Regular maintenance keeps your plant looking vibrant and encourages healthy new growth.
To keep your plant tidy, use clean, sharp pruning shears or scissors to trim away dead or damaged foliage. Always make your cuts at a slight angle near the base of the leaf or just above the soil line. Using sharp tools ensures a clean cut that heals quickly, preventing potential entry points for pests or disease.
Safety is essential when handling gardening tools. Follow these best practices to prevent accidents:
- Always cut away from your body and fingers to avoid accidental nicks.
- Keep your shears sharp; dull blades can crush plant tissue and require more force, increasing the risk of slipping.
- Wipe your blades with rubbing alcohol between plants to prevent the spread of bacteria.
- Store shears in a secure, dry place out of the reach of children and pets immediately after use.
You may also notice small plantlets, or “spiderettes,” dangling from long stems. While these add to the plant’s unique aesthetic, they can consume energy that the mother plant might otherwise use for foliage growth. If your spider plant looks overcrowded, or if you want to expand your collection, you can easily manage these offsets:
- Identify healthy spiderettes that have begun to develop tiny root nubs.
- Use your sterilized shears to snip the stem connecting the spiderette to the mother plant.
- Place the baby plant in a small glass of water or directly into moist potting mix to propagate.
By removing dead material and managing excessive spiderettes, you reduce stress on the mother plant. This simple, routine maintenance ensures your spider plant remains a healthy, attractive focal point in your home for years to come.
Fertilizing and Repotting
Spider plants are relatively low-maintenance, but they thrive when provided with consistent nutrients and adequate room to grow. Providing the right care during their active growth phase ensures lush foliage and the development of healthy “spiderettes.”
Fertilizing Your Spider Plant
During the spring and summer months, your spider plant is in its active growing phase and benefits from regular feeding. Use a balanced, water-soluble fertilizer diluted to half-strength. Applying this once a month is sufficient to support vibrant growth without overwhelming the plant.
Avoid fertilizing during the autumn and winter when the plant enters a period of dormancy. Excess fertilizer during these cooler months can lead to salt buildup in the soil, which may cause brown leaf tips.
When and How to Repot
Spider plants have vigorous root systems that grow quickly. You should consider repotting your plant if you notice any of the following signs:
- Roots are visibly growing out of the drainage holes at the bottom of the pot.
- Water sits on the surface of the soil for an extended time, indicating the plant is severely root-bound.
- The plant seems to have stopped growing entirely despite being in the correct light and temperature conditions.
When it is time to move your plant to a new home, choose a container that is only one size larger than the current one—typically one to two inches wider in diameter. Using a pot that is too large can hold excess moisture, which increases the risk of root rot. Always ensure your new container has adequate drainage holes.
To repot, gently remove the plant from its current container and loosen the root ball with your fingers. Place it in the new pot with fresh, well-draining potting mix, ensuring the base of the plant sits at the same level it did previously. Water thoroughly after repotting to help the roots settle into the new soil environment.
Troubleshooting and Common Questions
Even with the best care, spider plants occasionally show signs of stress. Most issues are easily corrected once you identify the underlying cause, allowing your plant to return to its vibrant, trailing state.
If you notice brown tips on the leaves, the culprit is often environmental rather than a disease. Spider plants are sensitive to chemicals found in municipal tap water, specifically fluoride and chlorine. To remedy this, try switching to filtered, distilled, or rainwater. Low humidity can also cause browning; if your home is particularly dry, mist the leaves regularly or place the plant on a pebble tray filled with water.
Yellowing leaves are usually a clear indicator of improper watering habits. If the foliage turns pale or yellow, it often suggests the plant is sitting in soggy soil, which can lead to root rot. Before watering, always check the top two inches of soil with your finger. If it still feels damp, hold off. Ensure your pot has adequate drainage holes to prevent excess water from pooling at the bottom.
For general maintenance and troubleshooting, keep these tips in mind:
- Consistent Moisture: While they prefer to dry out slightly, do not let the soil become bone-dry for extended periods, as this causes leaf drop.
- Light Exposure: If the leaves appear washed out or limp, the plant may need a spot with brighter, indirect light.
- Grooming: Feel free to trim off any dead or brown foliage using clean, sharp scissors to keep the plant looking tidy and encourage new growth.
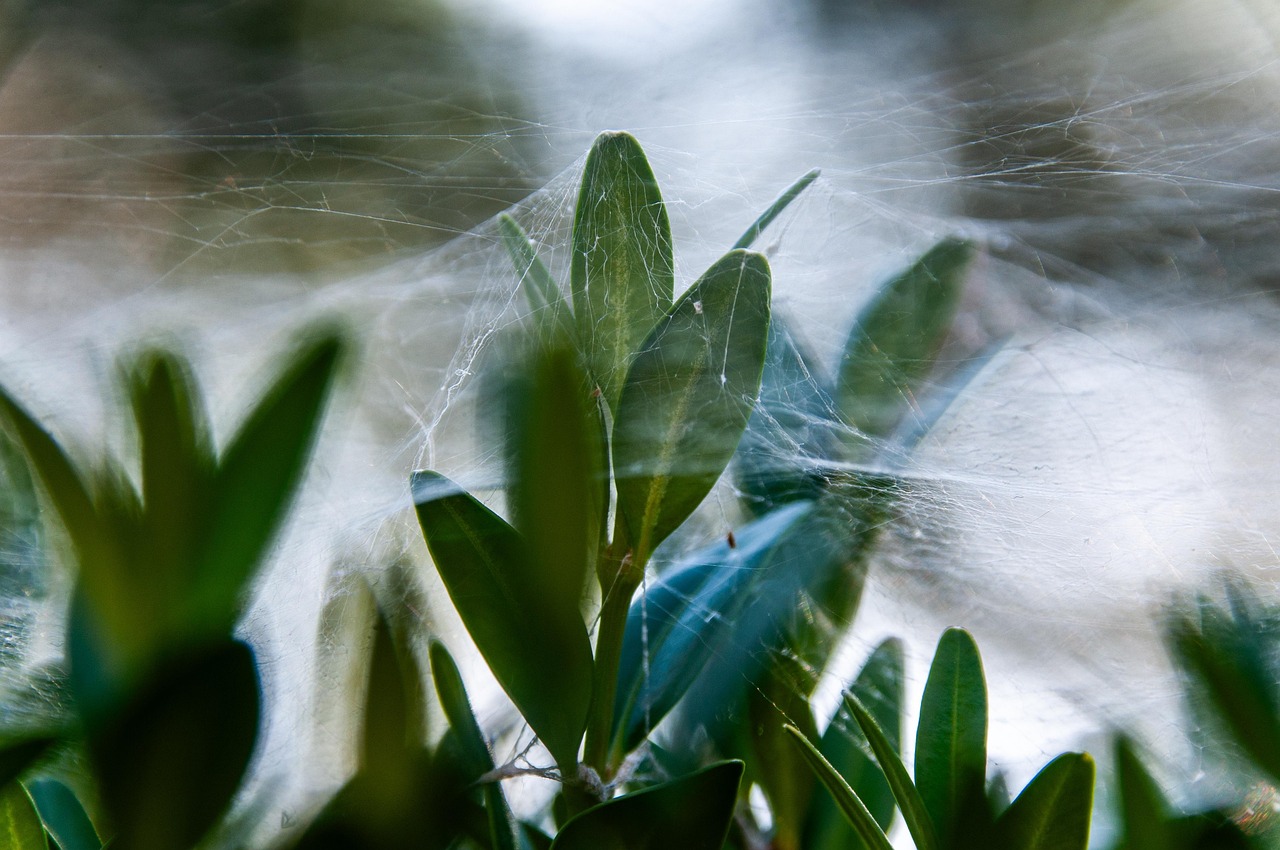
If your plant shows signs of severe distress, such as sudden wilting despite correct watering, or if you spot signs of a pest infestation like webbing or tiny insects, do not hesitate to act. Isolate the plant from your other greenery to prevent spread. For persistent issues, take a clear photo or bring a sample leaf to a local nursery or gardening specialist. They can provide specific, professional advice tailored to your local climate and help you identify the best treatment options.

Dedicated team of gardening enthusiasts with years of hands-on experience testing lawn mowers, gardening tools, and outdoor equipment. We help home gardeners and professionals alike make informed buying decisions with honest, thorough reviews. From push mowers to pruning shears, we test it all so you don’t have to. Got a gardening tool you’d like us to review? Get in touch!