
Learning how to care for an aloe vera plant inside is surprisingly simple because these resilient succulents thrive with minimal intervention. To keep your plant healthy, place it in a spot with bright, indirect sunlight and ensure its soil dries out completely between waterings to prevent root rot.
While aloe vera is famous for being low-maintenance, it is not entirely indestructible. Indoor environments often lack the intense light found in their native habitats, so you must carefully monitor your plant’s growth. With the right balance of environmental factors, your aloe will remain a vibrant, functional addition to your home.
This comprehensive guide provides all the practical steps you need to master indoor aloe cultivation. We will cover essential topics, including selecting the best potting mix, establishing a consistent watering schedule, and identifying common signs of distress. Read on to ensure your windowsill companion stays lush, green, and happy throughout the year.

Ideal Lighting and Temperature Conditions
Achieving the perfect balance of light and temperature is the foundation of a thriving indoor aloe vera plant. Because these succulents originated in arid climates, they have specific environmental needs that mimic their natural habitat while remaining manageable for a home setting.
Optimizing Light Exposure
Aloe vera plants crave bright, indirect sunlight to maintain their structural integrity and vibrant green color. If the plant does not receive enough light, its leaves may begin to droop or stretch, a process known as etiolation. Conversely, harsh, direct afternoon sun can scorch the leaves, causing brown or reddish patches.
To provide the ideal lighting conditions, follow these guidelines:
- Position your plant near a south or west-facing window to ensure it receives at least six hours of bright, filtered light daily.
- If your windows are exceptionally intense, use a sheer curtain to diffuse the light and prevent leaf burn.
- Rotate your pot every few weeks to ensure all sides of the plant receive equal exposure, which prevents the aloe from leaning toward the light source.
Managing Indoor Temperatures
Temperature stability is just as critical as light. Aloe vera performs best in standard household temperatures, ideally ranging between 55 and 80 degrees Fahrenheit (13 to 27 degrees Celsius). While they are resilient, they are sensitive to sudden fluctuations.
To keep your plant stress-free, avoid placing it in areas prone to environmental extremes:
- Keep the plant away from drafty windows or doors during the winter months, as cold air can damage the succulent tissue.
- Avoid placing the pot directly on top of or immediately next to radiators, heating vents, or fireplaces. The dry, intense heat can dehydrate the plant rapidly and lead to shriveled leaves.
By mimicking these conditions, you provide a stable environment that allows your aloe vera to focus its energy on growing healthy, gel-filled leaves rather than struggling to adapt to harsh surroundings.
Watering Best Practices for Indoor Aloe
Watering is the most critical aspect of indoor aloe care. Because these succulents store moisture in their thick, fleshy leaves, they are highly susceptible to root rot if kept in consistently damp soil. Overwatering is the leading cause of decline for indoor aloe, so adopting a disciplined approach is essential for long-term health.
Before adding water, always test the soil moisture. Insert your finger or a wooden skewer about two inches deep into the potting mix. If you feel any dampness, wait a few more days. Only when the top two inches of soil have dried out completely is it safe to provide more water.
When it is time to water, follow this technique to ensure the roots receive adequate hydration without becoming waterlogged:
- Use a pot with drainage holes to allow excess moisture to escape.
- Pour water slowly over the soil surface, avoiding the center of the plant or the leaves, which can trap moisture and lead to crown rot.
- Continue pouring until water begins to flow freely out of the drainage holes at the bottom of the container.
- Allow the pot to sit for a few minutes to ensure complete drainage.
- Discard any water that collects in the saucer immediately. Never allow your aloe to sit in standing water, as this will quickly suffocate the root system.
Your watering frequency will fluctuate based on the season and your indoor environment. Aloe vera plants enter a period of dormancy during the winter months, meaning they require significantly less water than they do during the active growing season in spring and summer. During colder months, you may only need to water once every four to six weeks. Always prioritize the dryness of the soil over a rigid calendar schedule. If the leaves appear thin or start to curl, the plant is likely thirsty; if the leaves feel mushy or begin to brown, reduce your watering frequency immediately to prevent further decay.

Soil Requirements and Pot Selection
Aloe vera plants are highly susceptible to root rot, making the choice of soil and container the most critical factors in their long-term health. Because these plants naturally store water in their thick, fleshy leaves, they require a growing medium that mimics their native arid environment by drying out quickly between waterings.
For the best results, use a potting mix specifically formulated for succulents or cacti. These commercial blends are amended with coarse sand, perlite, or pumice, which improve aeration and prevent the soil from becoming waterlogged. Avoid using standard indoor potting soil, as it retains too much moisture and can lead to fungal issues.
Your choice of pot is equally important. Always select a container with at least one large drainage hole at the bottom. Terra cotta or unglazed ceramic pots are ideal choices because the porous material allows excess moisture to evaporate through the walls of the pot, further protecting the root system.
If your aloe vera has outgrown its current home, follow these steps to repot safely:
- Wear clean gardening gloves to protect your skin from the plant’s serrated leaf edges.
- Gently remove the plant from its container and loosen the root ball.
- If the plant has become crowded with “pups” (offsets), use a sharp, sanitized knife to carefully separate them from the mother plant.
- Place the main plant into a slightly larger pot, ensuring the base of the leaves sits just above the soil line to prevent rot.
After repotting, avoid watering your aloe vera for about a week. This “dry period” allows any roots that were damaged during the transfer to callous over, significantly reducing the risk of infection. Once the plant has settled, resume your regular, sparse watering schedule, ensuring the soil is completely dry before adding more moisture. By prioritizing drainage and using the correct substrate, you create a stable foundation that allows your aloe vera to thrive indoors for many years.
Maintenance and Seasonal Care
Maintaining your aloe vera plant requires minimal effort, but consistent habits ensure it stays vibrant and healthy. Because aloe leaves are broad and succulent, they naturally attract dust in an indoor environment. A layer of dust acts as a barrier, blocking sunlight and hindering the plant’s ability to photosynthesize effectively.
To keep your plant performing at its best, gently wipe the leaves every few weeks using a soft, damp cloth. Avoid using harsh cleaning agents or leaf-shine products, as these can clog the plant’s pores. A simple wipe-down with plain water is sufficient to keep the surface clean and allow the plant to breathe.
As the seasons change, your care routine must adapt to the plant’s natural biological rhythm. During the shorter, darker days of winter, your aloe vera enters a semi-dormant stage. Its growth slows significantly, meaning it consumes far less water than it does during the active spring and summer months.
To prevent root rot and moisture buildup during this resting period, adjust your watering schedule accordingly:
- Reduce frequency: Water your aloe vera only once a month during the winter.
- Check the soil: Always ensure the potting mix is completely dry at least two inches deep before adding any water.
- Prioritize drainage: Ensure the pot has adequate drainage holes, as stagnant water is the primary cause of decline in indoor succulents.
- Monitor the leaves: If the leaves begin to look slightly puckered or thin, the plant may need a small drink, but be careful not to overcompensate.
By mimicking these natural cycles, you protect the root system from the dangers of overwatering. When spring arrives and daylight hours increase, you will notice the plant beginning to wake up, signaling that it is time to gradually return to your regular, more frequent watering schedule. Observing these subtle cues helps your aloe vera thrive year-round while remaining resilient against common indoor stressors.
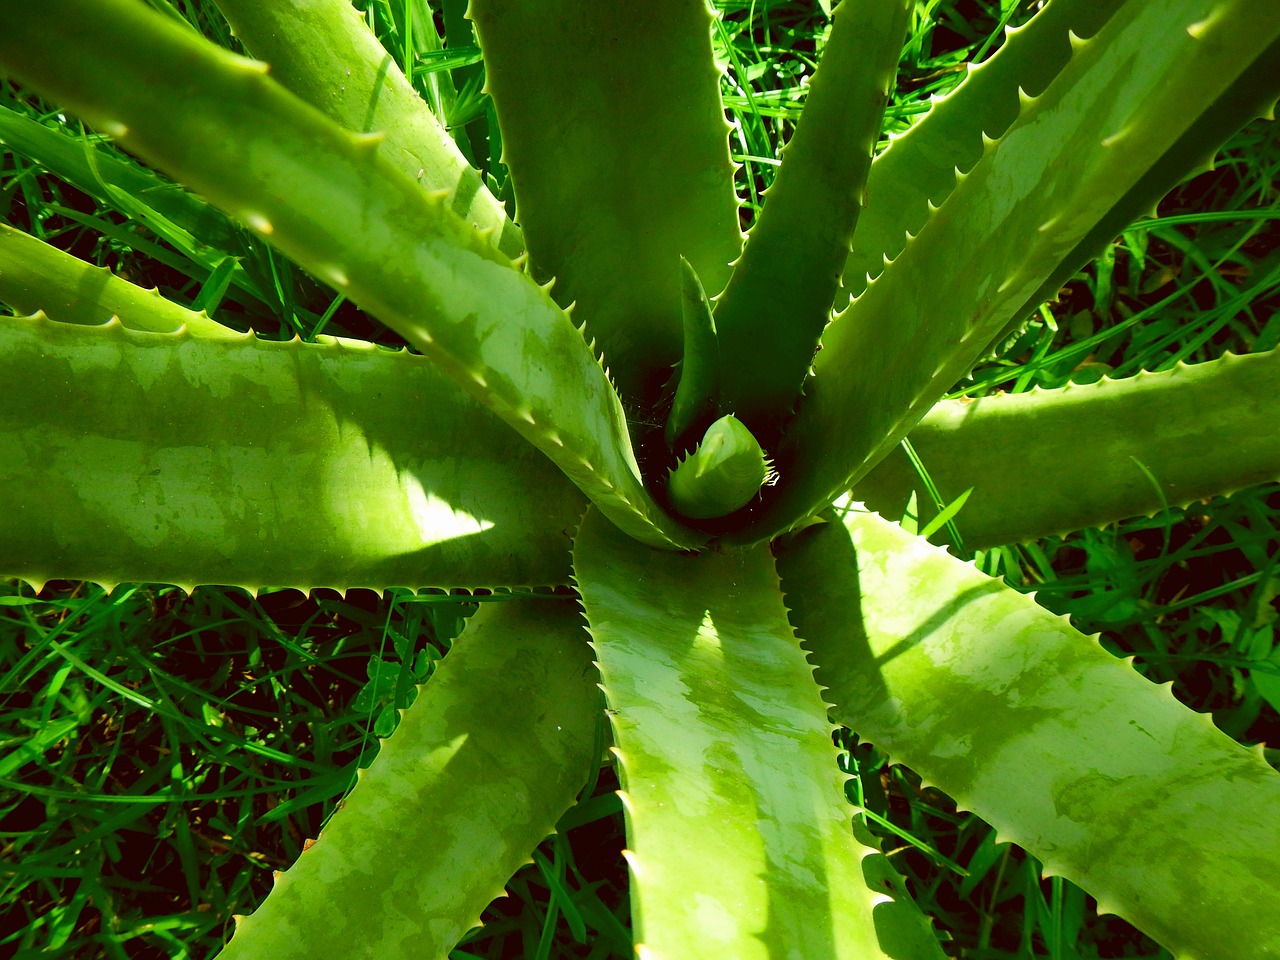
Troubleshooting Common Issues and Plant Health
Even with the best intentions, your aloe vera may occasionally show signs of distress. Observing your plant’s leaves is the most effective way to diagnose its needs. By acting quickly, you can usually restore your succulent to full health.
If you notice the leaves turning brown, soft, or mushy, you are likely overwatering. Aloe vera is a desert plant that thrives on neglect; its soil must dry out completely between waterings. If the soil is consistently damp, hold off on water immediately and ensure your pot has adequate drainage holes.
Conversely, if the leaves appear thin, flat, or begin to curl inward, the plant is likely dehydrated or lacks sufficient light. Aloe vera requires bright, indirect sunlight to remain plump and firm. If yours is in a dark corner, move it to a brighter windowsill, but be careful to avoid harsh, direct sun that could scorch the foliage.
Pests can also occasionally affect indoor aloe. Mealybugs, which look like small patches of white, cottony fluff, are the most common culprit. To manage them effectively:
- Dip a cotton swab in standard 70% isopropyl (rubbing) alcohol.
- Gently dab the swab directly onto the mealybugs to eliminate them on contact.
- Repeat this process every few days until the infestation is completely cleared.
If your plant continues to struggle despite adjusting your watering and light habits, it is time to inspect the root system. Gently remove the plant from its pot to check for root rot, which presents as dark, slimy, or foul-smelling roots. If you find decay, use sterilized shears to trim away the affected areas and repot the plant in fresh, well-draining cactus soil.
Remember that aloe vera is resilient. Most issues arise from environmental factors rather than disease. By maintaining a balance of bright light and infrequent, deep watering, you provide the ideal foundation for your plant to thrive for years to come.

Dedicated team of gardening enthusiasts with years of hands-on experience testing lawn mowers, gardening tools, and outdoor equipment. We help home gardeners and professionals alike make informed buying decisions with honest, thorough reviews. From push mowers to pruning shears, we test it all so you don’t have to. Got a gardening tool you’d like us to review? Get in touch!