
Learning how to care for a croton plant indoors requires mimicking its native tropical environment to keep those stunning leaves vibrant. These plants thrive when provided with bright, indirect sunlight and consistent humidity levels. By mastering a few specific environmental adjustments, you can successfully prevent leaf drop and maintain their brilliant, multi-colored foliage year-round.
While crotons are prized for their dramatic appearance, they are notoriously finicky and often struggle to adapt to typical household conditions. They dislike sudden temperature fluctuations, drafts, and dry air, which frequently lead to stress. Understanding these specific sensitivities is the first step toward moving beyond basic maintenance and helping your plant truly flourish.
This guide offers practical, actionable advice to help you troubleshoot common issues and establish a reliable care routine. We will cover essential topics, including optimal watering schedules, soil requirements, and effective pest management strategies. Follow these expert tips to ensure your indoor croton remains healthy, colorful, and a thriving centerpiece in your home for years.

Understanding Light Requirements for Vibrant Leaves
The most important factor in maintaining a croton’s signature, multi-colored foliage is light exposure. These tropical plants are sun-worshippers; they require significant amounts of bright, direct light to produce the pigments responsible for their vibrant reds, oranges, yellows, and deep greens. Without adequate intensity, the plant cannot sustain its complex variegation.
For the best results, place your croton in a spot that receives at least six to eight hours of bright light daily. A south-facing window is typically the ideal location in most homes, as it provides the consistent, strong light these plants crave. If you do not have a south-facing window, a west-facing window is a suitable alternative, though you should monitor the plant closely to ensure it is receiving enough energy.
When crotons do not receive enough light, they will signal their distress through several clear physical changes:
- Loss of Color: New leaves will emerge primarily green, and existing bright patches will fade or turn a dull, muted shade.
- Leaf Drop: The plant may begin to shed its lower, older leaves as it struggles to support its foliage with limited energy.
- Leggy Growth: Stems will stretch out and become “leggy” as the plant reaches toward the nearest light source, resulting in a sparse, unattractive appearance.
If you notice your plant losing its color or dropping leaves, move it to a brighter location immediately. However, be cautious if moving your plant from a dim corner to a very sunny window; do this gradually over a week or two to prevent leaf scorch. While crotons love the sun, a sudden, drastic increase in intensity can burn foliage that has become accustomed to lower light levels.
Consistency is key. Once you find a spot where your croton maintains its bright colors and sturdy growth, try to keep it there. Frequent movement can stress the plant, leading to temporary leaf loss as it adjusts to new light conditions.
Watering and Humidity Needs
Achieving the perfect moisture balance is the most critical aspect of keeping a croton healthy indoors. These plants thrive when their soil remains consistently moist but never waterlogged. Before adding more water, check the top inch of the potting mix with your finger. If it feels dry, it is time to water; if it still feels damp, wait a few more days to prevent root rot.
When you do water, ensure you saturate the soil thoroughly until excess liquid drains from the bottom of the pot. Always empty the saucer afterward; leaving a croton sitting in standing water will quickly lead to yellowing leaves and root decay.
Because crotons are native to tropical climates, they require high humidity to flourish. Dry indoor air, especially during winter months when heating systems are running, often causes leaf drop and crispy edges. You can mimic their natural environment using these practical methods:
- Pebble Trays: Place your pot on a tray filled with pebbles and a small amount of water. Ensure the base of the pot sits above the water line to avoid direct soaking.
- Grouping Plants: Cluster your croton with other houseplants. As they transpire, they create a small, localized microclimate with higher ambient humidity.
- Humidifiers: Using a room humidifier is the most effective way to maintain consistent moisture levels, especially in larger spaces.
- Regular Misting: While less effective than a humidifier, light misting can provide a temporary boost in moisture around the foliage.
Avoid placing your croton directly in the path of air conditioning vents, heaters, or drafty windows. These sources of dry, moving air will rapidly sap moisture from the leaves regardless of your watering schedule. By maintaining a steady, humid environment, you provide the stability your croton needs to retain its vibrant, colorful foliage throughout the year. If you notice the leaves drooping, it is often a gentle signal that the plant is either thirsty or struggling with a sudden change in its environment.
Temperature and Environmental Stability
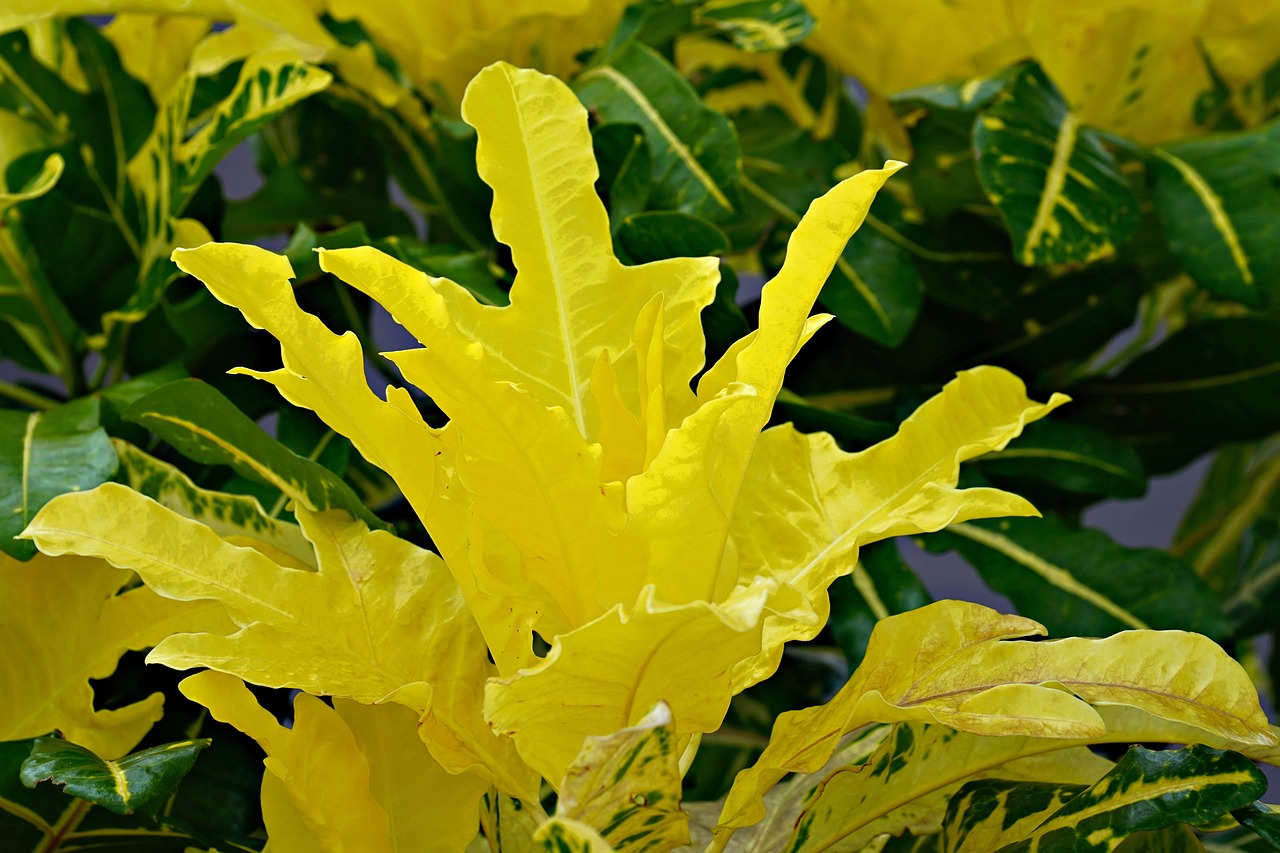
Croton plants are notoriously sensitive to their surroundings. While they are prized for their vibrant, multi-colored foliage, they are also prone to dropping leaves when stressed by sudden changes in their environment. To keep your plant healthy and thriving, consistency is your most important tool.
The ideal temperature range for a croton is between 60 and 85 degrees Fahrenheit. While they tolerate standard household temperatures well, they struggle significantly when exposed to rapid fluctuations. Even minor shifts can trigger a stress response, causing the plant to shed its leaves in an attempt to conserve energy.
To maintain environmental stability, avoid placing your croton in areas where temperatures shift abruptly throughout the day. Follow these placement guidelines to protect your plant:
- Avoid drafty windows: Cold winter air leaking through window seals can chill the foliage and cause immediate leaf drop.
- Keep away from HVAC vents: Direct blasts of hot air from a heater or icy air from an air conditioning unit will dehydrate the leaves and shock the plant’s system.
- Steer clear of doorways: Entryways that lead directly outside often experience frequent temperature swings as doors open and close, creating an unstable microclimate.
- Steer clear of heat sources: Do not place your plant directly on top of or immediately next to radiators, space heaters, or appliances that generate significant heat.
If you notice your croton losing leaves, first evaluate its location. Often, the culprit is a hidden draft or a proximity issue with a heating vent that you may not notice yourself but that the plant feels intensely. Once you find a spot that offers steady, warm temperatures away from direct airflow, your croton will likely stabilize and resume its normal growth pattern. Remember, these plants prefer a stable, predictable environment over one that is constantly changing. By minimizing these environmental stressors, you provide the foundation necessary for your croton to maintain its signature, brilliant coloration year-round.
Safe Pruning and Maintenance Practices
Over time, indoor crotons may become “leggy,” losing their dense, vibrant foliage as they stretch toward light sources. Strategic pruning is the most effective way to correct this growth habit and encourage a fuller, bushier appearance.
Before you begin, safety is paramount. Croton stems contain a milky white latex sap that is a known skin and eye irritant. Always wear protective gardening gloves during the process to avoid direct contact with this sap. Additionally, ensure you are working in a well-ventilated area.
Preparation of your tools is equally critical to the long-term health of your plant. Using dull or dirty blades can crush stems and introduce pathogens, leading to infection or rot. Follow these steps for safe maintenance:
- Sanitize your tools: Wipe the blades of your pruning shears thoroughly with rubbing alcohol or a 10% bleach solution before making any cuts. This prevents the transfer of bacteria or fungi between plants.
- Identify the cut site: Locate a node—the point where a leaf or branch emerges from the main stem. Make your cut approximately one-quarter inch above this node at a 45-degree angle. This encourages new growth to sprout from the buds just below the cut.
- Remove dead growth: In addition to shortening leggy stems, trim away any brown, withered, or damaged leaves. This allows the plant to redirect its energy toward healthy, new development.
After pruning, you may notice small beads of sap forming at the cut sites. This is normal. You can gently dab the area with a paper towel, but avoid touching the sap with your bare skin. Place your croton in a spot with bright, indirect light to stimulate recovery. Within a few weeks, you should observe new buds emerging near the pruning points, signaling that your plant is successfully transitioning into a more compact and lush shape. If you have multiple crotons, remember to re-sanitize your shears between each plant to maintain a healthy indoor garden environment.
Troubleshooting Common Croton Issues
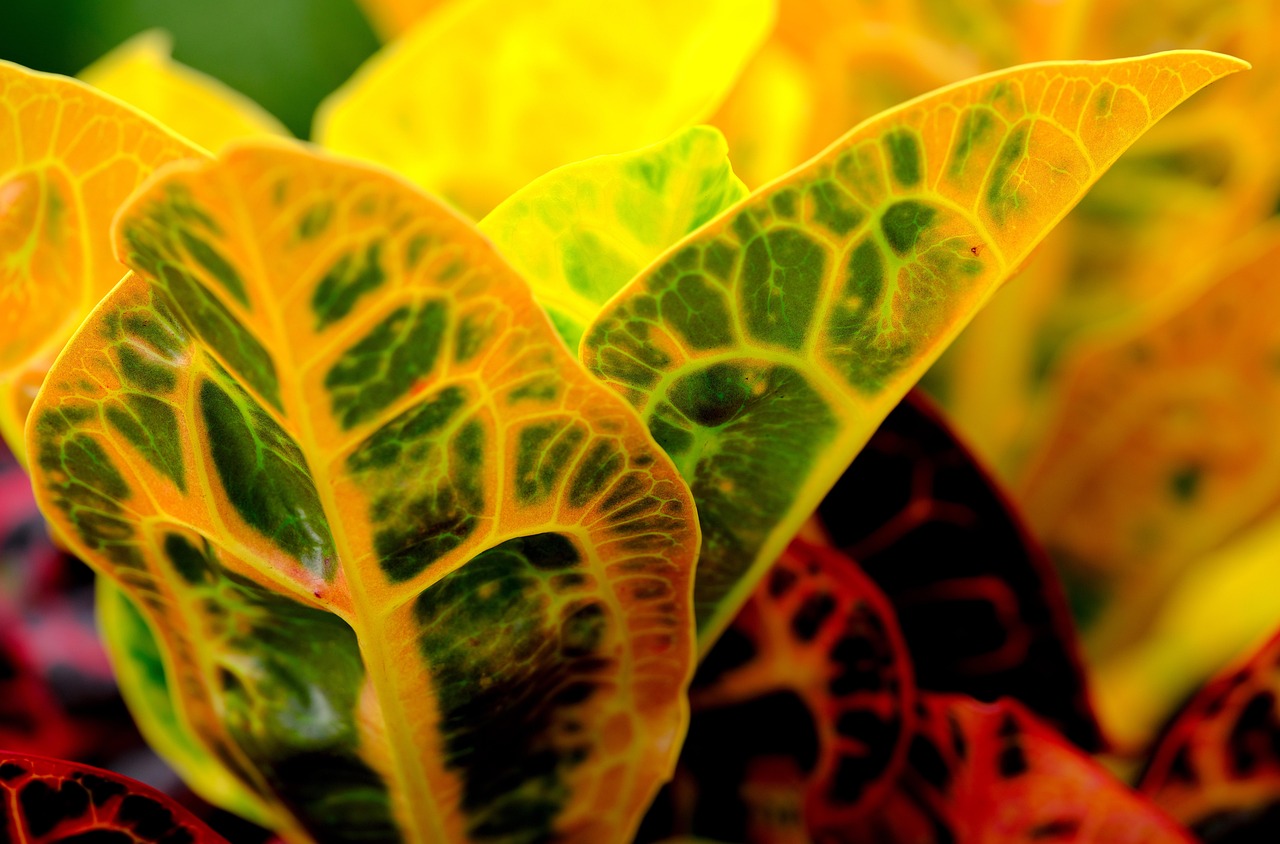
Even with the best care, crotons can be temperamental. If you notice your plant struggling, use these troubleshooting tips to identify and resolve the issue quickly.
Common Symptoms and Solutions:
- Leaf Drop: This is usually a reaction to environmental stress. Crotons dislike cold drafts and sudden changes in location. Ensure your plant is in a stable, warm spot with consistent temperatures.
- Spider Mites: These tiny pests thrive in dry conditions. If you see fine webbing between leaves, wipe the foliage with a damp cloth and increase the humidity around the plant. A neem oil spray can also help manage persistent infestations.
- Yellowing Leaves: This often indicates overwatering. Ensure your pot has adequate drainage holes and allow the top two inches of soil to dry out before watering again.
Repotting Your Croton
Crotons do not need frequent repotting; in fact, they prefer being slightly root-bound. Only repot when you see roots growing out of the drainage holes or if the soil dries out significantly faster than usual. When you do repot, choose a container only one to two inches larger in diameter than the current one to prevent waterlogged soil.
Safety and Toxicity
While crotons are beautiful additions to your home, they require careful placement for safety. The milky white sap found inside the stems and leaves is toxic if ingested and can cause skin irritation upon contact. Because of this, it is essential to keep your croton in an area inaccessible to curious pets and small children. If you are pruning or repotting, consider wearing gloves to protect your skin from the sap.
By monitoring your plant’s environment closely and keeping it out of reach of vulnerable family members, you can enjoy the vibrant, colorful foliage of your croton for years to come. Consistency is the key to a healthy, thriving plant.

Dedicated team of gardening enthusiasts with years of hands-on experience testing lawn mowers, gardening tools, and outdoor equipment. We help home gardeners and professionals alike make informed buying decisions with honest, thorough reviews. From push mowers to pruning shears, we test it all so you don’t have to. Got a gardening tool you’d like us to review? Get in touch!