
Growing hydrangeas from seed typically takes between 14 to 30 days for initial germination, though it can take several years for the plant to reach full maturity. While many gardeners prefer cuttings for faster results, starting from seed is a rewarding but patient process that offers a unique sense of accomplishment for any enthusiast.
It is important to understand that hydrangea seeds are incredibly tiny and require specific conditions to thrive. Unlike established nursery shrubs, these seedlings are delicate and demand consistent moisture, warmth, and patience during their early development. Setting realistic expectations early helps you avoid common pitfalls and ensures your gardening efforts remain enjoyable and productive.
This guide breaks down the realistic timeline for germination and growth, helping you understand what to expect when starting these popular shrubs from scratch. We will cover essential tips for soil preparation, light requirements, and the long-term care needed to transform your tiny seeds into vibrant, blooming garden centerpieces over the coming seasons.
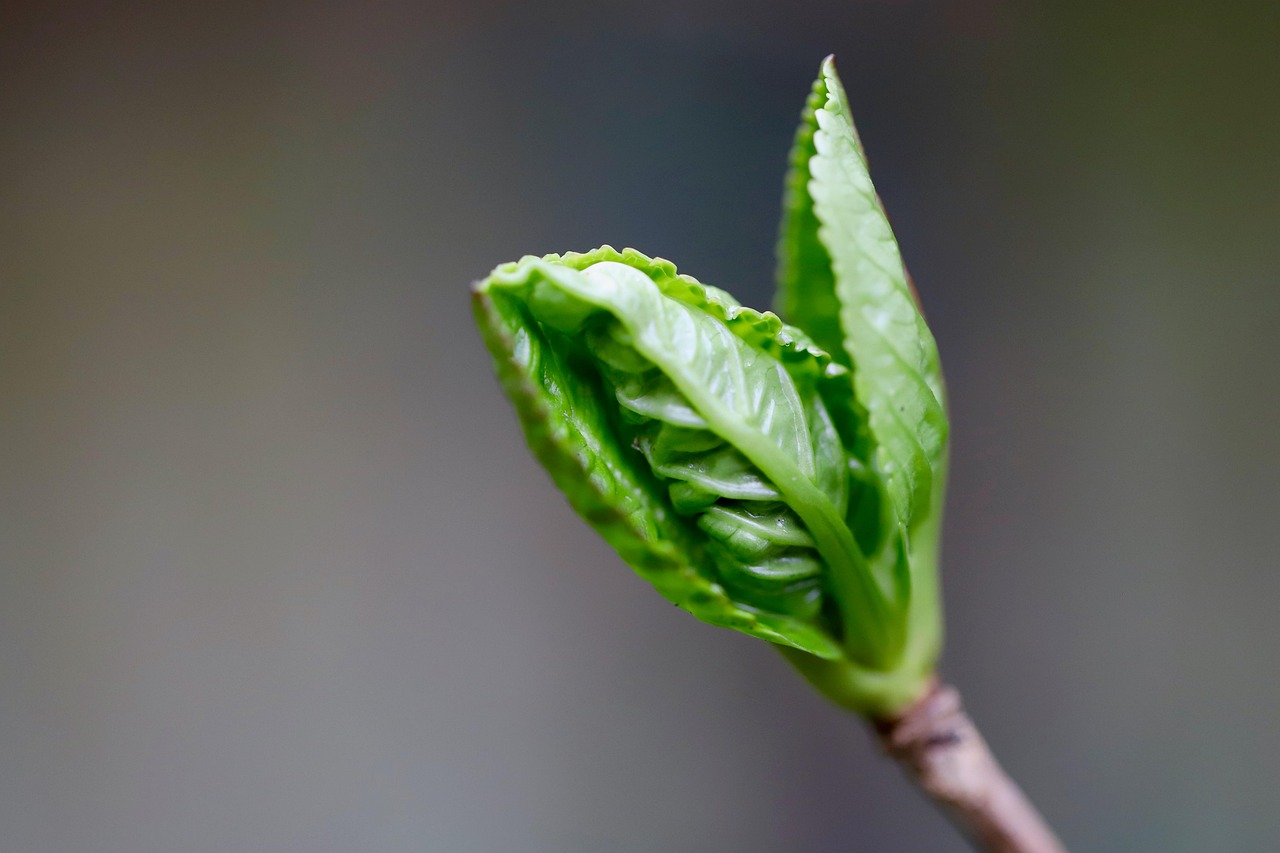
Understanding the Hydrangea Seed Germination Process
Hydrangea seeds are exceptionally small, often resembling fine dust. Because of their diminutive size, they lack the energy reserves found in larger seeds, making them sensitive to their environment. Success depends on providing a stable, hospitable climate from the moment they touch the soil.
To give your seeds the best start, use a sterile, high-quality seed-starting mix. These commercial blends are finely textured and free of pathogens, which prevents the seedlings from being smothered or succumbing to damping-off disease. Avoid using heavy garden soil, as it can crust over and prevent the delicate sprouts from breaking the surface.
Follow these steps to encourage successful germination:
- Surface Sowing: Hydrangea seeds require light to germinate. Sprinkle them thinly over the top of the pre-moistened mix and press them down gently with your finger. Do not bury them.
- Consistent Moisture: Use a spray bottle to keep the surface damp but not waterlogged. Covering the container with a clear plastic dome or a piece of plastic wrap will help maintain the necessary humidity levels.
- Light Requirements: Place your container in a location that receives bright, indirect light. Avoid harsh, direct sun, which can overheat the container and dry out the seeds before they have a chance to take root.
- Temperature Control: Keep the environment warm, ideally between 65°F and 70°F (18°C–21°C). If your home is cool, a seedling heat mat can provide the consistent warmth needed to trigger the germination process.
Patience is essential when growing hydrangeas from seed. Under these ideal conditions, you can expect to see signs of life within 14 to 30 days. Once the seeds sprout, remove the plastic covering to improve airflow and prevent fungal issues. Continue to monitor moisture levels closely, as the tiny root systems of new seedlings are highly susceptible to drying out during their first few weeks of growth.
The Real Timeline: From Seedling to Mature Shrub
Growing hydrangeas from seed is a rewarding long-term project, but it requires a significant shift in expectations compared to buying established nursery starts. While you will likely see your first green sprouts emerge within two to four weeks of sowing, this is merely the beginning of a multi-year journey.
The transition from a fragile seedling to a robust, garden-ready shrub is a slow process. During the first year, your primary focus is root development and foliage production. You should expect the following timeline for your young plants:
- Months 1–6: Seedlings remain delicate and must be kept in a controlled indoor environment or a greenhouse. They will grow slowly, developing their first few sets of “true” leaves.
- Year 1–2: The plant will gradually increase in size. You should keep the hydrangea in a container during this phase, as it is not yet sturdy enough to withstand the fluctuations of outdoor soil temperatures or competition from weeds.
- Year 3 and beyond: Once the shrub has established a woody base and a healthy root system, it is finally ready for transplanting into your garden.
Perhaps the most important factor to understand is that hydrangeas grown from seed do not bloom on the same schedule as cuttings or nursery-bought specimens. It typically takes three to five years for a seed-grown hydrangea to reach maturity and produce its first flower head. Because hydrangeas grown from seed do not always come “true to type”—meaning the offspring may look different from the parent plant—you are essentially conducting a botanical experiment.
Patience is your most essential tool for this endeavor. If you are looking for immediate color and impact, seeds are likely not the right choice. However, if you enjoy the slow, methodical process of nurturing a plant from its earliest stage, the eventual bloom will be incredibly satisfying. Keep your seedlings consistently moist, provide bright but indirect light, and resist the urge to rush them into the ground before they are truly ready.

Essential Tools and Safety Precautions
Starting hydrangeas from seed is a rewarding, long-term project that requires precision and the right equipment. Because hydrangea seeds are tiny and delicate, having the correct supplies on hand ensures better germination rates and healthier development during the initial growth phase.
To set up your nursery station, gather the following essential tools:
- Seed trays or cell packs: Use containers with adequate drainage holes to prevent root rot.
- Humidity domes: These clear plastic covers create a greenhouse-like environment, maintaining the high moisture levels seeds require to sprout.
- Fine-mist spray bottles: Use these for gentle watering; a heavy stream can displace or bury small seeds too deeply.
- Seed-starting mix: A sterile, fine-textured medium is best to avoid introducing pathogens.
- Sharp, clean snips: Essential for thinning seedlings or pruning away weak growth without crushing tender stems.
Safety is just as important as your gardening technique. When working with your seedlings, always use sanitized snips or scissors. Dull blades can tear plant tissue rather than cutting it, which leaves the seedling vulnerable to disease and stress. If you have sensitive skin, wear nitrile or latex-free gardening gloves to prevent irritation from soil additives or plant sap.
Your physical workspace also requires attention to detail. Ensure your area is well-lit to prevent eye strain while you handle tiny seeds and monitor growth progress. If you are using electrical heat mats to encourage germination, prioritize safety by keeping all cords and plugs away from water sources. Always verify that your equipment is rated for damp environments and never allow water to pool near electrical connections to prevent shock hazards.
By keeping your tools clean and your workspace organized, you create a stable environment that allows your hydrangeas to thrive from the very first day. Consistency in your setup will make the long process of growing from seed much more manageable and significantly safer for both you and your plants.
Optimal Growing Conditions for Seedlings
Once your hydrangea seeds germinate, maintaining a stable environment is critical for their survival. Young seedlings are fragile and require consistent conditions to develop strong root systems. Aim to keep your indoor growing area between 65 and 70 degrees Fahrenheit. If your home is cooler, consider using a heat mat to maintain this steady temperature range, which encourages steady growth without stressing the plants.
Humidity is equally important during these early stages. Because seedlings have limited root capacity, they struggle to take up water quickly enough to compensate for moisture loss through their leaves. To maintain high humidity levels, cover your starter trays with a clear plastic dome or a loose plastic bag. This creates a miniature greenhouse effect that prevents the delicate foliage from drying out.
As your seedlings develop their first set of true leaves, they will begin to outgrow their starter cells. You should prepare to transition them into larger pots once you observe roots poking through the drainage holes or when the plant reaches two to three inches in height. When repotting, use a well-draining, high-quality potting mix to ensure the roots have access to oxygen.
Proper moisture management is the most common challenge during this transition. While hydrangeas enjoy moisture, they are highly susceptible to root rot if left in waterlogged soil. Follow these practical tips for watering:
- Always check the top inch of soil with your finger before adding more water; if it feels damp, wait another day.
- Ensure your pots have adequate drainage holes to allow excess water to escape freely.
- Water at the base of the plant rather than overhead to keep the leaves dry and prevent fungal issues.
- Empty any standing water from the saucer beneath the pot immediately after watering.
By balancing consistent warmth, high humidity, and careful watering, you provide your hydrangea seedlings with the best possible foundation for long-term health as they mature into robust, flowering shrubs.

Common Questions and Long-Term Care
Growing hydrangeas from seed is a rewarding but unpredictable process. If your seeds fail to germinate, the culprit is often improper stratification or inadequate moisture. Hydrangea seeds require a period of cold, moist dormancy to mimic winter conditions. Ensure your seed tray remains consistently damp but not waterlogged, and keep it in a temperature-controlled environment to prevent rot.
If your seedlings emerge but begin to wilt, discolor, or develop fuzzy growth, they may be suffering from “damping off,” a common fungal issue. If basic adjustments to airflow and watering do not resolve the problem, contact your local university cooperative extension office. They provide expert, region-specific advice on identifying pathogens and managing soil-borne diseases effectively.
Once your seedlings are sturdy enough for the outdoors, you must “harden them off” to prevent transplant shock. This process acclimates tender plants to direct sunlight and fluctuating temperatures:
- Start by placing seedlings in a sheltered, shaded spot outdoors for one hour per day.
- Gradually increase their exposure to sunlight and outdoor conditions over 7 to 10 days.
- Bring them inside at night if temperatures are expected to drop significantly.
It is vital to manage your expectations regarding the final appearance of your plants. Because modern hydrangeas are often complex hybrids, they rarely grow “true to seed.” This means the offspring may look significantly different from the parent plant in terms of bloom color, petal shape, or overall size. You are essentially creating a unique cultivar, which is part of the excitement of starting from scratch.
For long-term care, focus on establishing a strong root system during the first year. Keep the soil consistently moist and provide a layer of organic mulch to regulate ground temperature. While it may take several years for a seedling to produce its first bloom, providing stable conditions early on ensures your hydrangea has the best chance of maturing into a healthy, permanent fixture in your landscape.

Dedicated team of gardening enthusiasts with years of hands-on experience testing lawn mowers, gardening tools, and outdoor equipment. We help home gardeners and professionals alike make informed buying decisions with honest, thorough reviews. From push mowers to pruning shears, we test it all so you don’t have to. Got a gardening tool you’d like us to review? Get in touch!