
Many gardeners are intimidated by hydrangeas, but they are actually quite resilient when planted in the right environment. You will find that these popular shrubs are not hard to grow if you provide them with consistent moisture and the correct light exposure. Once established, they become reliable, long-blooming staples in many landscapes.
While they are not overly difficult to maintain, hydrangeas do have specific needs that differ from other garden plants. Understanding your local climate and soil conditions is key to preventing common issues like wilting or poor flowering. Setting realistic expectations early on ensures you choose the right variety for your specific garden space.
This guide breaks down the reality of growing these popular shrubs, helping you decide if they are the right fit for your garden while providing the foundational care they need to thrive. We will cover essential tips on watering, pruning, and soil management to keep your hydrangeas healthy, vibrant, and blooming season after season.
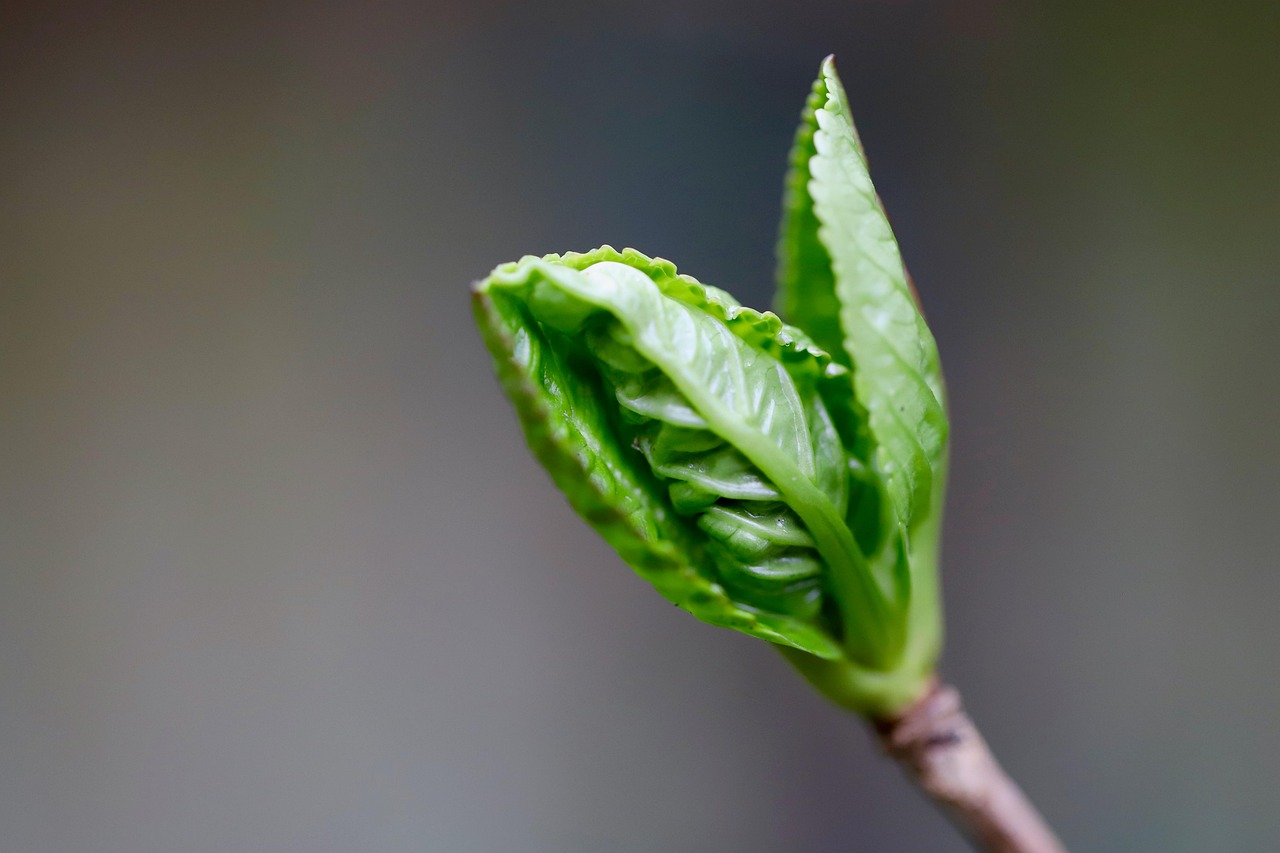
Understanding the Difficulty Level of Hydrangeas
Many gardeners view hydrangeas as temperamental, but they are actually quite beginner-friendly when you select the right plant for your specific environment. The reputation for being “difficult” usually stems from a mismatch between the variety and the local climate or sun exposure. If you choose a plant that thrives in your hardiness zone and provide it with the correct light conditions, hydrangeas are remarkably resilient.
The most common cause of failure is planting a sun-loving variety in deep shade, or conversely, placing a shade-tolerant hydrangea in the scorching afternoon sun. Before purchasing, check your garden’s light patterns throughout the day to ensure you pick a variety that can handle your specific conditions.
Beyond light, the secret to hydrangea success lies in the establishment phase. These plants have significant foliage, which requires consistent moisture to remain turgid. During their first two growing seasons, hydrangeas are not drought-tolerant. If they dry out completely while their root systems are still developing, they will wilt quickly and struggle to recover.
To set your hydrangeas up for success, follow these practical care guidelines:
- Check your soil: Ensure the planting site has well-draining soil. While hydrangeas love moisture, they do not like “wet feet” and can suffer from root rot in heavy, waterlogged clay.
- Prioritize deep watering: When the plant is young, water deeply at the base rather than sprinkling the leaves. Aim to keep the soil consistently moist, but not swampy.
- Use mulch: Apply a two-inch layer of organic mulch, such as shredded bark, around the base of the plant. This helps regulate soil temperature and retains moisture, reducing the frequency of watering needed.
- Match your zone: Always verify the hardiness zone on the plant tag. A variety that thrives in the humid South may struggle to survive the harsh winters of the North.
By focusing on proper placement and diligent hydration during the first year, you can easily enjoy the lush, reliable blooms that make hydrangeas a classic garden staple.
Selecting the Right Spot for Your Hydrangea
Success with hydrangeas begins long before you dig your first hole. Choosing the right location is the single most important step in ensuring your shrubs thrive rather than just survive. While varieties differ, most hydrangeas perform best when they receive a balance of gentle morning light and protective afternoon shade.
Intense, direct afternoon sun can cause hydrangea leaves to wilt and flowers to scorch, especially in hotter climates. If you live in a region with scorching summers, aim for a spot that offers dappled shade or full afternoon relief. In cooler northern climates, your plants may tolerate more direct sun, but they will still appreciate protection from the harshest midday rays.
Beyond light, soil conditions are critical. Hydrangeas have a specific preference: they require consistently moist soil, but they absolutely despise “wet feet.” If your soil remains saturated or water pools after a rain, the roots will quickly succumb to rot.
Before planting, perform a simple drainage test:
- Dig a hole approximately 12 inches deep and wide.
- Fill the hole with water and allow it to drain completely.
- Fill the hole a second time and time how long it takes to empty.
If the water takes more than a few hours to drain, your soil is likely too heavy or clay-dense. You can improve drainage by amending the soil with organic matter, such as compost or aged pine bark, or by planting your hydrangeas in raised beds.
Once established, the goal is to keep the soil evenly moist but well-drained. A deep layer of organic mulch, such as shredded hardwood or pine straw, is an essential tool for success. Mulch acts as a thermal blanket, regulating soil temperature and locking in moisture during dry spells. By pairing the right light exposure with well-draining, nutrient-rich soil, you provide your hydrangeas with the perfect foundation for vigorous growth and abundant, long-lasting blooms.

Essential Planting and Maintenance Tips
Hydrangeas are relatively easy to grow, provided you start with the right foundation. Success begins with selecting a spot that receives morning sun and afternoon shade, which prevents the foliage from scorching during peak heat.
When you are ready to plant, follow these steps to ensure your hydrangea thrives:
- Digging the hole: Dig a hole twice as wide as the current root ball but no deeper. Planting too deeply can cause the crown to rot. The top of the root ball should sit level with the surrounding soil surface.
- Soil amendment: Hydrangeas prefer rich, well-draining soil. If your native soil is heavy clay or sandy, mix in a generous amount of organic compost. This improves drainage while helping the soil retain the consistent moisture these thirsty plants require.
- Backfilling: Gently place the plant in the center of the hole. Fill the space around the roots with your amended soil, tamping it down lightly to remove large air pockets. Water thoroughly immediately after planting to settle the roots.
Safety should always be your priority in the garden. Always wear sturdy gardening gloves when handling soil; this protects your skin from potential irritants and guards against soil-borne bacteria. If you need to trim dead or damaged stems, use sharp, clean bypass pruners. A clean cut promotes faster healing for the plant and prevents the spread of disease. When using pruners, always maintain a firm grip and keep your fingers clear of the cutting blades at all times to prevent injury.
Once established, hydration is the most critical factor. Hydrangeas have shallow root systems that dry out quickly. During the first growing season, check the soil moisture daily. If the top inch of soil feels dry to the touch, provide a deep, slow soak at the base of the plant rather than overhead watering. This keeps the foliage dry, which helps prevent fungal issues like powdery mildew, ensuring your hydrangeas remain healthy and vibrant throughout the season.
Watering and Feeding Strategies
True to their name—derived from the Greek words for “water vessel”—hydrangeas are thirsty plants. Consistent moisture is the single most important factor in keeping them healthy. If the soil dries out completely, the leaves will wilt rapidly, and the plant may struggle to recover.
During the heat of summer, check your hydrangeas daily. If the top inch of soil feels dry to the touch, it is time to water. Aim for deep, thorough soakings at the base of the plant rather than light, frequent sprinkles. Watering at the root zone keeps the foliage dry, which helps prevent fungal diseases like powdery mildew.
To maintain consistent soil moisture, follow these practical tips:
- Apply mulch: A two-to-three-inch layer of organic mulch, such as shredded bark or pine needles, helps retain soil moisture and keeps roots cool.
- Water early: Morning is the best time to irrigate, as it allows the plant to hydrate fully before the heat of the afternoon.
- Monitor containers: Potted hydrangeas dry out significantly faster than those in the ground and may require daily attention during peak summer.
When it comes to feeding, less is often more. While hydrangeas benefit from a balanced, slow-release fertilizer, moderation is key. Many gardeners make the mistake of over-fertilizing, which encourages the plant to put all its energy into growing large, lush green leaves at the expense of flower production.
Apply a balanced fertilizer once in the early spring, just as new growth begins to emerge. Avoid fertilizing after mid-summer, as late-season feeding can stimulate tender new growth that will not have enough time to harden off before the first frost. This can leave your plant vulnerable to winter damage. If your soil is healthy and rich in organic matter, a light application of compost each spring is often all the nutrition your hydrangeas need to bloom reliably year after year.

Troubleshooting and Long-Term Care
Even with the best preparation, hydrangeas occasionally struggle. If your plant is healthy but failing to bloom, the culprit is often timing. Many popular varieties, such as Bigleaf hydrangeas, set their flower buds on “old wood” during the previous summer. If you prune these plants in late winter or early spring, you are inadvertently cutting off the upcoming season’s flowers. Always prune immediately after the blossoms fade to ensure you don’t disrupt next year’s cycle.
Environmental factors also play a significant role. A sudden late-spring frost can kill developing buds, leaving you with lush foliage but no blooms. If you live in a region prone to late freezes, consider covering your plants with burlap or frost cloth when cold snaps are predicted in early spring.
Beyond blooming issues, you may encounter physical signs of stress. Wilting is common during the heat of the day, but the plant should recover once temperatures drop in the evening. If your hydrangea remains wilted despite consistent soil moisture, or if you notice unusual spots, discoloration, or stunted growth, it is time to investigate further.
When troubleshooting persistent problems, follow these steps for the best results:
- Check your soil: Ensure the ground is moist but well-draining. Hydrangeas dislike “wet feet,” which can lead to root rot.
- Inspect for pests: Look closely at the undersides of leaves for aphids, spider mites, or scale.
- Seek expert advice: If the issue persists, contact your local university cooperative extension office. They provide science-based guidance specific to your region’s climate and common local diseases.
Most hydrangea issues are manageable if caught early. By observing your plant’s growth habits and adjusting your care routine based on the specific variety you have, you can keep your garden thriving for years to come. Remember, patience is a key ingredient in gardening; sometimes, a plant simply needs one full season to establish its roots before it reaches its full potential.

Dedicated team of gardening enthusiasts with years of hands-on experience testing lawn mowers, gardening tools, and outdoor equipment. We help home gardeners and professionals alike make informed buying decisions with honest, thorough reviews. From push mowers to pruning shears, we test it all so you don’t have to. Got a gardening tool you’d like us to review? Get in touch!