
Propagating hydrangeas from cuttings is a rewarding way to expand your garden for free. You can easily grow new plants by taking stem cuttings during the active growing season. This simple process allows you to multiply your favorite varieties without spending money at the nursery, ensuring your landscape stays lush and vibrant year after year.
While cloning hydrangeas is straightforward, success requires patience and attention to moisture levels. Not every cutting will take root, so it is best to prepare several stems at once to increase your chances of success. Understanding the basic needs of these thirsty shrubs will help you nurture your new starts into thriving, healthy garden additions.
This guide covers the best time to take cuttings, the tools you need, and how to successfully root them into healthy new plants. We will walk you through each step, from selecting the right stems to providing the ideal environment for root development. Get ready to transform your backyard with these beautiful, easy-to-grow flowering shrubs.
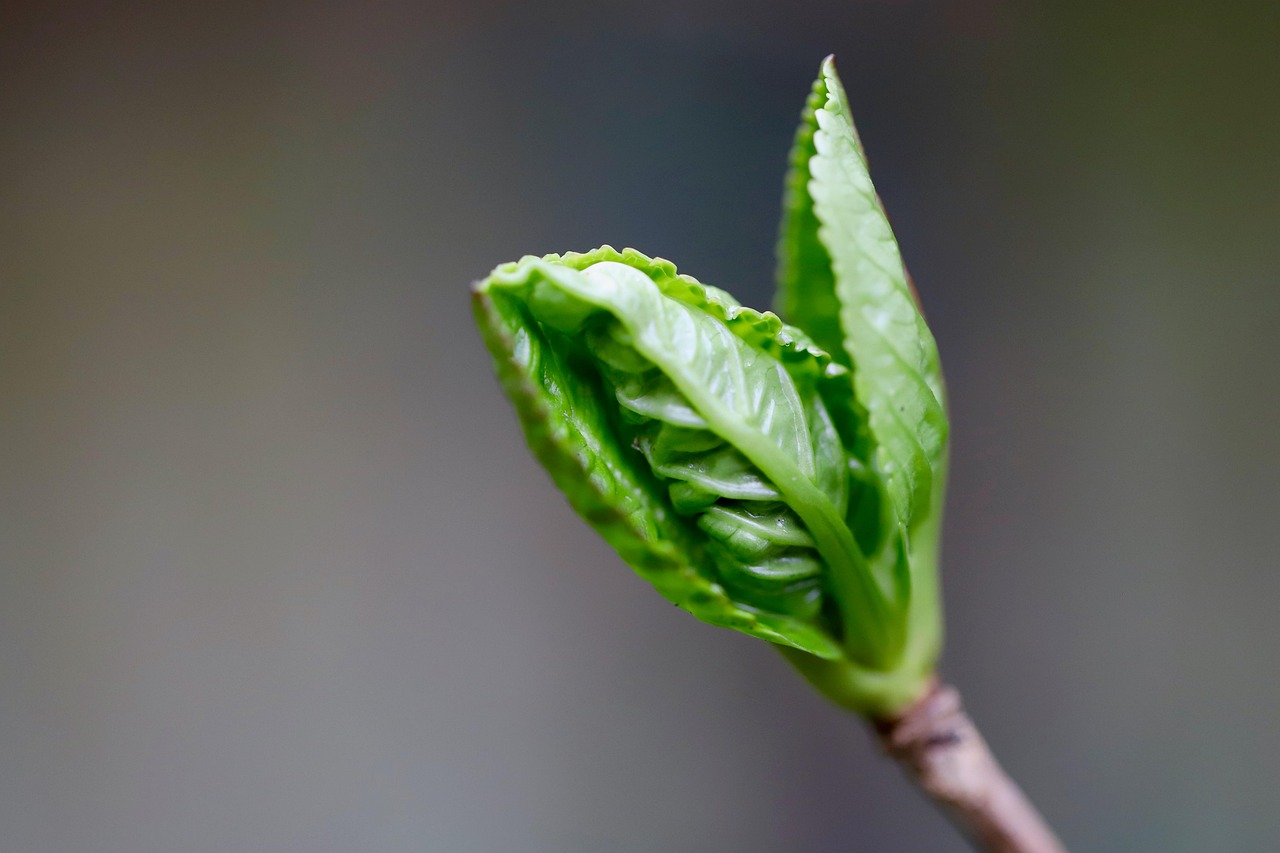
The Best Time to Take Hydrangea Cuttings
Timing is the most critical factor in successfully propagating hydrangeas. If you take cuttings at the wrong stage of the plant’s growth cycle, they will struggle to develop a healthy root system, often wilting before they can establish themselves.
The ideal window for taking hydrangea cuttings is late spring to early summer. During this period, the plant produces “softwood” growth. These are the new, flexible stems that have not yet hardened into woody tissue. Softwood cuttings are physiologically primed to produce roots quickly, providing the highest success rate for gardeners.
To identify the best stems for propagation, look for these specific characteristics:
- Flexibility: The stem should be supple and bend easily without snapping.
- Color: Choose bright green, tender growth rather than brown, bark-covered stems.
- Vegetative status: Select stems that have not yet produced a flower bud.
Avoid taking cuttings from woody, mature branches or stems that have already flowered. While it is technically possible to root woody cuttings later in the season, they require significantly more time and care to develop roots. These older stems are less efficient at transporting water and nutrients, which often leads to failure for home gardeners.
For the best results, aim to take your cuttings in the early morning. At this time of day, the plant is fully hydrated and turgid, meaning the cells are plump with water. This gives your cutting a vital head start before it is removed from the parent plant. If you must take cuttings later in the day, ensure the parent plant is well-watered a few hours beforehand to minimize stress.
By focusing your efforts on these flexible, non-flowering softwood stems during the early summer months, you provide your cuttings with the best possible biological environment to thrive. This strategic timing simplifies the process and significantly increases the likelihood of growing a robust, healthy new hydrangea bush.
Essential Tools and Safety Precautions
Successfully propagating hydrangeas begins with having the right equipment. Using the correct tools ensures a clean cut, which is vital for the plant’s ability to heal and develop roots rather than succumbing to rot or infection.
To prepare for taking your cuttings, gather these essential items:
- Sharp pruning shears or a garden knife: A dull blade will crush the stem tissue instead of slicing it, which hinders root development.
- Rubbing alcohol (70% isopropyl): Use this to sterilize your blades before you begin and between each plant to prevent the cross-contamination of pathogens.
- Durable gardening gloves: These protect your hands from potential skin irritation caused by hydrangea foliage and provide a better grip on your tools.
Safety should always be your priority when working with sharp gardening implements. Always maintain a clear workspace and keep your fingers well away from the path of the blade. When making your cuts, position your hands so that you are always slicing away from your body. This simple habit prevents accidental slips that could result in injury.
Before you start, take a moment to inspect your tools. Ensure the pivot point of your shears moves smoothly and that the blades are free of rust or debris. If you are using a knife, ensure the edge is honed; a sharp knife is significantly safer than a dull one because it requires less force to make a clean, controlled cut.
Finally, consider your posture. Work on a stable surface, such as a potting bench or a flat table, rather than trying to make cuts while holding the branch in mid-air. By stabilizing the hydrangea stem against a firm surface, you gain better control over the blade and ensure a precise 45-degree angle cut. This professional approach to tool maintenance and physical safety sets the foundation for healthy, vigorous new hydrangea plants.

Preparing Your Hydrangea Cuttings
Successful hydrangea propagation begins with selecting the right material. Choose a healthy, non-flowering stem from your parent plant. A vegetative stem—one that has not produced a bloom this season—contains more energy for root production rather than flower development. Your cutting should be approximately 6 inches long and feature at least two or three sets of leaf nodes.
Use sharp, sterilized pruning shears to make a clean cut. Position your cut precisely 1/4 inch below a leaf node, which is the area where leaves emerge from the stem. This specific location is essential because it contains a high concentration of growth hormones and cells capable of developing into roots.
Once you have your stem, prepare it for planting by following these steps:
- Remove all leaves from the lower portion of the stem, keeping only the top set of leaves intact.
- If the remaining leaves are large, use your shears to trim them in half horizontally. This reduces the surface area, significantly lowering moisture loss through transpiration while the cutting lacks an established root system.
- Gently scrape a tiny sliver of the outer bark from the bottom inch of the stem to expose the cambium layer.
- Dip the bottom inch of the prepared stem into a rooting hormone powder or gel. Gently tap off any excess to ensure a thin, even coating.
Rooting hormone is not strictly mandatory, but it acts as a safeguard against rot and significantly accelerates the development of a healthy root system. Avoid placing the cutting directly into the soil without first creating a small pilot hole with a pencil or dibber; this prevents the rooting hormone from being rubbed off as you insert the stem into your growing medium. Ensure the stem is firm and upright, then gently press the soil around it to eliminate air pockets. Your cutting is now ready to be placed in a warm, bright location, away from direct, scorching sunlight.
Planting and Rooting Your Cuttings
Once your hydrangea cutting is prepared, it is time to establish its new root system. Using the right medium is essential for success, as it provides stability while allowing oxygen to reach the developing roots. Fill a small, clean pot with a high-quality, sterile potting mix. Alternatively, a blend of half perlite and half peat moss works exceptionally well, as it offers excellent drainage while retaining just enough moisture.
To plant your cutting, follow these steps:
- Use a pencil or a chopstick to poke a hole in the center of the soil, ensuring you don’t scrape the rooting hormone off the stem as you insert it.
- Place the cutting into the hole, burying at least one or two nodes beneath the soil line.
- Gently firm the soil around the base of the stem to eliminate large air pockets and ensure good contact.
Hydrangeas require high humidity to prevent the leaves from wilting before they have roots to take up water. To create this environment, cover the pot with a clear plastic bag or a plastic humidity dome. Avoid letting the plastic touch the leaves directly, as this can encourage rot. If necessary, use a few small stakes or skewers to prop the bag up.
Place your container in a spot that receives bright, indirect light. Direct sunlight will cause the trapped air inside the plastic to overheat, which can quickly damage or kill your cutting. A north-facing window or a bright area away from harsh rays is ideal.
Consistency is key during the rooting phase. Check the soil every few days to ensure it remains consistently moist. It should feel like a wrung-out sponge—damp to the touch but never waterlogged. If you notice excess condensation inside the plastic, remove the cover for an hour to allow for air circulation. With patience and steady moisture, your cutting should develop a healthy root system within four to six weeks.

Follow-up Care and Troubleshooting
After four to six weeks, it is time to check for root development. Gently tug on the stem of your hydrangea cutting. If you feel slight resistance, the plant has successfully established a root system. If the stem pulls out easily, the roots have not yet formed; simply replace it in the medium and wait another two weeks.
Once you confirm roots are present, transplant the cutting into a larger pot filled with standard, well-draining garden soil. Move the plant gradually into a location with more light, but avoid harsh, direct sun for the first few weeks to prevent transplant shock.
If you notice your cuttings wilting or turning brown, adjust your environment immediately. These symptoms often indicate the plant is losing moisture faster than it can absorb it. Follow these steps to stabilize your cuttings:
- Increase Humidity: Place a clear plastic bag or a humidity dome over the pot to trap moisture, ensuring it does not touch the leaves directly.
- Manage Light: Move the cuttings to a spot with bright, indirect light. Direct sunlight can scorch young leaves and overheat the growing environment.
- Check Moisture: Ensure the potting medium remains consistently moist but never waterlogged, which can lead to stem rot.
If you struggle to get your cuttings to take root, review your initial setup. Success often comes down to hygiene and material quality:
- Sanitize Tools: Always use clean, sharp pruning shears or a knife. Dull blades crush plant tissue, while dirty tools introduce pathogens that cause rot.
- Use Fresh Media: Never reuse old potting soil for cuttings. Fresh, sterile potting mix or perlite-based mediums provide the best aeration and drainage, reducing the risk of fungal issues.
- Proper Cuts: Ensure your cutting is taken from healthy, non-flowering growth and that the bottom node is clean, as this is where the new roots will emerge.

Dedicated team of gardening enthusiasts with years of hands-on experience testing lawn mowers, gardening tools, and outdoor equipment. We help home gardeners and professionals alike make informed buying decisions with honest, thorough reviews. From push mowers to pruning shears, we test it all so you don’t have to. Got a gardening tool you’d like us to review? Get in touch!