
Spider mites are common household pests that typically arrive on new, infested plants or hitchhike indoors on your clothing and pets. They often travel through open windows on light breezes, quickly colonizing your indoor and outdoor greenery. Understanding how these tiny arachnids find their way into your garden is the essential first step toward effective prevention and control.
While discovering these pests can be frustrating, they are a manageable part of home gardening. You do not need to be an expert to keep your plants healthy, but you must remain vigilant. Recognizing their entry methods allows you to create a defensive strategy that protects your collection from rapid infestations before they cause significant, irreversible leaf damage.
This guide explains the primary ways spider mites infiltrate your space and provides actionable steps to keep your greenery safe. We will explore practical inspection techniques, environmental adjustments, and natural treatment options to keep your plants thriving. Follow these proven strategies to identify early warning signs and maintain a healthy, pest-free indoor or outdoor garden year-round.

The Primary Ways Spider Mites Enter Your Home
Spider mites are master hitchhikers. Because they are smaller than a grain of sand, they can easily infiltrate your indoor garden without you ever noticing. Understanding how these arachnids enter your home is the first step in protecting your plants.
The most common entry points include:
- New Plant Additions: This is the number one cause of infestations. Mites often hide on the undersides of leaves in nurseries. Always quarantine new plants in a separate room for at least two weeks before placing them near your established collection.
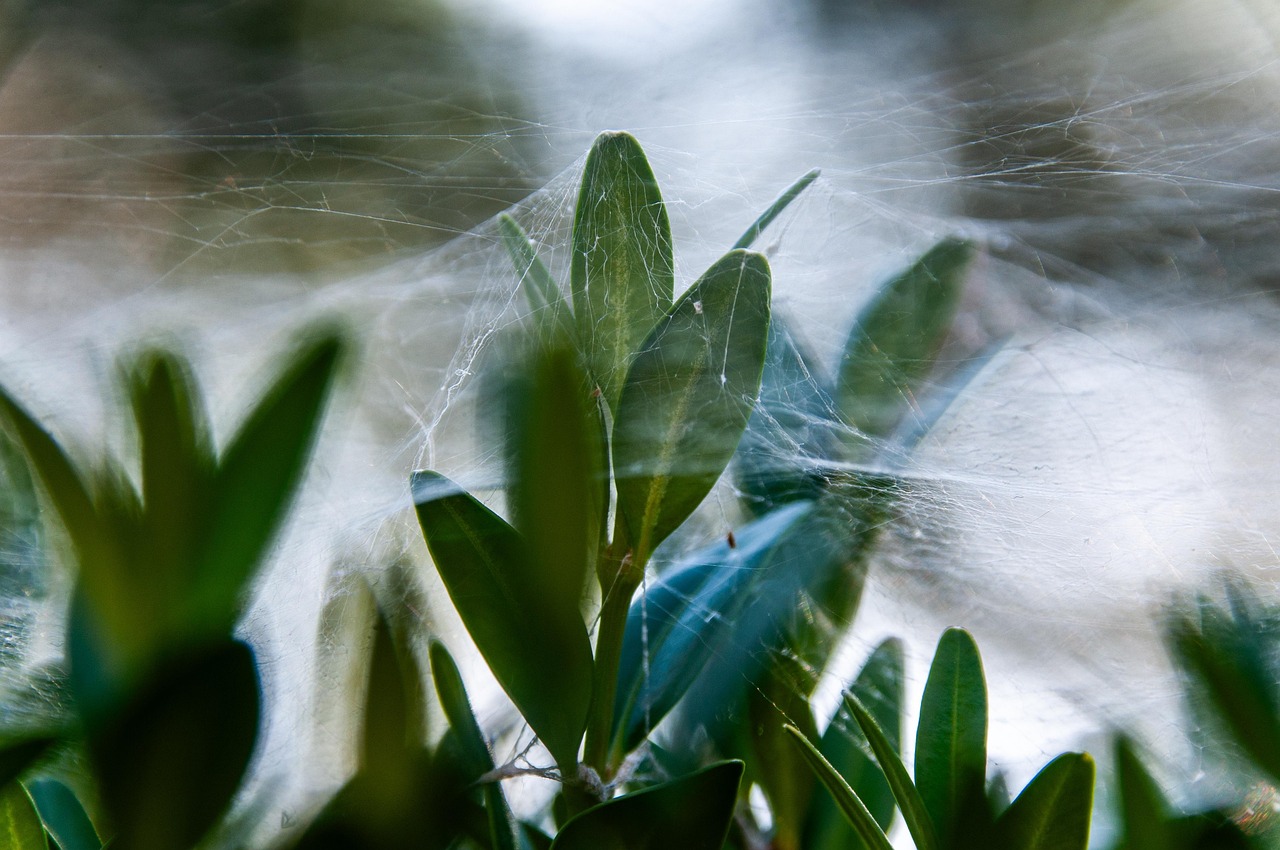
- Airborne Travel: Spider mites produce light, gossamer silk webbing. They use these threads to catch air currents, allowing them to drift through open windows, screens, or doorways during warm, breezy weather.
- Human Transport: If you spend time in an outdoor garden, mites can easily latch onto your clothing, shoes, or skin. When you walk inside to tend to your houseplants, you may inadvertently carry them along with you.
- Contaminated Supplies: Occasionally, mites can hide in bags of potting soil or on garden tools that have been stored in an infested outdoor shed.
Because these pests are so difficult to spot, vigilance is essential. You likely won’t see the mites themselves until their population has exploded. Instead, look for the early warning signs: tiny, pale stippling dots on your leaves or fine, dusty webbing stretched between stems.
To reduce your risk, regularly inspect the undersides of leaves, especially during dry or hot months when mites thrive. If you suspect an infestation, isolate the affected plant immediately to stop the spread. Gently wiping leaves with a damp cloth or using a mild insecticidal soap can remove mites before they establish a colony. By treating every new plant as a potential carrier and keeping your indoor humidity levels consistent, you can significantly lower the chances of a spider mite outbreak in your home.
Identifying the Conditions That Attract Mites
Spider mites are opportunistic pests that thrive in specific environmental conditions. Understanding what makes your home a magnet for these tiny arachnids is the first step in prevention. They are notoriously drawn to hot, dry, and dusty environments, which mimic the arid climates where they naturally flourish.
When a plant is stressed, its natural defenses weaken, making it a prime target. The most common trigger for a spider mite infestation is inconsistent watering. When a plant is chronically underwatered, its cellular structure loses turgor pressure, signaling to mites that the plant is vulnerable. Similarly, low humidity—common in homes during winter or near heating vents—creates the exact parched atmosphere these pests crave.
Dust also plays a significant role in attracting mites. A layer of dust on your plant’s foliage can block sunlight, inhibit photosynthesis, and provide a perfect, sheltered habitat for mites to hide and colonize without being easily spotted.
To make your plants less attractive to these invaders, focus on maintaining a balanced and clean environment:
- Monitor Moisture: Check soil moisture regularly. Water your plants thoroughly when the top inch of soil feels dry to ensure they remain hydrated and resilient.
- Boost Humidity: If you live in a dry climate, use a humidifier or group plants together to create a localized microclimate with higher moisture levels.
- Dust Regularly: Gently wipe leaves with a damp, soft cloth every few weeks. This not only keeps the plant clean and able to breathe but also disrupts potential mite colonies before they establish a foothold.
- Improve Airflow: Ensure your plants have adequate space between them. Good air circulation prevents stagnant, hot pockets of air that mites prefer.
By keeping your plants hydrated, clean, and in a stable environment, you significantly reduce the likelihood of a spider mite takeover. Proactive care is far easier than attempting to eradicate an established infestation later on.

Inspecting New Plants Before Introduction
The most frequent way spider mites infiltrate a home garden is through newly purchased plants. These microscopic pests are expert hitchhikers, often hiding in the dense foliage of nursery stock. To protect your established collection, you must treat every new arrival as a potential carrier.
The most effective strategy is a strict two-week quarantine. During this period, keep your new plant in a separate room, away from your other houseplants. This isolation period allows any dormant mite eggs to hatch and reveal their presence before they can migrate to your healthy plants.
Before bringing a new plant home, perform a thorough inspection. Spider mites are difficult to spot with the naked eye, so use a magnifying glass to examine the plant closely. Focus your attention on the undersides of the leaves, where these pests congregate to feed. Look for these specific warning signs:
- Fine Webbing: Look for delicate, silk-like threads stretched between leaf stems or across the undersides of foliage.
- Stippling: Check for tiny, pale yellow or white dots on the upper surface of leaves, which indicate where mites have pierced the plant tissue to feed.
- Dusty Appearance: If the underside of a leaf looks like it is covered in fine, moving dust, it is likely an active mite colony.
If you discover any signs of infestation, do not bring the plant into your home. Return it to the nursery or isolate it immediately to begin treatment. If the plant appears healthy, continue the quarantine for the full fourteen days. This window is crucial because it accounts for the mite life cycle; if no webbing or stippling appears after two weeks of observation, the plant is likely safe to join your collection.
By implementing this simple inspection protocol, you create a vital defensive barrier. Preventing an infestation is significantly easier than eradicating one, and taking these few extra steps will save your indoor garden from the stress and damage caused by spider mites.
Safe Removal and Treatment Methods
If you discover spider mites on your plants, immediate action is necessary to prevent the infestation from spreading. Because these pests thrive in dry conditions, the first line of defense is a gentle physical cleaning. Use a soft cloth dampened with lukewarm water to carefully wipe down both the tops and undersides of the leaves, as well as the stems. This process effectively removes the fine webbing and dislodges adult mites.
For plants with heavy infestations, mechanical removal is often more effective than washing alone. If you notice leaves that are severely damaged, yellowed, or covered in dense webs, it is best to prune them away entirely.
When pruning, follow these essential hygiene steps to protect your other plants:
- Use sharp, clean pruning shears to make precise cuts.
- Wipe the blades thoroughly with rubbing alcohol after every single cut. This prevents the accidental transfer of mites or pathogens from an infested leaf to a healthy part of the plant.
- Dispose of infested foliage immediately in a sealed bag to ensure mites do not crawl back onto your collection.
If the infestation persists after physical removal, you may need to apply a horticultural treatment such as neem oil or insecticidal soap. When using these products, prioritize your safety by following these guidelines:
- Always wear protective gloves to prevent skin irritation.
- Work in a well-ventilated area, such as a balcony, patio, or near an open window. This ensures you do not inhale fine mists or dust particles during application.
- Read the product label carefully to ensure the concentration is safe for the specific plant species you are treating.
After treatment, continue to monitor your plant closely for at least two weeks. Spider mites have a rapid life cycle, and eggs may hatch even after the adults have been removed. By staying consistent with your cleaning routine and maintaining higher humidity levels around your plants, you can successfully manage the population and restore your plant’s health.
Ongoing Care and When to Seek Professional Help
Consistent monitoring is the most effective defense against spider mites. Because these pests thrive in dry, stagnant air, make it a habit to inspect the undersides of leaves weekly. Look for fine webbing, stippling (tiny yellow dots), or a dusty appearance. Early detection allows you to manage the population with simple interventions, such as wiping leaves with a damp cloth or increasing local humidity.
If you identify an active infestation, prioritize safety above all else. Never use harsh synthetic pesticides indoors, especially in homes with pets or small children. Always read the safety label on any horticultural product—even organic options like neem oil or insecticidal soap—to ensure proper dilution and application methods.
Follow these steps to maintain plant health during treatment:
- Isolate the affected plant immediately to prevent mites from traveling to healthy neighbors.
- Gently wash the foliage with lukewarm water to physically dislodge as many mites as possible.
- Apply your chosen treatment consistently, as most products only kill active mites and not their eggs.
- Improve airflow around the plant to discourage future outbreaks.
Despite your best efforts, some infestations may prove stubborn. If mites persist after several weeks of consistent treatment, or if the plant is a rare, high-value specimen that you are uncomfortable treating yourself, it is time to seek professional help. Local nurseries and plant specialists have access to specialized tools and expertise that can save a struggling plant.
If you choose to hire a professional, be prepared to provide a history of the plant’s location, your watering routine, and the specific products you have already applied. This information helps the specialist determine if the infestation is a recurring environmental issue or a localized problem. Remember, gardening is a learning process; do not be discouraged if you encounter pests. With regular observation and a proactive approach, you can keep your indoor garden thriving and healthy for years to come.

Dedicated team of gardening enthusiasts with years of hands-on experience testing lawn mowers, gardening tools, and outdoor equipment. We help home gardeners and professionals alike make informed buying decisions with honest, thorough reviews. From push mowers to pruning shears, we test it all so you don’t have to. Got a gardening tool you’d like us to review? Get in touch!