
Understanding the growth cycle of a hydrangea helps you provide the right care for vibrant blooms. These popular shrubs develop from spring growth through dormancy by utilizing stored energy in their woody stems to produce lush foliage and flowers. Knowing this cycle is essential for gardeners who want to ensure healthy development and consistent flowering.
Growing hydrangeas is rewarding, but it requires patience and attention to seasonal changes. While these plants are relatively hardy, they rely on specific soil moisture levels and light conditions to reach their full potential. Setting realistic expectations about their slow-growing nature will help you avoid common mistakes and keep your garden looking beautiful all year.
This comprehensive guide explains exactly how these shrubs thrive in your garden environment. We will cover the practical steps you need to take, from choosing the right planting location to mastering seasonal pruning techniques. By following these expert tips, you will gain the confidence to nurture your hydrangeas and enjoy spectacular, long-lasting blooms every season.
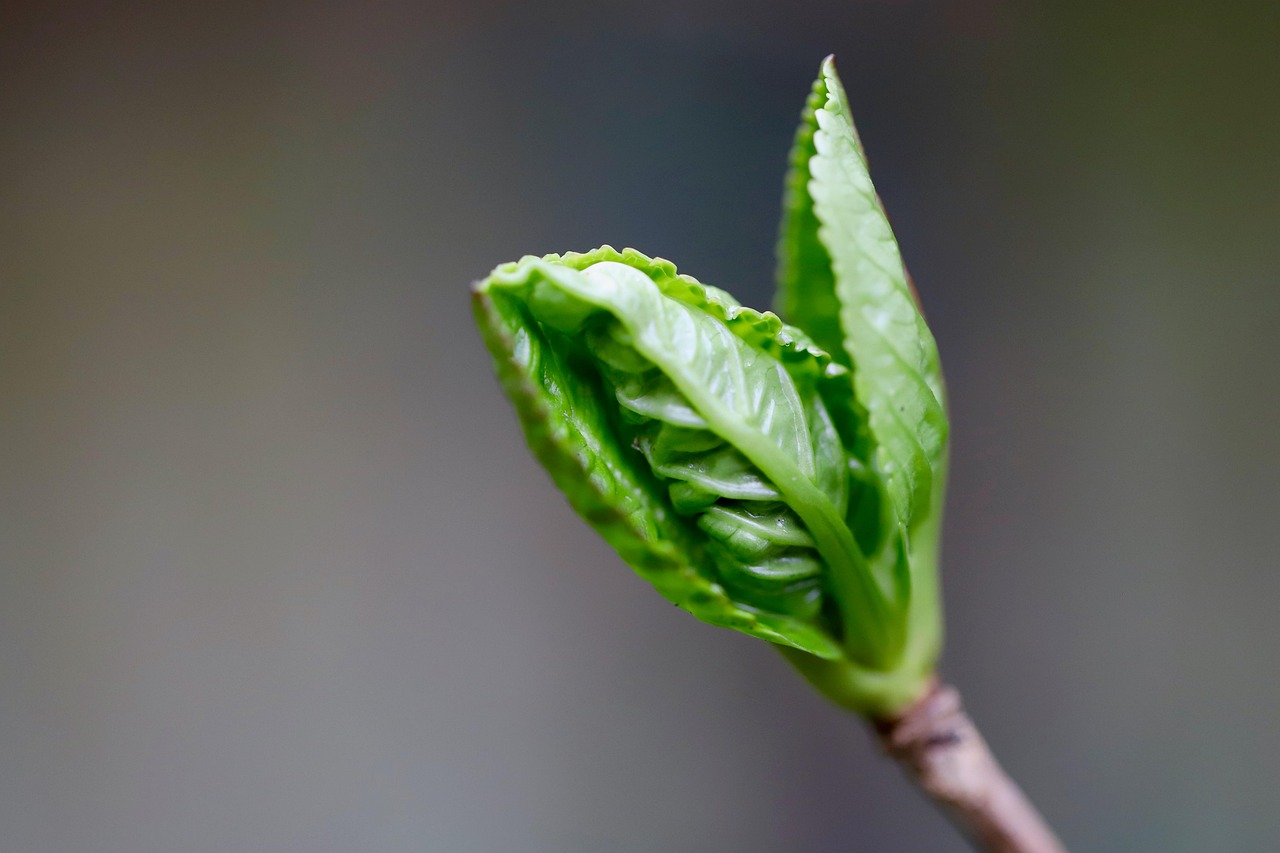
The Seasonal Growth Cycle of Hydrangeas
Understanding the seasonal rhythm of your hydrangea is the secret to healthy blooms and vigorous growth. These shrubs follow a predictable biological clock that dictates their energy usage throughout the year.
Spring: The Awakening
As temperatures rise, hydrangeas emerge from winter dormancy. You will notice bright green buds swelling along the stems, eventually unfurling into lush foliage. This is a critical time for root development. Ensure the soil remains consistently moist, as the plant requires significant energy to support this rapid burst of new growth.
Summer: The Blooming Phase
Summer is the main event. Depending on the variety, your hydrangea will produce its iconic mophead or lacecap flowers. During this peak period, the plant is highly active. To support long-lasting blooms, follow these practical care tips:
- Water deeply at the base of the plant to keep roots hydrated without wetting the foliage, which can encourage fungal issues.
- Apply a layer of organic mulch to retain soil moisture and regulate temperature during heatwaves.
- Deadhead spent flowers if you prefer a tidy appearance, though leaving them can provide winter interest.
Autumn: Transition and Preparation
As daylight hours shorten, the plant shifts its focus from flower production to seed development and nutrient storage. You may notice the foliage changing color, often turning shades of bronze, red, or yellow. Growth slows significantly as the hydrangea begins to harden off its stems in preparation for cooler weather.
Winter: The Dormant Rest
Once the first hard frost arrives, the plant enters a period of deep dormancy. The stems may appear brittle and bare, but the root system remains alive beneath the soil. During this phase, the plant is essentially “sleeping” and conserving energy. Avoid heavy pruning during this time, as many varieties set their flower buds for the following year on old wood. Simply protect the base with a thick layer of mulch if you live in an area with severe freezing temperatures to ensure a healthy start when spring returns.
Root System and Soil Requirements
Hydrangeas develop a robust, fibrous root system that acts as the foundation for their impressive growth. Unlike plants with deep taproots, hydrangeas spread their roots horizontally just beneath the soil surface. Because these roots are relatively shallow, they are highly sensitive to environmental changes and require consistent moisture to thrive.
To support this expansive root network, your soil must be rich in organic matter and possess excellent drainage. Hydrangeas struggle in heavy, compacted clay that holds too much water, as this can lead to root rot. Conversely, sandy soils may drain too quickly, preventing the plant from absorbing the nutrients necessary for vigorous development.
You can optimize your soil environment by following these practical steps:
- Amend with organic matter: Before planting, mix 3 to 4 inches of compost or aged manure into the top 10 inches of soil to improve texture and nutrient retention.
- Ensure proper drainage: If your garden soil is heavy clay, plant your hydrangea on a slight mound or incorporate perlite to encourage water movement away from the crown.
- Apply mulch: Spread a 2-inch layer of organic mulch, such as shredded bark or pine needles, around the base of the plant. This keeps the shallow root zone cool and helps maintain steady soil moisture levels.
Maintaining healthy roots is the most effective way to influence your hydrangea’s performance. When the root system is well-nourished, the plant can efficiently transport water and minerals to its stems and foliage. This nutrient uptake directly dictates the overall size of the shrub and the intensity of its flower heads. If the soil dries out completely or becomes waterlogged, the plant will prioritize survival over blooming, often resulting in smaller, lackluster flowers.
For the best results, aim for soil that feels like a wrung-out sponge—consistently damp but never saturated. Regularly checking the moisture level just an inch below the mulch will help you determine when your hydrangea needs a deep, thorough watering to keep its root system functioning at its peak.

Light and Water Factors in Development
Hydrangeas are vigorous growers, but their development rate depends almost entirely on how well you balance their light and water needs. If these two factors are off, the plant will prioritize basic survival over producing new stems and vibrant blooms.
Most hydrangea varieties thrive when they receive a specific type of light exposure. They generally prefer morning sun, which provides the energy needed for photosynthesis, followed by afternoon shade. The intense heat of the late afternoon sun can quickly scorch leaves and cause the plant to wilt, effectively stalling its growth cycle.
Water is the primary driver of rapid expansion in hydrangeas. Because these plants have large, thin leaves, they lose moisture quickly through transpiration. To support healthy foliage and strong stem development, keep these hydration tips in mind:
- Prioritize establishment: During the first year after planting, the root system is small. Keep the soil consistently moist—but not waterlogged—to help the plant anchor itself.
- Monitor summer heat: During high-temperature months, check your hydrangeas daily. If the leaves droop by midday, the plant is struggling to move water to its extremities.
- Water at the base: Always direct your hose or watering can at the soil rather than the leaves. Wet foliage can encourage fungal issues like powdery mildew, which can stunt growth.
- Check soil moisture: Before watering, poke your finger two inches into the soil. If it feels dry, it is time to hydrate. If it is damp, wait another day to avoid root rot.
Consistency is the secret to successful growth. Hydrangeas do not handle drought well; even a short period of extreme dryness can cause flower buds to abort or stems to become brittle. By maintaining a steady moisture level and providing protection from harsh afternoon rays, you create the ideal environment for your hydrangea to develop a robust, healthy structure throughout the growing season.
Pruning Safely for Healthy Growth
Pruning is essential for maintaining a hydrangea’s health, as it promotes better airflow and removes dead wood that can harbor pests or disease. However, the timing of your cuts is critical. Because different hydrangeas bloom on either “old wood” (last year’s growth) or “new wood” (growth from the current season), pruning at the wrong time can accidentally remove your flower buds for the coming year.
Before you begin, gather the right equipment to ensure a clean, professional cut that heals quickly. Always use sharp, sterilized bypass pruners. Bypass pruners act like scissors, making a clean slice that avoids crushing the stem, whereas anvil pruners can damage delicate tissue. Wipe your blades with rubbing alcohol between plants to prevent the spread of pathogens.
For your personal safety and the protection of the plant, follow these best practices:
- Wear protective gear: Use heavy-duty gardening gloves to shield your hands from stiff branches, hidden thorns, or sharp debris.
- Use manual tools only: Never use power hedge trimmers for maintenance pruning. These tools often tear stems and damage the plant’s natural structural integrity.
- Prioritize stability: If you are reaching for taller shrubs, ensure you have firm, level footing. Avoid over-stretching, which can lead to slips or uneven cuts.
When making your cuts, always prune just above a healthy set of leaf buds at a 45-degree angle. This technique prevents water from pooling on the cut surface, which significantly reduces the risk of rot or fungal infection. If you are unsure of your hydrangea variety, wait until the plant begins to leaf out in the spring; this makes it much easier to identify and remove only the truly dead, brittle wood. By taking your time and using the correct manual tools, you ensure your hydrangea remains vigorous, well-shaped, and ready to produce a spectacular display of blooms throughout the season.

Common Questions and Long-Term Care
Many gardeners worry when their hydrangeas fail to produce blooms. This frustration is almost always linked to two specific factors: improper pruning or late spring frosts. If you prune your shrubs at the wrong time of year, you may accidentally remove the developing flower buds. For most varieties, it is best to prune immediately after the flowers fade in summer rather than waiting until winter or early spring.
Late frost can also kill buds that have begun to swell prematurely. If you live in an area with unpredictable spring weather, consider covering your plants with burlap or frost cloth when a late freeze is forecasted.
To support long-term vigor and consistent flowering, follow these essential care practices:
- Fertilizing: Apply a balanced, slow-release fertilizer once in early spring as new growth begins. Avoid over-fertilizing, as too much nitrogen encourages lush foliage at the expense of flowers.
- Mulching: Spread a two-to-three-inch layer of organic mulch, such as shredded bark or pine needles, around the base of the plant. This helps regulate soil temperature and retains vital moisture during hot summer months.
- Watering: Hydrangeas require consistent moisture. Water deeply at the base of the plant rather than overhead to keep the foliage dry and prevent fungal issues.
Even with perfect care, plants can sometimes struggle. If you notice persistent wilting despite adequate watering, or if the leaves turn yellow despite proper soil acidity, there may be an underlying issue with your soil composition or a hidden pest. In these cases, do not rely on guesswork. Contact your local agricultural extension office or a master gardener program in your area. They can provide professional guidance and offer soil testing services to determine if your garden needs specific nutrient amendments or pH adjustments. Taking these proactive steps ensures your hydrangeas remain healthy, vibrant, and ready to bloom season after season.

Dedicated team of gardening enthusiasts with years of hands-on experience testing lawn mowers, gardening tools, and outdoor equipment. We help home gardeners and professionals alike make informed buying decisions with honest, thorough reviews. From push mowers to pruning shears, we test it all so you don’t have to. Got a gardening tool you’d like us to review? Get in touch!