
Propagating hydrangeas from cuttings is a rewarding way to multiply your favorite shrubs for free. You can easily grow new plants by taking healthy stem segments during the active growing season. This simple method allows you to expand your garden collection without spending money at the nursery, ensuring your landscape stays lush and vibrant.
While growing hydrangeas from cuttings is straightforward, success requires patience and attention to detail. Not every cutting will take root, so it is best to prepare several stems at once to increase your chances of success. Providing consistent moisture and indirect light is essential for helping these delicate new plants establish a strong foundation.
This guide explains the step-by-step process of taking healthy cuttings, preparing them for growth, and ensuring they develop strong roots for your garden. We cover everything from selecting the right stems to choosing the best potting medium for rapid development. Follow these practical tips to master hydrangea propagation and enjoy beautiful blooms for years.
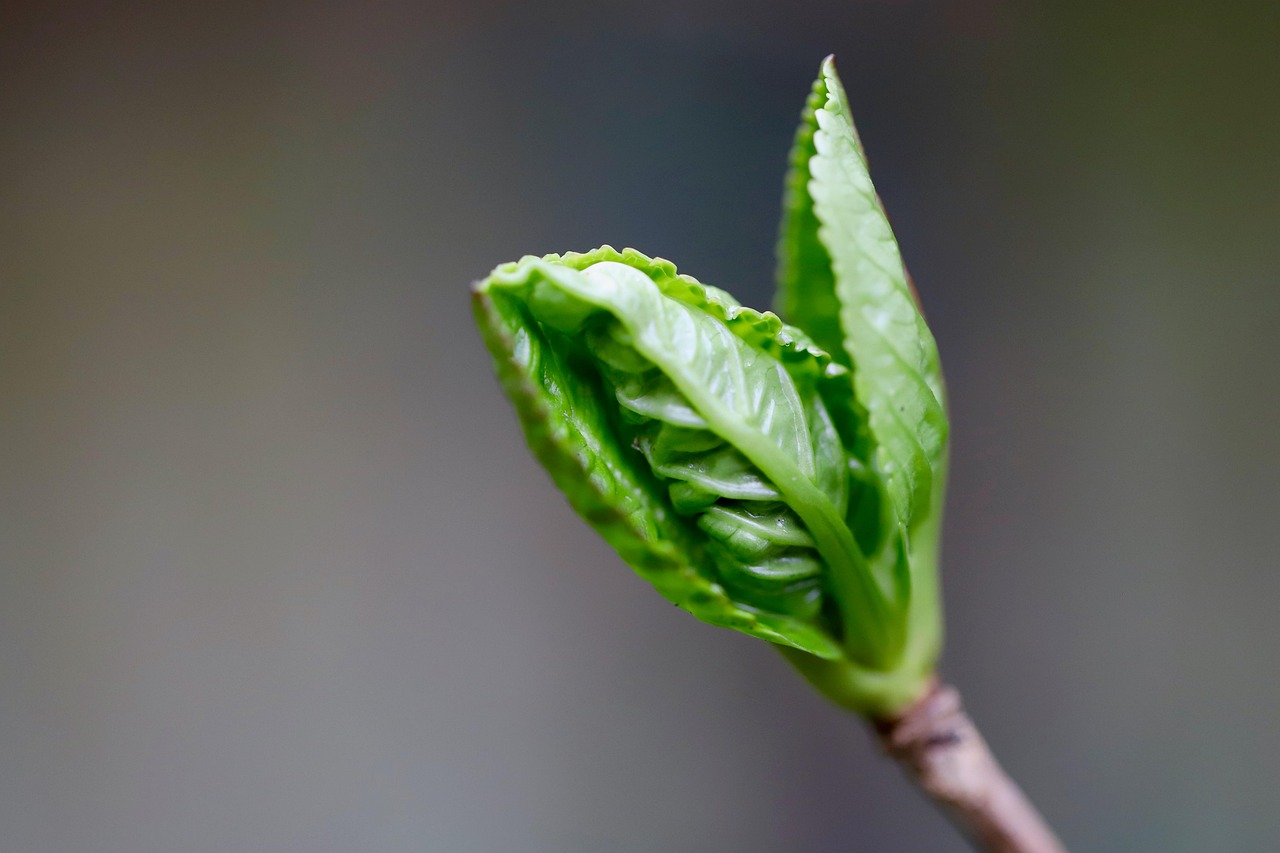
The Best Time to Take Hydrangea Cuttings
Timing is the most critical factor when propagating hydrangeas. To achieve the highest success rate, you should take your cuttings during the softwood stage, which typically occurs from late spring through mid-summer.
During this window, the plant is in a phase of active, vigorous growth. The stems are flexible and supple, yet firm enough to hold their shape. Because the plant is actively pushing energy into new foliage, the stems contain the ideal balance of moisture and carbohydrates necessary to support root development before the plant enters its dormant winter cycle.
If you take cuttings too early in the spring, the stems are often too succulent and prone to rotting before they can establish roots. Conversely, waiting until late summer or autumn means the stems have become woody and tough; these “hardwood” cuttings take significantly longer to root and often require more complex propagation techniques.
To determine if your hydrangea is ready for propagation, look for these signs:
- The stems are green and pliable but not watery or limp.
- The plant has finished its initial spring flush of growth but has not yet begun to form hard, brown bark.
- New leaves are fully expanded and firm.
For the best results, plan to take your cuttings in the cool of the early morning. At this time of day, the plant is fully hydrated, which minimizes stress on the cutting and gives it the best possible start. Avoid taking cuttings during the heat of the afternoon, as the stems may already be slightly wilted, making it harder for them to recover once detached from the parent plant.
By sticking to this mid-season window, you provide your cuttings with the energy reserves they need to transition from a simple stem into a healthy, independent plant. If you miss this window, it is usually better to wait until the following season rather than attempting to force propagation from suboptimal wood.
Tools and Safety Requirements
Successfully propagating hydrangeas from cuttings begins with the right preparation. Using the correct tools not only makes the process easier but also ensures the health of both your parent plant and your new starts. Precision is key to encouraging root development rather than damaging the stem tissues.
Before you begin, gather the following essential items:
- Sharp pruning shears: Use bypass pruners rather than anvil-style shears. Sharp blades create clean, crisp cuts that heal quickly, whereas dull blades crush the stem, which can lead to rot or disease.
- Sterilization solution: Mix one part household bleach with nine parts water, or use rubbing alcohol. Wipe your blades thoroughly between every single cut to prevent the transmission of fungi or bacteria from one plant to another.
- Gardening gloves: Durable, well-fitting gloves protect your hands from accidental nicks, splinters, or rough stems. They also provide a better grip, reducing the chance of your hand slipping while using a sharp blade.
- Clean workspace: A stable, flat surface allows you to make precise cuts without rushing.
Safety should always be your primary focus during propagation. Always cut away from your body and keep your non-dominant hand clear of the blade’s path. If you are working with older, woody hydrangea stems, do not force the shears; if the branch is too thick to cut easily, choose a slightly thinner, more pliable stem instead. Forcing a cut can cause the tool to slip, leading to potential injury.
Finally, inspect your tools after every session. Remove any plant sap or debris from the blades immediately, as dried residue can harbor pathogens and make the metal prone to rust. Once clean, dry the shears completely before storing them in a safe, dry location. By maintaining your equipment and practicing careful cutting techniques, you significantly improve the survival rate of your hydrangea cuttings and keep your garden thriving.

Step-by-Step Cutting Preparation
To successfully propagate hydrangeas, you must select the right material. Always choose a healthy, non-flowering stem for your cuttings. Stems that have already produced a bloom are focused on seed production rather than root development, which significantly lowers your chances of success. Look for a flexible, green stem that shows no signs of pests or disease.
Once you have identified a suitable stem, follow these steps to prepare the cutting for rooting:
- Make the cut: Using sharp, sterilized pruning shears, cut a 4- to 6-inch segment from the tip of the stem. Ensure your cut is made precisely 1/4 inch below a leaf node—the point where leaves emerge from the stem. This area contains the highest concentration of growth hormones necessary for root formation.
- Remove lower foliage: Strip away all leaves from the bottom half of the cutting. You only need one or two pairs of leaves at the very top of the stem. Excess foliage forces the plant to spend energy on transpiration and leaf maintenance rather than root production.
- Trim remaining leaves: If the remaining leaves are large, cut them in half horizontally with your shears. This reduces the surface area, which helps the cutting retain moisture while it lacks a root system to pull water from the soil.
After preparing the stem, you may choose to dip the bottom inch of the cutting into a rooting hormone powder or gel. While not strictly mandatory for all hydrangea varieties, this step provides a protective barrier against soil-borne pathogens and accelerates the development of new roots.
Keep your prepared cuttings in a shaded, humid environment immediately after processing. Because they lack roots, they are highly susceptible to wilting. Placing them in a glass of water or a moist potting medium right away prevents the cut end from drying out, ensuring the plant’s internal energy remains strictly directed toward establishing a strong, healthy root system.
Planting and Rooting Your Cuttings
Once you have prepared your hydrangea cuttings, the next step is to encourage rapid root development. While hydrangeas can sometimes root in plain water, using a rooting hormone significantly increases your success rate. Dip the cut end of each stem into a rooting powder or gel, ensuring you tap off any excess. This treatment not only accelerates growth but also provides a protective barrier against soil-borne pathogens.
Choosing the right potting medium is critical for preventing rot. Hydrangea cuttings require a balance of moisture and aeration. Avoid heavy garden soil, which can compact and suffocate tender new roots. Instead, use a sterile, well-draining mix. A combination of equal parts perlite and peat moss or a high-quality seed-starting mix works best. These materials hold enough moisture to sustain the cutting while allowing excess water to drain away freely.
To ensure your cuttings thrive, follow these steps for planting and maintenance:
- Fill a small nursery pot with your dampened potting medium.
- Use a pencil or dibber to create a hole in the center, preventing the rooting hormone from being wiped off as you insert the stem.
- Gently firm the medium around the base of the cutting to provide stability.
- Place the pot in a warm location with bright, indirect light; avoid direct sunlight, which can scorch the leaves and cause dehydration.
Hydrangea cuttings lack a root system to absorb water, so maintaining high humidity is essential. Create a mini-greenhouse effect by covering the pot with a clear plastic bag or a humidity dome. If using a bag, ensure it is propped up so it does not touch the foliage, which can encourage fungal issues. This enclosure traps moisture, preventing the leaves from wilting while the plant focuses its energy on establishing roots. Check the moisture level of the medium every few days; it should remain consistently damp but never waterlogged. With proper care, your cuttings should show signs of new growth within three to four weeks.

Follow-up Care and Troubleshooting
Once your hydrangea cuttings are potted, consistency is key. Keep the soil consistently moist but never waterlogged. To maintain the necessary humidity, keep the cuttings in a warm spot with bright, indirect light. Avoid direct sunlight, which can scorch the leaves and cause excessive moisture loss before roots have established.
Monitor your cuttings for signs of growth, such as new leaf development or resistance when you gently tug on the stem. This resistance indicates that roots have begun to anchor into the soil. Typically, you can expect to see these signs within four to six weeks.
If you encounter issues, use these troubleshooting tips:
- Wilting: It is normal for cuttings to droop slightly initially. If they remain wilted, increase humidity by tenting a clear plastic bag over the pot, ensuring it does not touch the leaves.
- Mold: If you notice fuzzy white growth on the soil surface or stems, remove the cover immediately to improve airflow. Ensure the soil isn’t overly saturated.
- Yellowing leaves: This often signals overwatering or a lack of sufficient light. Adjust your watering schedule and move the container to a brighter location.
Once the cuttings have developed a robust root system and show active growth, you can transplant them into larger individual pots. Use a high-quality potting mix and allow them to grow for one full season in these containers. This period allows the plant to strengthen before facing the harsher elements of the garden.
For the final move to an outdoor location, wait until the danger of frost has passed in the spring. Gradually “harden off” your hydrangeas by placing them outside for a few hours each day, slowly increasing their exposure over two weeks. Choose a spot that receives morning sun and afternoon shade to ensure your new hydrangeas thrive in their permanent home.

Dedicated team of gardening enthusiasts with years of hands-on experience testing lawn mowers, gardening tools, and outdoor equipment. We help home gardeners and professionals alike make informed buying decisions with honest, thorough reviews. From push mowers to pruning shears, we test it all so you don’t have to. Got a gardening tool you’d like us to review? Get in touch!