
Spider mites typically enter your home by hitching a ride on new plants, infested soil, or through open windows and screens. These microscopic pests are easily carried on your clothing or by pets, quickly finding their way to your indoor greenery. Because they are so small, they often go unnoticed until an infestation begins.
While discovering these tiny invaders is frustrating, it is a common reality for every indoor gardener. Spider mites thrive in warm, dry environments, making many living rooms the perfect breeding ground for their rapid population growth. Understanding these environmental triggers is the first step toward maintaining a healthy, pest-free indoor garden throughout the year.
Our guide explores exactly how these pests infiltrate your space and provides actionable steps to protect your collection. You will learn how to identify early warning signs, implement effective quarantine procedures for new arrivals, and use practical care techniques to stop an outbreak before it spreads. Keep your plants thriving and safe with these essential management strategies.

Understanding the Spider Mite Lifecycle
To effectively manage spider mites, you must first recognize that they are not insects. These tiny pests are actually arachnids, closely related to spiders and ticks. Because they possess eight legs and lack wings, they rely on crawling or hitching rides on clothing, pets, or new plant additions to infiltrate your indoor garden.
Spider mites thrive in environments that mimic their preferred natural conditions: warm, dry, and stagnant air. Indoor homes, especially during winter months when central heating lowers humidity, provide the perfect sanctuary for these pests to reproduce rapidly. A single female can lay dozens of eggs, which hatch in as little as three days, leading to exponential population growth in a short window.
The primary reason spider mites are difficult to detect is their microscopic size. They are often less than 1/50th of an inch long, making them nearly invisible to the naked eye. They prefer to colonize the undersides of leaves, where they pierce plant cells to feed on sap. By the time you notice visible damage, the infestation is usually well-established.
Watch for these early warning signs of their presence:
- Stippling: Tiny, pale yellow or white dots on the surface of leaves caused by sap extraction.
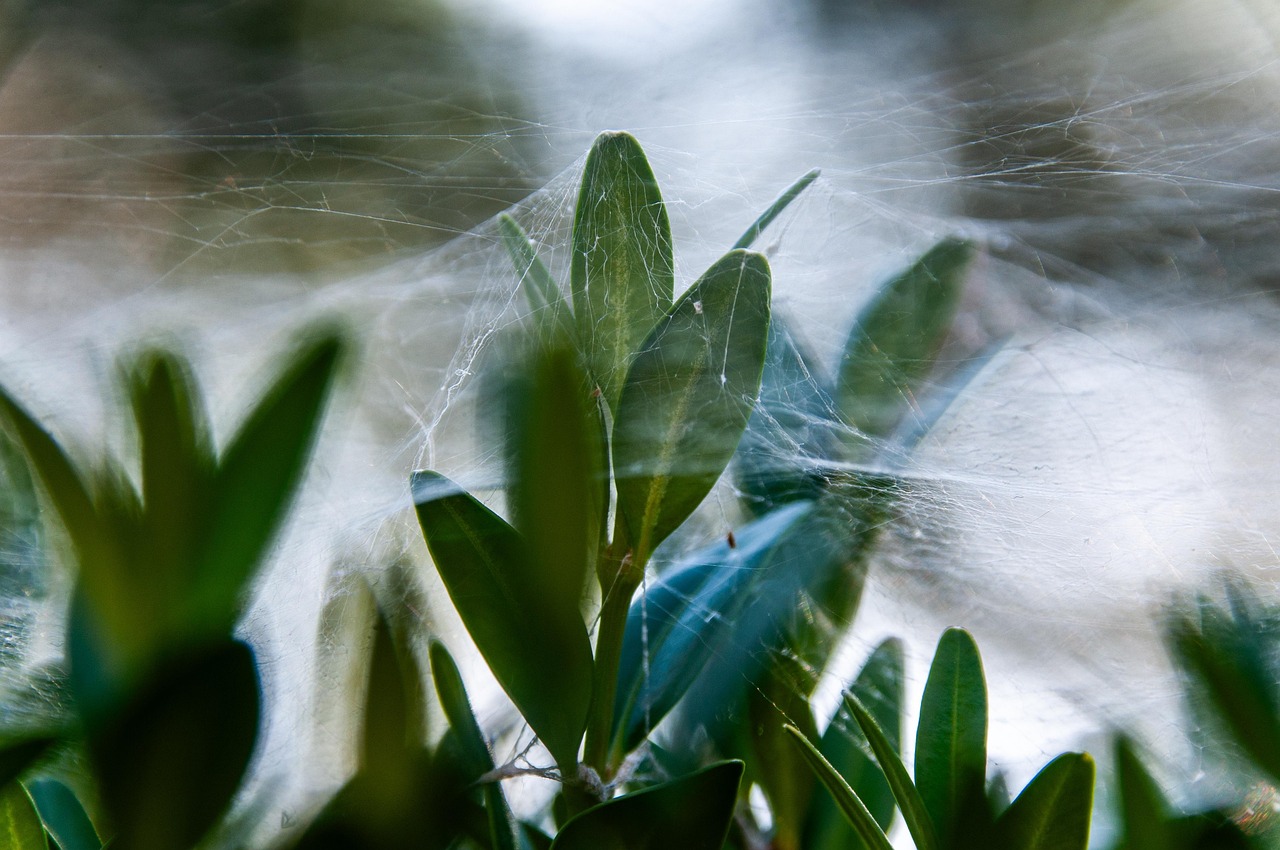
- Fine Webbing: Delicate, silk-like threads stretched between leaf joints or stems, which act as protective corridors for the mites.
- Leaf Drop: Premature yellowing or curling of foliage as the plant loses vital nutrients.
Because their lifecycle is so fast, consistent monitoring is your best defense. Periodically inspect the undersides of leaves with a magnifying glass, especially if your plant is located near a heat vent or in a low-humidity room. Increasing ambient humidity through misting or using a humidifier can help deter them, as these pests struggle to colonize damp, cool environments. If you suspect an infestation, isolate the plant immediately to prevent the mites from migrating to your healthy greenery.
Common Ways Spider Mites Enter Your Home
Spider mites are master hitchhikers. Because they are microscopic and often go unnoticed until their webbing appears, they can easily infiltrate your indoor garden through several common pathways. Understanding these entry points is the first step in protecting your collection.
The most frequent culprit is a new plant purchase. Mites often hide on the undersides of leaves or within the dense growth of nursery stock. Even if a plant looks healthy at the store, it may harbor a small population of eggs or adults that will quickly spread once introduced to your home environment.
Beyond new additions, these pests can enter through environmental factors:
- Open windows and screens: Spider mites are incredibly lightweight. During warm, breezy months, they can be carried indoors by wind currents, especially if your indoor plants are kept near open windows.
- Clothing and gear: If you spend time gardening outdoors, you may inadvertently pick up mites on your clothes, shoes, or gardening tools. These pests can easily transfer from your outdoor workspace to your indoor living space.
- Pets: Furry friends are another potential vector. As pets roam through outdoor vegetation, mites can cling to their fur and be transported inside, eventually brushing off onto your houseplants.
To minimize these risks, always implement a quarantine period for any new plant. Keep new arrivals in a separate room for at least two weeks, monitoring them closely for signs of stippling or webbing before placing them near your established plants. If you have been working in the garden, consider changing your clothes before tending to your indoor collection to prevent cross-contamination.
Regularly inspecting your plants is your best defense. Check the undersides of leaves frequently, particularly near the veins, where mites prefer to congregate. By staying vigilant and treating new plants as potential carriers, you can prevent a minor hitchhiker from becoming a widespread infestation. Maintaining proper humidity levels also helps, as spider mites thrive in the dry, stagnant air often found in climate-controlled homes.

Identifying the Signs of an Infestation
Spider mites are notoriously difficult to spot because they are microscopic, often measuring less than 0.5 millimeters. Because they thrive in dry, warm environments, they can colonize a plant rapidly before you notice any visible damage. Early intervention is the key to saving your indoor greenery, so regular inspection is essential.
The most reliable way to detect an infestation early is to use a magnifying glass. Inspect the undersides of leaves, where these pests prefer to congregate and lay their eggs. If you see tiny, slow-moving dots that appear to be shifting, you are likely looking at a colony of mites.
As the population grows, the physical signs become much more apparent to the naked eye. Keep an eye out for these specific visual cues:
- Fine Webbing: This is the most famous indicator. Look for delicate, silk-like strands stretched between leaf joints or where the leaf meets the stem.
- Stippling: Mites pierce plant cells to feed on sap. This results in tiny, pale yellow or white pinprick dots on the surface of the leaves, known as stippling.
- Yellowing Foliage: As the infestation progresses, leaves may lose their vibrant color, turn yellow, and eventually dry out or drop off entirely.
- Dusty Appearance: If the underside of a leaf looks dusty or speckled despite your regular cleaning routine, it may be covered in mite excrement, shed skins, and eggs.
A simple field test can confirm your suspicions. Hold a clean sheet of white paper underneath a leaf you suspect is infested and gently tap the foliage. If tiny specks fall onto the paper and begin to crawl around, you have confirmed an active spider mite presence.
If you identify these signs, isolate the affected plant immediately to prevent the mites from spreading to your other indoor plants. Once quarantined, you can begin a treatment plan, such as wiping leaves with neem oil or using a gentle insecticidal soap, to manage the population before it causes permanent damage.
Practical Steps to Eliminate and Prevent Mites
If you discover spider mites, immediate action is essential to protect your indoor garden. These pests multiply rapidly, so follow these steps to isolate the infestation and restore your plant’s health.
First, move the affected plant away from your other greenery. Spider mites spread easily by crawling or hitchhiking on tools or clothing, so keep the sick plant in a separate room until it is completely pest-free.
Next, physically remove as many mites as possible. Gently wipe both the tops and undersides of the leaves with a soft, damp cloth. For plants with sturdy foliage, a lukewarm shower in your sink or bathtub can effectively dislodge webs and mites. Always wear gloves during this process to avoid contact with any potential residue or plant sap.
Once the plant is cleaned, treat it with a safe, targeted solution:
- Insecticidal Soap: These soaps break down the mite’s outer shell. Apply directly to the pests, ensuring you reach the undersides of the leaves where they congregate.
- Neem Oil: A natural horticultural oil that disrupts the mite’s life cycle. Dilute according to the manufacturer’s instructions before application.
When applying any treatment, ensure you are in a well-ventilated area to avoid inhaling sprays. Never use harsh chemical pesticides near areas where you prepare food, as these can leave toxic residues on kitchen surfaces. If you must use a spray, move the plant to a garage, porch, or outdoor space until the treatment has fully dried.
Consistency is key. Mite eggs can hatch days after your initial treatment, so repeat your chosen method every five to seven days for at least three weeks. Monitor the plant closely for new webbing or stippling on the leaves. By staying diligent, you can successfully eliminate the colony and prevent them from returning to your home. Always wash your hands and sanitize your gardening tools thoroughly after handling an infested plant to stop the cycle of re-contamination.
Follow-up Care and When to Seek Professional Help
Once you have treated your plants for spider mites, the work is not over. These pests are resilient, and their eggs can remain hidden in soil or leaf crevices. Consistent monitoring is the most effective way to prevent a resurgence. Inspect your plants weekly using a magnifying glass to check the undersides of leaves for webbing or new activity.
Spider mites thrive in hot, dry environments. To discourage future infestations, focus on maintaining proper humidity levels. Mites struggle to reproduce in moist air, making it harder for them to establish a colony. You can improve your plant’s environment by:
- Grouping plants together to create a microclimate with higher ambient humidity.
- Using a humidifier in the room where your plants are kept.
- Regularly misting the foliage or wiping leaves with a damp cloth to remove dust and potential pests.
- Placing plants on a pebble tray filled with water to increase localized moisture.
Despite your best efforts, some infestations may be too severe to manage. If a plant is heavily covered in thick webbing, shows significant leaf drop, or continues to decline despite multiple treatments, it is often best to discard it. Removing a severely infested plant protects the health of your entire collection by eliminating a primary source of cross-contamination.
If you find that your plants are suffering from persistent mite issues despite consistent care and treatment, it is time to consult a local nursery expert. Professional horticulturists can help identify if you are dealing with a particularly resistant strain of mites or if underlying environmental stressors—such as poor light or improper watering—are weakening your plants and making them more susceptible to attack.
Do not hesitate to seek help early. A quick conversation with a local expert can save you from losing your favorite indoor greenery. By staying vigilant and adjusting your care routine, you can create an environment where your plants thrive, and spider mites simply cannot gain a foothold.

Dedicated team of gardening enthusiasts with years of hands-on experience testing lawn mowers, gardening tools, and outdoor equipment. We help home gardeners and professionals alike make informed buying decisions with honest, thorough reviews. From push mowers to pruning shears, we test it all so you don’t have to. Got a gardening tool you’d like us to review? Get in touch!