
Propagating hydrangeas from cuttings is a rewarding and cost-effective way to expand your garden. You can easily grow new shrubs by taking healthy stem cuttings during the active growing season and placing them in a suitable rooting medium. This simple process allows you to multiply your favorite varieties without spending money at a nursery.
While hydrangea propagation is generally straightforward, success depends heavily on timing and consistent moisture levels. Most gardeners find that taking cuttings in late spring or early summer yields the best results, as the stems are still soft and pliable. Be prepared to monitor your cuttings closely, as they require high humidity to develop strong roots.
This guide explains the best timing, tools, and techniques to successfully root your hydrangea cuttings and grow healthy new shrubs. We will walk you through selecting the right stems, preparing the soil environment, and providing the care necessary for long-term growth. Follow these practical steps to turn a single plant into a thriving collection.
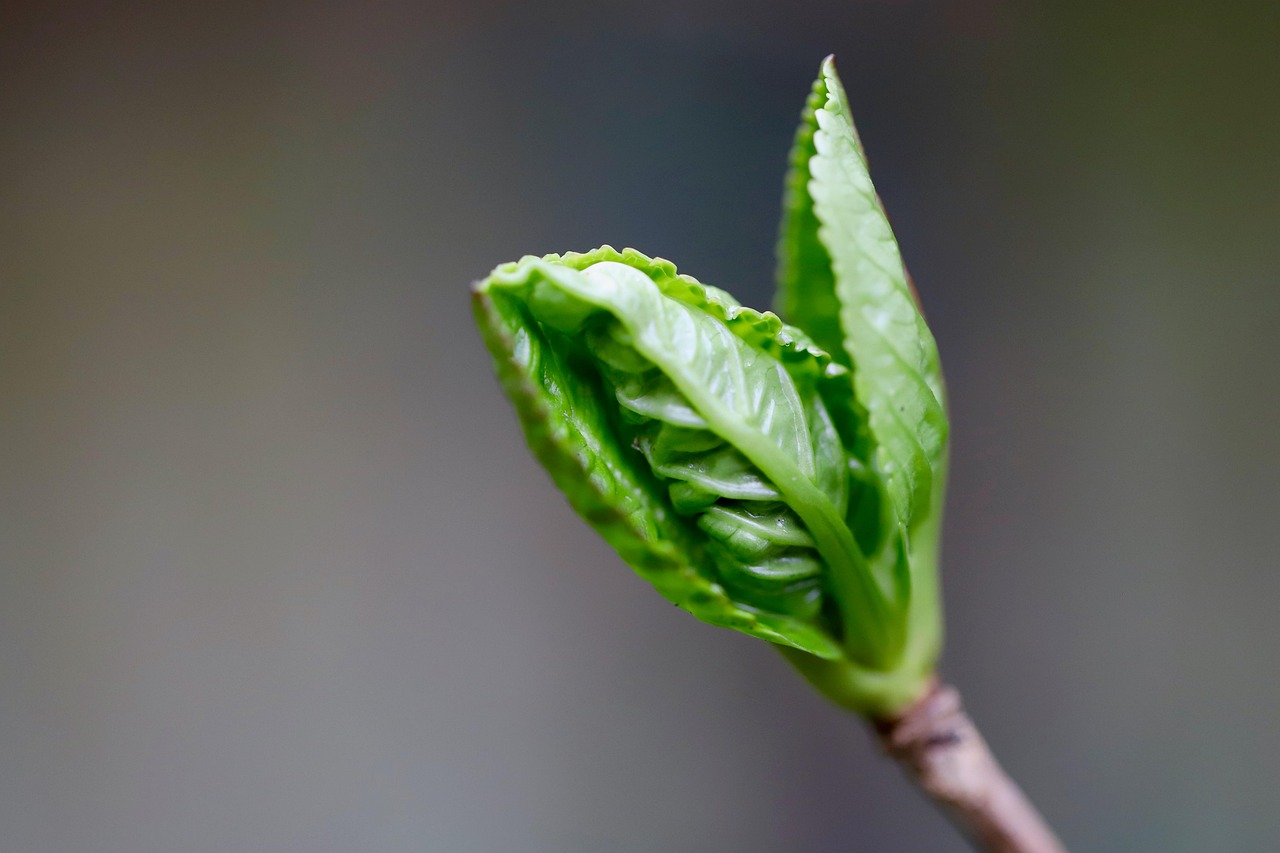
The Best Time to Take Hydrangea Cuttings
Timing is the most critical factor when propagating hydrangeas. You can successfully grow new plants using either softwood or hardwood cuttings, but each method requires a different approach depending on the season.
Softwood Cuttings (Late Spring to Early Summer)
This is the most popular method because softwood stems contain high levels of moisture and active growth hormones, which encourage rapid rooting. Aim to take these cuttings between May and July, while the plant is in its peak growing phase. Because the stems are tender, they require consistent humidity and protection from direct sunlight until roots establish.
Hardwood Cuttings (Late Autumn)
If you miss the spring window, you can take hardwood cuttings once the hydrangea has entered dormancy, typically after the first frost in late autumn. These stems are woody, mature, and leafless. While they take significantly longer to root than softwood cuttings, they are much hardier and require less maintenance during the winter months.
Selecting the Right Stems
Regardless of the season, the health of your cutting determines your success rate. Always prioritize the following criteria when selecting stems:
- Choose non-flowering stems: Stems that have produced a flower bud divert energy toward blooming rather than root development. Look for vigorous, vegetative growth instead.
- Check for health: Ensure the stem is free of pests, spots, or signs of disease.
- Assess maturity: For softwood, the stem should be firm but flexible. For hardwood, the stem should be rigid and dark, indicating it has “hardened off” for the winter.
By selecting healthy, non-flowering material at the appropriate time of year, you provide your cuttings with the best possible environment to transition from a single stem into a robust, independent shrub. Always use clean, sharp pruning shears to make your cuts, as ragged edges can lead to rot or infection before roots have a chance to form.
Essential Tools and Safety Precautions
Successful hydrangea propagation relies on using the right equipment to ensure clean cuts and healthy root development. Before you begin, gather these essential supplies to set your cuttings up for success:
- Sharp pruning shears: Use a high-quality pair of bypass pruners. Ensure the blades are sterilized with rubbing alcohol to prevent the spread of fungal diseases or bacteria to your new plant.
- Rooting hormone: While hydrangeas can root in water, a powdered or liquid rooting hormone significantly increases your success rate by encouraging faster, stronger root growth.
- Clean container: Choose a pot with ample drainage holes at the bottom to prevent waterlogging, which causes stem rot.
- Well-draining potting mix: Use a sterile, lightweight medium such as a mixture of perlite and peat moss. This provides the aeration necessary for delicate new roots to thrive.
- Plastic cover or humidity dome: A clear plastic bag or dome helps maintain the high humidity levels that hydrangea cuttings require to stay hydrated while they lack a root system.
Working with sharp gardening tools requires constant vigilance to avoid injury. Because pruning shears must be kept razor-sharp to make clean, non-crushing cuts, they pose a risk if handled improperly.
Always follow these safety protocols:
- Cut away from your body: Position your stems so that if the shears slip, the blade moves away from your hands and torso.
- Clear the path: Keep your fingers well away from the cutting zone. Never hold the stem you are pruning with the same hand you are using to operate the shears.
- Secure storage: Once you have finished taking your cuttings, immediately lock the shears and store them in a secure location, such as a tool belt or a shed, out of the reach of children and pets.
By preparing your workspace correctly and prioritizing safety, you create a stable environment for your hydrangeas to grow while protecting yourself from avoidable accidents.

Preparing and Planting Your Cuttings
Once you have selected a healthy, non-flowering stem from your hydrangea, it is time to prepare it for propagation. Using clean, sharp pruning shears, cut a 4-to-6-inch section directly below a leaf node—the point where leaves emerge from the stem. This node contains the concentrated growth hormones necessary for root development.
Next, carefully trim away all but the top set of leaves. If the remaining leaves are very large, you can cut them in half horizontally. Reducing the leaf surface area prevents the cutting from losing too much moisture through transpiration while it lacks an established root system.
Follow these steps to plant your prepared cutting:
- Dip the bottom inch of the stem into a rooting hormone powder or gel. This encourages faster root growth and provides a protective barrier against soil-borne pathogens.
- Fill a small pot with a sterile, well-draining growing medium, such as a mix of perlite and peat moss or high-quality seed-starting soil.
- Use a pencil or dibber to create a hole in the medium, then gently insert the stem. Avoid pushing the cutting directly into the soil, as this can wipe off the rooting hormone.
- Firm the soil gently around the base of the stem to ensure good contact and eliminate large air pockets.
Hydrangea cuttings require a high-humidity environment to survive the rooting process. To achieve this, cover the pot with a clear plastic bag or a dedicated humidity dome. Ensure the plastic does not touch the leaves directly, as this can encourage rot. If using a bag, you can insert a few small stakes into the pot to act as a frame.
Place your container in a spot that receives bright, indirect light—never direct sun, which will cause the cutting to overheat and wilt. Keep the growing medium consistently moist but not waterlogged. With proper care, you should see signs of root development within three to four weeks, indicated by slight resistance when you very gently tug on the stem.
Creating the Ideal Environment for Rooting
Once your hydrangea cuttings are planted in a well-draining potting mix, they require a stable environment to focus energy on root development rather than photosynthesis. The most critical factor is light exposure. Place your containers in a spot that receives bright, indirect light. Avoid direct sunlight, as the intense heat will cause the leaves to wilt and dehydrate the cutting before it has the roots necessary to absorb moisture.
Humidity is equally important. Because the cutting lacks a root system, it cannot pull water from the soil efficiently. You can create a mini-greenhouse effect by loosely covering the pot with a clear plastic bag. This retains moisture and reduces transpiration. Ensure the bag does not touch the leaves directly, as this can encourage rot.
Monitor your cuttings using these practical steps:
- Check moisture: Keep the soil consistently moist but never waterlogged. If the surface feels dry to the touch, use a spray bottle to mist the soil lightly.
- Watch for growth: New leaf growth is a promising sign that the cutting is establishing itself, but it does not guarantee a strong root system.
- The gentle tug test: After four to six weeks, gently tug on the stem. If you feel slight resistance, the roots have begun to anchor into the soil. If the cutting slides out easily, it needs more time.
Avoid the temptation to transplant your cuttings too early. A robust root system is essential for survival once the plant is moved to a larger pot or your garden bed. If the cutting resists the tug test, wait another two weeks before attempting to move it. Once you see healthy roots filling the container, gradually remove the plastic cover over several days to acclimate the plant to lower humidity levels. This hardening-off process ensures your new hydrangea is strong enough to thrive in its permanent home.

Aftercare and Troubleshooting Common Issues
Once your hydrangea cuttings have developed a robust root system—typically indicated by new leaf growth and resistance when gently tugged—they are ready for transplanting. If you started in small starter cells, move them into a four-inch pot with high-quality potting mix. Wait until the plant is well-established in this intermediate container before moving it to its permanent outdoor location, ideally during the cool spring or autumn months.
It is normal for cuttings to experience minor wilting during the transition, as they adjust to lower humidity. If your cuttings look distressed, use a clear plastic bag or humidity dome to maintain moisture levels for a few more days. However, be vigilant against mold. If you spot fuzzy white growth on the soil or stems, remove the cover immediately, improve air circulation, and ensure the soil is damp but not waterlogged.
To encourage a bushier, more attractive hydrangea, implement the “pinch” technique once the plant is established. Simply snip off the top set of leaves once the cutting has reached six to eight inches in height. This forces the plant to divert energy into lateral buds, resulting in a fuller, multi-stemmed shrub rather than a single, leggy stalk.
If your cuttings fail to thrive despite your best efforts, consider these troubleshooting steps:
- Check drainage: Ensure your pots have adequate holes to prevent root rot.
- Monitor light: If leaves are yellowing, the plant may be receiving too much direct, harsh sunlight.
- Assess temperature: Hydrangeas prefer stable, moderate temperatures; avoid placing them near drafty windows or heat vents.
If the stems turn black or mushy, the cutting has likely succumbed to rot and cannot be saved. If you experience repeated failures, do not be discouraged. Take a sample of your soil and a photo of your setup to a local nursery. Local experts can provide specific advice tailored to your region’s unique climate and soil composition, helping you refine your propagation technique for better results next season.

Dedicated team of gardening enthusiasts with years of hands-on experience testing lawn mowers, gardening tools, and outdoor equipment. We help home gardeners and professionals alike make informed buying decisions with honest, thorough reviews. From push mowers to pruning shears, we test it all so you don’t have to. Got a gardening tool you’d like us to review? Get in touch!