
Hydrangeas grow by developing woody stems that produce lush foliage and iconic flower clusters during the spring and summer months. Understanding the growth cycle and specific needs of hydrangeas is the key to enjoying their vibrant, long-lasting blooms year after year in your own backyard garden.
While these shrubs are relatively hardy, they require consistent moisture and specific soil conditions to reach their full potential. It is important to remember that growth patterns vary significantly depending on the variety, as some bloom on old wood while others produce flowers on new seasonal growth throughout the year.
This comprehensive guide covers the biological growth process, essential environmental requirements, and practical maintenance tips to help your shrubs thrive. Whether you are a beginner or an experienced gardener, you will find the expert advice needed to cultivate healthy, stunning hydrangeas that enhance your outdoor space season after season.

The Life Cycle and Growth Habit of Hydrangeas
Hydrangeas are woody perennial shrubs that follow a predictable, seasonal growth pattern. Understanding this cycle is essential for maintaining healthy plants and ensuring consistent blooms year after year. While growth habits vary slightly by species, most hydrangeas follow the same fundamental stages.
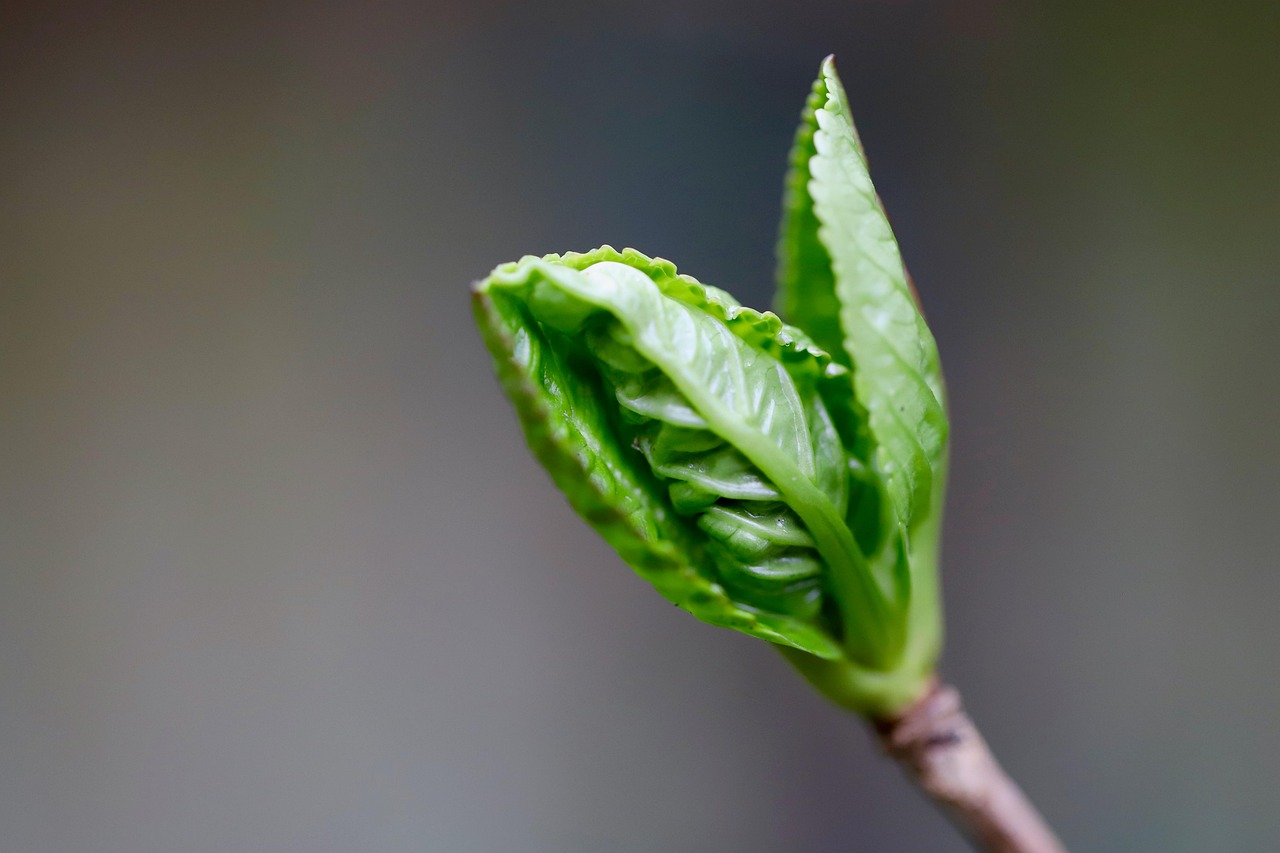
In early spring, as temperatures rise, the plant breaks dormancy. You will notice new stems emerging from the base of the shrub or developing from the nodes of existing branches. This is the primary period of vegetative growth, where the plant focuses its energy on producing lush, green foliage.
The timing of flower production is the most critical aspect of the hydrangea life cycle. Whether your plant produces flowers depends entirely on its specific variety and how it sets its buds:
- Old Wood: These varieties set their flower buds during the summer of the previous year. If you prune these plants in the fall or winter, you will accidentally remove the buds, resulting in no flowers the following season.
- New Wood: These varieties produce flower buds on the current season’s growth. They typically bloom later in the summer and are more forgiving if pruned in late winter or early spring.
As summer wanes, the plant begins to harden off its stems in preparation for colder weather. Once the first hard frost arrives, the hydrangea enters a state of dormancy. During this winter period, the shrub loses its leaves and stops active growth, conserving energy within its root system and woody structure.
To support this cycle, provide consistent moisture throughout the growing season, especially during hot, dry spells. Avoid heavy pruning until you have identified whether your specific hydrangea blooms on old or new wood. Pruning at the wrong time is the most common reason gardeners fail to see blooms. By respecting this natural rhythm, you allow the plant to store the necessary energy required to produce a spectacular display of flowers when the cycle begins again in the spring.
Essential Environmental Conditions for Healthy Growth
To ensure your hydrangeas thrive, you must balance light, moisture, and soil quality. While specific needs vary by variety, most hydrangeas perform best when they receive gentle morning sunlight followed by protective afternoon shade. Intense, direct midday sun often causes leaf scorch and wilting, especially in warmer climates.
Soil quality is arguably the most critical factor for hydrangea health. These plants require rich, organic-heavy soil that drains well. While they appreciate consistent moisture, they do not tolerate “wet feet.” If your soil is heavy clay, amend it with compost or peat moss to improve drainage and aeration before planting.
For optimal growth and vibrant blooms, keep these environmental factors in mind:
- Consistent Hydration: Hydrangeas are thirsty plants. Aim to keep the soil consistently moist, particularly during the hot summer months. Apply a layer of mulch around the base to retain soil moisture and regulate root temperature.
- Soil pH Influence: If you are growing Hydrangea macrophylla, the soil chemistry directly dictates bloom color. Acidic soil (pH below 6.0) typically produces blue flowers, while alkaline soil (pH above 7.0) encourages pink blooms. You can adjust these levels using garden lime or aluminum sulfate if you wish to influence the color.
- Climate Awareness: Always check your local hardiness zone before selecting a variety. Some hydrangeas are bred for cold tolerance, while others prefer milder, humid environments.
Testing your soil before planting is a practical step that saves time and money. A simple home pH kit will tell you exactly what you are working with, allowing you to amend the earth to suit your specific hydrangea variety. By providing these stable conditions, you reduce plant stress, encourage robust foliage, and ensure a spectacular display of flowers each season.
Remember that newly planted hydrangeas require more frequent monitoring. Check the soil daily during the first few weeks, increasing water as needed until the root system establishes itself firmly in the ground. Once established, your hydrangeas will become much more resilient, rewarding your care with years of reliable beauty.
Planting and Establishing Young Hydrangeas
Successful hydrangea growth begins with selecting the right location. Before digging, research the specific variety you have chosen to understand its mature width and height. Hydrangeas require adequate airflow and space to thrive; planting them too close to structures or other shrubs can lead to poor development and increased susceptibility to fungal diseases.
Once you have identified the ideal spot, prepare the soil by loosening it to ensure proper drainage. When you are ready to plant, follow these steps to give your hydrangea the best start:
- Dig a hole that is at least twice as wide as the current root ball but no deeper than the container.
- Gently remove the plant from its nursery pot and tease out any circling roots to encourage outward growth.
- Place the hydrangea in the center of the hole, ensuring the top of the root ball is level with the surrounding soil surface. Planting too deep can cause stem rot, while planting too shallow may dry out the roots.
- Backfill the hole with a mixture of native soil and organic compost, gently firming it down to remove large air pockets.
Immediately after planting, provide a deep, thorough watering. This is crucial for settling the soil around the root zone and eliminating air gaps that could cause roots to desiccate. Apply water slowly at the base of the plant, avoiding the foliage to prevent moisture-related issues.
During the first growing season, your hydrangea is focused on establishing its root system rather than producing flowers. Monitor the soil moisture regularly; the ground should remain consistently moist but never waterlogged. If the weather is particularly hot or dry, check the soil daily. A two-inch layer of organic mulch, such as shredded bark or pine needles, applied around the base—but not touching the stems—will help retain soil moisture and regulate temperature as the plant settles into its new environment.
Safe Pruning and Maintenance Practices
Pruning is essential for maintaining the health, vigor, and aesthetic shape of your hydrangeas. However, improper technique can stress the plant or result in a season without blooms. Always use sharp, sterilized bypass pruners to ensure clean, precise cuts that heal quickly. Avoid using anvil-style pruners, which can crush delicate stem tissues.
Safety should be your priority during maintenance. Wear durable gardening gloves to protect your hands from rough stems or hidden thorns. If you are using long-reach loppers to manage a tall or overgrown shrub, maintain stable footing on level ground and avoid overreaching, which can lead to strain or loss of balance.
To prune safely and effectively, follow these core practices:
- Sanitize your tools: Wipe blades with rubbing alcohol between plants to prevent the spread of fungal diseases or viruses.
- Make angled cuts: Always cut at a 45-degree angle just above a healthy leaf node. This prevents water from pooling on the cut surface, which reduces the risk of rot.
- Remove dead wood: You can safely remove dead, damaged, or diseased branches at any time of the year.
The most critical rule for hydrangeas is knowing your specific variety. Many popular types, such as the classic Bigleaf (Hydrangea macrophylla), bloom on “old wood”—meaning they set their flower buds the previous summer. If you prune these shrubs in the spring, you will inadvertently remove the developing buds, resulting in a plant with lush foliage but no flowers.
For old-wood bloomers, wait until immediately after the flowers fade in mid-summer to prune. If you have a “new wood” bloomer, such as the Panicle or Annabelle hydrangea, you can safely prune in late winter or early spring before new growth begins. Always observe your plant’s growth cycle before making significant cuts to ensure you don’t sacrifice your seasonal display.

Common Questions and Ongoing Care
The most frequent frustration for hydrangea owners is a lack of blooms. If your shrub produces lush foliage but no flowers, the culprit is often improper pruning. Many popular varieties, such as Bigleaf hydrangeas, set their flower buds on “old wood” from the previous year’s growth. If you prune these in late winter or early spring, you inadvertently remove the buds before they can open.
Late spring frosts can also damage developing buds. If you live in an area with unpredictable temperature swings, consider covering your plants with burlap or frost cloth during cold snaps to protect the emerging growth.
To keep your hydrangeas thriving throughout the growing season, follow these essential maintenance practices:
- Apply Mulch: Spread a two-to-three-inch layer of organic mulch, such as shredded bark or compost, around the base of the plant. This helps retain soil moisture, suppresses weeds, and regulates root temperature.
- Fertilize Strategically: Apply a balanced, slow-release fertilizer once in early spring just as new growth begins. Avoid heavy nitrogen applications late in the season, as this can encourage soft growth that is susceptible to winter damage.
- Monitor Hydration: Hydrangeas have shallow root systems and require consistent moisture, especially during hot, dry spells. Aim to water deeply at the base of the plant rather than overhead to keep foliage dry.
Even with perfect care, plants can occasionally succumb to health issues. If you notice persistent wilting, unusual leaf spots, or stem dieback that does not respond to improved watering or soil adjustments, your plant may be dealing with a fungal or bacterial infection. In these cases, it is best to avoid generic store-bought treatments. Instead, take clear photos or a physical sample to your local cooperative extension office. These professionals offer expert plant pathology guidance tailored to your specific region, helping you diagnose the issue accurately and determine if the plant can be saved or if it should be removed to protect the rest of your garden.

Dedicated team of gardening enthusiasts with years of hands-on experience testing lawn mowers, gardening tools, and outdoor equipment. We help home gardeners and professionals alike make informed buying decisions with honest, thorough reviews. From push mowers to pruning shears, we test it all so you don’t have to. Got a gardening tool you’d like us to review? Get in touch!