
Dahlias are prized for their spectacular, long-lasting blooms, but success starts with proper timing and planting techniques. You should plant dahlia bulbs in the spring once the soil has warmed significantly and all danger of frost has passed in your area. Waiting for the right temperature ensures your tubers establish healthy, vigorous root systems.
While these vibrant flowers are relatively easy to grow, they do require specific conditions to reach their full potential. Dahlias thrive best in locations that receive full sun and feature well-draining soil. Understanding these fundamental environmental needs is essential for preventing common issues like tuber rot and ensuring your garden produces a stunning floral display.
This guide explains exactly when to get your tubers in the ground and the steps required to ensure they thrive throughout the growing season. We will cover everything from selecting the perfect planting depth to providing ongoing maintenance. Follow these practical tips to master the art of dahlia care and enjoy beautiful, professional-looking results all summer.
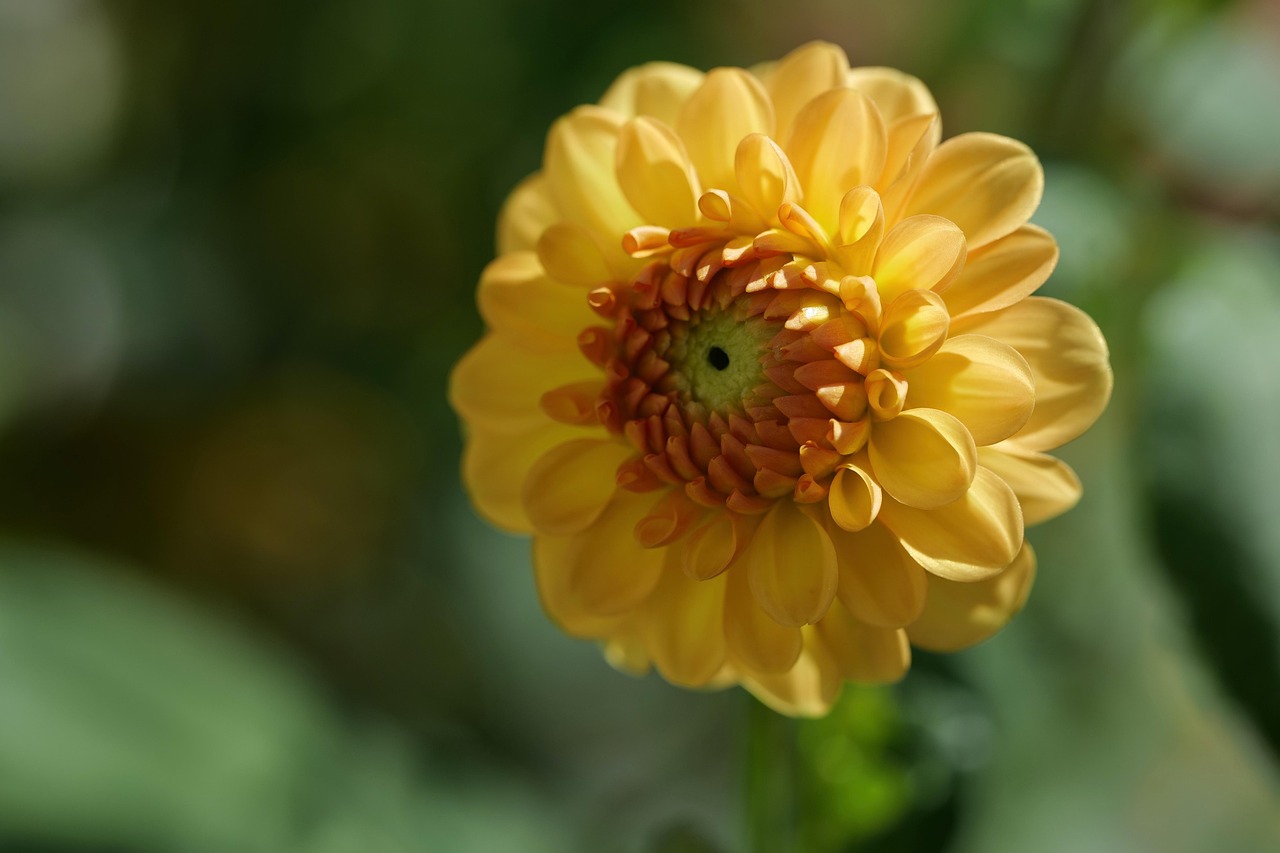
Determining the Right Time to Plant
Dahlias are tender perennials that cannot tolerate frost. Because their fleshy tubers are highly susceptible to rot in cold, wet soil, timing is the most critical factor for success. If you plant too early, the tubers may sit dormant and eventually decay before they have a chance to sprout.
The golden rule for dahlia planting is to wait until the danger of spring frost has completely passed. A reliable rule of thumb is to plant them at the same time you would plant your tomatoes. If the nights are still dipping near freezing, it is too early to put your tubers in the ground.
For the best results, monitor your soil conditions rather than just looking at the calendar. Dahlias thrive when the earth has warmed significantly. Aim for these specific environmental cues before digging:
- Soil Temperature: Use a soil thermometer to ensure the ground has reached at least 60 degrees Fahrenheit at a depth of four inches.
- Soil Texture: Ensure the ground is workable and not waterlogged from heavy spring rains. If you squeeze a handful of soil and it forms a dense, muddy ball, wait for it to dry out further.
- Local Frost Dates: Check your regional extension office’s website for the average last frost date in your area. Add one to two weeks to that date as a safety buffer.
In most temperate regions, this window typically falls in late spring. If you live in a climate with a short growing season, you can get a head start by starting your tubers in pots indoors four to six weeks before your last frost date. This allows them to establish roots in a controlled environment. However, if you are planting directly into your garden beds, patience is your best tool. Waiting for the soil to truly warm up ensures vigorous growth, stronger stems, and a more prolific display of blooms later in the summer.
Selecting and Preparing Your Planting Site
Success with dahlias begins long before you put a tuber in the ground. Choosing the right location is the most important step in ensuring a vibrant, long-lasting bloom. These plants are sun-worshippers; they require a minimum of six to eight hours of direct sunlight every day to produce strong stems and abundant flowers.
Beyond light, soil quality is paramount. Dahlias thrive in fertile, well-draining soil. If your garden has heavy clay or tends to stay soggy, you must improve the drainage before planting. Dahlias are prone to tuber rot if left in standing water, so avoid low-lying areas of your yard where rain tends to pool.
Follow these steps to prepare your planting site effectively:
- Clear the area: Remove all weeds, grass, and debris from the planting bed to reduce competition for nutrients and water.
- Amend the soil: Work a generous layer of organic compost or aged manure into the top 8 to 12 inches of soil. This improves soil structure, aids drainage, and provides a steady supply of nutrients.
- Check for drainage: If you are unsure about your soil, dig a test hole and fill it with water. If it takes more than a few hours to drain completely, consider building raised beds or adding coarse organic matter to improve aeration.
If you live in an area with very high summer temperatures, your dahlias may appreciate a spot that receives bright morning sun but is shielded from the harsh, direct rays of the late afternoon. However, in most climates, the more sun they receive, the better they will perform. By taking the time to prepare a site that offers excellent drainage and consistent light, you provide your dahlias with the ideal foundation for a healthy growing season. Remember, healthy soil is the best defense against pests and disease, so do not rush the preparation phase.
Essential Tools and Safety Precautions
Preparing to plant dahlia tubers requires the right equipment to ensure you reach the correct depth without damaging the fragile eyes of the plant. A sturdy garden trowel is ideal for individual holes, while a long-handled spade is more efficient if you are preparing a larger garden bed.
Safety should always be your priority before you begin digging. Follow these practical tips to protect yourself and your equipment:
- Wear protective gloves: Use durable, well-fitting gardening gloves to prevent blisters, skin irritation, and minor cuts from soil debris or sharp edges.
- Practice good ergonomics: If you are digging multiple holes, maintain proper posture. Bend at your knees rather than your waist to avoid unnecessary back strain.
- Maintain your tools: Keep your spade or trowel clean and free of rust. A sharp edge makes cutting through sod or compacted soil significantly easier and requires less physical force.
- Secure your workspace: Always store sharp tools in a shed or designated storage box immediately after use. Keeping them off the ground prevents tripping hazards and ensures they remain out of reach of children and pets.
Before you start, clear the area of any large rocks or hidden obstacles that could cause your tool to slip. If you are working in particularly heavy clay soil, consider using a garden fork to loosen the earth first; this reduces the amount of force needed with your spade and protects your wrists from repetitive impact.
Finally, inspect your tools for loose handles or cracks before each use. A tool that is in good repair is not only more effective at creating the ideal six-inch deep planting hole required for dahlias, but it is also much safer to handle. By taking these simple precautions, you create a more efficient workflow and ensure that your gardening experience remains enjoyable and injury-free throughout the planting season.
Step-by-Step Planting Instructions
Proper planting technique is essential for healthy, high-yielding dahlias. Before you begin, ensure your soil is loose, well-draining, and amended with organic compost. Avoid planting in waterlogged areas, as tubers are prone to rot if they sit in standing water.
Follow these steps to plant your dahlia tubers correctly:
- Dig the hole: Excavate a hole approximately 6 inches deep.
- Position the tuber: Place the tuber horizontally in the hole. Ensure the “eye”—the small, pinkish growth point—is facing upward toward the sky.
- Install support: If you are planting a tall variety, insert a sturdy garden stake next to the tuber now. Installing it at this stage prevents you from accidentally damaging the developing root system later in the season.
- Initial covering: Cover the tuber with only 2 to 3 inches of soil. Leaving the remaining depth of the hole unfilled allows the soil to warm up faster around the tuber and helps the shoot reach the surface more quickly.
- Spacing: Space your tubers 12 to 24 inches apart. Provide more room for larger, dinnerplate varieties to ensure adequate airflow and prevent fungal diseases.
Once the green shoot emerges and reaches a few inches above the soil level, you can gradually fill in the rest of the hole with the remaining soil. This method encourages a stronger base and deeper root development.
Do not water the tubers immediately after planting unless the soil is exceptionally dry. Dahlias contain a significant amount of moisture within their tubers; excessive water before the plant has sprouted can lead to premature rot. Once you see the first set of leaves appear above the ground, you can begin a regular watering schedule, keeping the soil moist but never soggy. Monitor your garden closely during the first few weeks, as slugs and snails are often attracted to the tender new growth of emerging dahlia shoots.

Follow-up Care and Troubleshooting
After planting your dahlia tubers, patience is your most valuable tool. Resist the urge to water immediately unless the soil is bone dry. Dahlias are prone to rot if the soil remains too wet before they have developed roots and foliage to process that moisture. Keep the soil slightly moist but never soggy until you see green shoots breaking the surface.
Once those first shoots appear, you can transition to a regular watering schedule. Dahlias thrive with about one inch of water per week, ideally delivered at the base of the plant to keep the foliage dry and prevent fungal issues. As the plants grow, you may choose to apply a balanced, low-nitrogen fertilizer. High-nitrogen formulas encourage excessive leaf growth at the expense of the vibrant, showy blooms you want.
If you notice your dahlias struggling, use this troubleshooting guide to identify the cause:
- Stunted growth: This is often a sign of inconsistent moisture or compacted soil. Ensure your garden bed has excellent drainage.
- Pest pressure: Aphids are common visitors. Check the undersides of leaves and use a steady stream of water or insecticidal soap to manage minor infestations early.
- Failure to emerge: If several weeks have passed with no sign of life, gently dig down to inspect the tuber. If it feels soft or mushy, it has likely succumbed to rot, often caused by poor drainage or overwatering.
Monitoring your plants during these early stages is critical. Dahlias are heavy feeders and drinkers, but they require a delicate balance during their initial establishment. By maintaining well-draining soil and avoiding premature watering, you provide the ideal environment for your tubers to develop a robust root system. If you suspect an issue, always check your soil moisture levels first, as many common dahlia problems are rooted in improper hydration rather than disease or pests.

Dedicated team of gardening enthusiasts with years of hands-on experience testing lawn mowers, gardening tools, and outdoor equipment. We help home gardeners and professionals alike make informed buying decisions with honest, thorough reviews. From push mowers to pruning shears, we test it all so you don’t have to. Got a gardening tool you’d like us to review? Get in touch!