
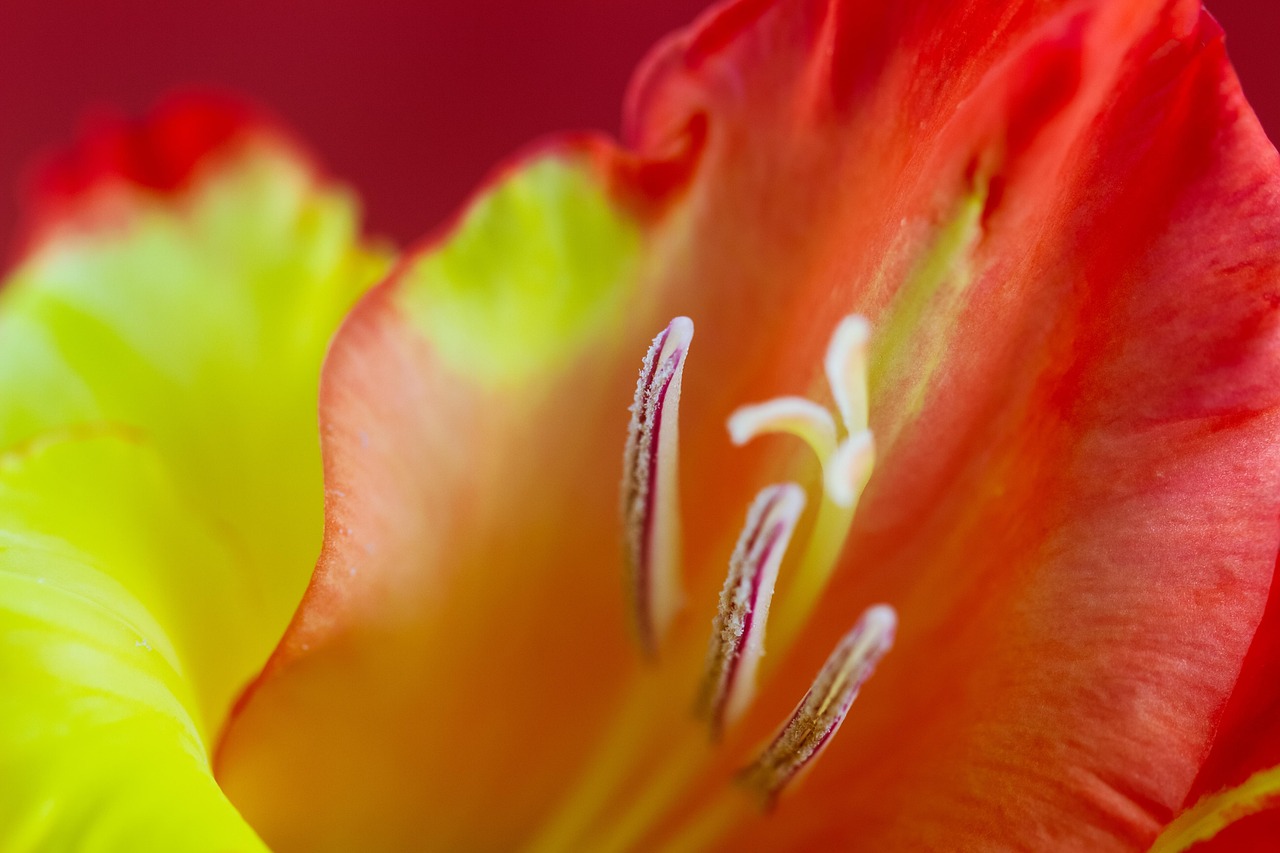
Gladiolus flowers typically bloom between 70 and 100 days after planting. If you are wondering when your gladiolus will flower, the timing depends largely on when you plant the corms and your local climate. These beloved plants are famous for their tall, dramatic spikes of colorful blooms that brighten any summer garden.
Because these plants are tender perennials, they require a frost-free environment to reach their full potential. Gardeners in warmer regions can enjoy earlier blooms, while those in cooler zones must wait until soil temperatures rise significantly. Setting realistic expectations about your specific hardiness zone is the first step toward achieving a truly spectacular seasonal display.
This guide explains the complete bloom cycle and provides essential tips to ensure a successful display in your garden. We will cover everything from proper corm spacing to the best watering techniques for healthy growth. Follow these practical care strategies to master the art of cultivating these stunning flowers and enjoy vibrant color all season long.

Understanding the Gladiolus Bloom Timeline
Gladiolus are technically tender perennials, meaning they cannot survive freezing temperatures. Because of this, you must wait until all danger of frost has passed and the soil has warmed significantly in the spring before planting your corms. This timing is the primary factor in determining when your garden will see its first blooms.
Once planted in warm, well-draining soil, gladiolus follow a relatively predictable growth cycle. On average, you can expect these flowers to bloom 70 to 100 days after planting. Because of this wide window, many gardeners choose to stagger their planting schedule to enjoy a continuous display of color throughout the season.
Several factors influence where your specific plants fall within that 70-to-100-day range:
- Planting Depth: Corms planted deeper in the soil may take slightly longer to emerge and bloom than those planted in shallower, warmer soil.
- Sunlight Exposure: Gladiolus require full sun—at least six to eight hours daily—to develop properly. Plants in partial shade often bloom later or produce weaker flower spikes.
- Soil Temperature: Planting early in the spring when the soil is still cool will delay growth, effectively pushing your bloom time toward the end of the 100-day spectrum.
- Variety: Some early-blooming cultivars are bred to flower faster, while large-flowered varieties may require the full 100 days to reach maturity.
For the best results, aim to plant your corms in late spring once the soil temperature consistently reaches at least 60°F (15°C). By tracking your planting date, you can generally anticipate your gladiolus to provide their signature vertical spikes of color during mid-to-late summer. If you live in an area with a shorter growing season, starting corms in pots indoors a few weeks before the last frost can help ensure they have enough time to bloom before the autumn chill returns.
How to Achieve Successive Blooms
You do not have to settle for a single, fleeting burst of color in your landscape. By utilizing a technique called succession planting, you can extend the presence of gladiolus flowers, ensuring your garden remains vibrant from mid-summer until the first autumn frost.
The secret to continuous blooms is staggering your planting schedule. Instead of putting all your corms in the ground at once, follow this simple strategy:
- Start early: Begin planting your first batch of corms as soon as the danger of frost has passed and the soil has warmed in early spring.
- Keep a rhythm: Plant a new batch of corms every two weeks throughout the spring and into mid-summer.
- Set a deadline: Stop planting new corms about 90 to 100 days before your area’s typical first fall frost date to ensure the final batch has enough time to mature.
When implementing this schedule, keep a record of your planting dates. If you find that your mid-summer plantings are struggling with intense heat, consider choosing a spot that receives light afternoon shade. While gladiolus thrive in full sun, the cooler soil temperatures in a partially shaded area can help late-season plants establish themselves more effectively during hot spells.
Proper maintenance is equally important for successive success. Ensure each batch receives consistent moisture, especially during the peak of summer. Gladiolus require about one inch of water per week; if rainfall is scarce, water deeply at the base of the plant to encourage strong root development. Applying a layer of organic mulch around the base of your plants will help retain soil moisture and regulate temperatures for the newer, younger corms.
By treating your garden like a rotating display, you eliminate the “all-or-nothing” bloom cycle. With this staggered approach, you will enjoy a fresh, continuous supply of elegant, sword-like spikes and colorful blossoms gracing your garden beds week after week, providing a reliable source of cut flowers for your home throughout the entire growing season.

Essential Planting and Safety Tips
Preparing the perfect environment for your gladiolus bulbs is the first step toward a vibrant, blooming garden. Before you begin, ensure your soil is loose and well-draining. Using a sharp hand trowel, dig individual holes four to six inches deep. This depth provides enough stability for the tall flower spikes while protecting the corms from temperature fluctuations.
Safety should always be your priority when working in the garden. Follow these essential practices to ensure a productive and injury-free planting experience:
- Wear protective gear: Always use sturdy, puncture-resistant gardening gloves. They protect your skin from soil irritants, hidden sharp rocks, and potential allergens found in garden beds.
- Handle tools with care: Keep your fingers well away from the cutting edges of trowels and spades. When not in use, place tools in a designated area rather than leaving them on the ground to prevent tripping hazards.
- Maintain a clear workspace: Keep your immediate area free of debris, garden hoses, and stray pots to ensure you have a stable footing while digging.
- Operate machinery safely: If you are using a mechanical tiller to prepare your soil, you must wear safety glasses to guard against flying debris and hearing protection to mitigate noise exposure. Always read the manufacturer’s manual before operating power equipment.
Proper preparation not only makes the planting process easier but also sets the stage for healthy growth. By taking these simple precautions, you ensure that your focus remains on the joy of gardening rather than dealing with avoidable accidents. Once your bulbs are securely in the ground at the correct depth, cover them gently with soil and water them thoroughly to help them establish roots. Consistent care at this stage is the best way to ensure your gladiolus plants emerge strong and ready to produce their signature, colorful blooms at the peak of the season.
Factors That Influence Flowering Time
Several environmental factors determine exactly when your gladiolus will produce their signature tall spikes. Because these plants are native to warmer climates, they are highly sensitive to their immediate surroundings during the development phase.
The most critical requirement for timely flowering is sunlight. Gladiolus are sun-worshippers that require at least six to eight hours of direct, unfiltered light every day. If your plants are situated in partial shade, they will likely experience stunted growth or fail to bloom entirely, as they lack the energy reserves needed to push up their flower stalks.
Soil conditions also dictate the speed of your plants’ development. You should avoid planting corms until the soil has warmed sufficiently in the spring. Planting into cold, damp earth often causes the corms to rot or remain dormant, which significantly delays the start of the growing season. Wait until all danger of frost has passed and the ground feels warm to the touch.
Beyond light and temperature, consistent moisture is essential to support the energy-intensive process of blooming. To ensure your gladiolus stay on track, keep the following maintenance tips in mind:
- Consistent Watering: Provide about one inch of water per week. If the soil dries out completely, the plant may abort its flower spike to conserve energy.
- Proper Drainage: While they need moisture, gladiolus hate “wet feet.” Ensure your planting site has well-draining soil to prevent the corms from decaying.
- Mulching: Apply a layer of organic mulch around the base of the plants. This helps regulate soil temperature and retains moisture during the heat of mid-summer.
- Staking: As the spikes grow tall, they become top-heavy. Providing support early prevents the stems from bending or breaking, which can disrupt the blooming cycle.
By balancing these environmental variables, you provide your gladiolus with the stability they need to bloom reliably throughout the summer months.
Follow-Up Care and Common Questions
If your gladiolus fail to bloom, the culprit is often environmental. These plants require full sun, meaning at least six to eight hours of direct light daily. If they are shaded, they will produce lush foliage but lack the energy to push out flower spikes. Additionally, inspect your plants for thrips—tiny, slender insects that feed on the buds and cause them to wither or bloom poorly. If you notice silvery streaks on the leaves or deformed flowers, treat the plants with insecticidal soap or neem oil.
Once your gladiolus finish blooming, resist the urge to tidy up the garden immediately. The foliage must remain intact until it turns yellow and dies back naturally. During this phase, the leaves are photosynthesizing, sending vital nutrients down into the corm to build energy for next year’s growth. Cutting the green foliage prematurely will weaken the plant and result in smaller blooms or total failure to flower in subsequent seasons.
In regions where the ground freezes, you must protect your investment by following these winter storage steps:
- Dig: Carefully lift the corms from the soil after the first light frost but before the ground freezes solid.
- Clean: Gently brush off excess soil and trim the stems to about an inch above the corm.
- Cure: Let the corms dry in a warm, airy spot for about a week.
- Store: Place them in a mesh bag or cardboard box filled with peat moss or sawdust. Keep them in a cool, dark, and dry location, such as a basement or garage, where temperatures remain above freezing.
If you continue to face consistent issues despite following these guidelines, reach out to your local agricultural extension office. These experts can provide specific advice tailored to your regional soil composition, common local pests, and microclimate, ensuring your garden thrives year after year.

Dedicated team of gardening enthusiasts with years of hands-on experience testing lawn mowers, gardening tools, and outdoor equipment. We help home gardeners and professionals alike make informed buying decisions with honest, thorough reviews. From push mowers to pruning shears, we test it all so you don’t have to. Got a gardening tool you’d like us to review? Get in touch!