
You should plant crocus bulbs in the autumn, ideally between September and November, before the ground freezes. This timing allows the bulbs to establish a strong root system during the cool months, ensuring a vibrant display of early spring color. Getting the timing right is the most crucial step for a successful bloom.
While crocus bulbs are incredibly hardy and easy to grow, they require a period of winter dormancy to trigger their flowering cycle. You must plant them well before the first hard frost to avoid damage, but waiting until the soil has cooled down helps prevent premature growth or potential rot during late autumn.
In this guide, we provide everything you need to know for a flourishing garden. We will walk you through the ideal planting depth, specific soil drainage requirements, and essential maintenance tips for long-term success. Follow these practical steps to ensure your landscape wakes up with beautiful, colorful blooms every single spring season.
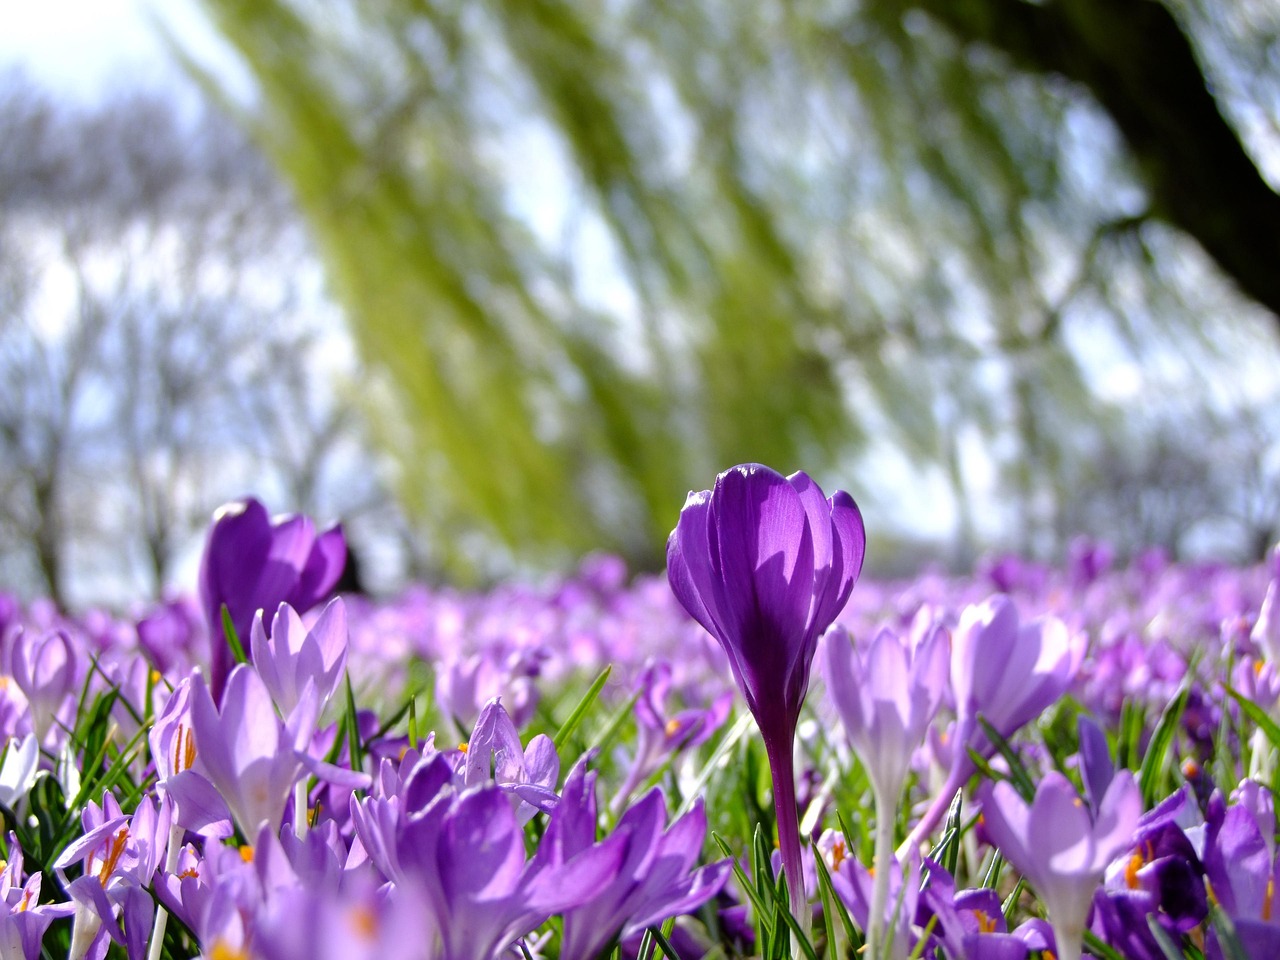
The Best Time to Plant Crocus Bulbs
To ensure a vibrant display of color when spring arrives, timing is everything. Crocus bulbs are hardy perennials that require a specific period of cold dormancy to trigger their growth cycle. Planting them at the right moment allows the bulbs to establish a healthy root system before the soil temperatures drop too low.
The optimal window for planting crocus bulbs is during the autumn, typically between September and November. The goal is to get them into the ground at least six weeks before the first hard frost. If you plant them too early while the soil is still warm, the bulbs may sprout prematurely or become susceptible to fungal issues. If you wait until the ground is frozen, it becomes physically difficult to dig, and the bulbs will not have the time needed to anchor themselves.
Follow these practical guidelines to determine the perfect planting day for your region:
- Monitor local temperatures: Aim to plant when daytime temperatures consistently hover between 60°F and 70°F (15°C–21°C), and nighttime temperatures start to dip below 50°F (10°C).
- Check your soil: The ground should be workable and not saturated with water. If your garden soil is heavy clay, mix in some organic compost to improve drainage, as crocus bulbs rot easily in standing water.
- Follow the frost line: If you live in a colder climate, prioritize planting earlier in the autumn. Gardeners in milder zones can safely plant well into November.
Once planted, your crocus bulbs will spend the winter months quietly developing roots beneath the surface. By the time the snow begins to melt, they will be fully prepared to push through the soil and provide those much-anticipated early blooms. Remember to mark your planting spots with small stakes or a garden map so you do not accidentally disturb the bulbs while performing other autumn cleanup tasks in your flower beds. Proper autumn preparation is the most reliable way to guarantee a successful spring show.
Selecting the Right Spot for Your Crocuses
Choosing the ideal location for your crocuses is the most important step in ensuring they return year after year. These resilient bulbs are not particularly fussy, but they do have specific requirements regarding light and drainage to reach their full potential.
For the best results, select a spot that receives full sun to partial shade. While crocuses can tolerate some shade, they bloom most vigorously when exposed to direct sunlight during the early spring. If you plant them under deciduous trees, they will often finish their flowering cycle before the tree canopy fully leafs out, making this an excellent strategy for maximizing space.
Soil quality is equally critical. Crocuses require well-draining soil to prevent the bulbs from rotting during the dormant months. If your garden has heavy clay or tends to stay soggy, consider amending the area with organic matter or planting in raised beds to improve drainage. Avoid low-lying areas where water pools after heavy rain, as constant moisture will quickly kill the bulbs.
Crocuses are incredibly versatile and can be integrated into almost any landscape design. Consider these popular locations:
- Garden Borders: Plant them in clusters along the front edge of a flower bed for a vibrant early-season display.
- Naturalized Lawns: Scatter bulbs across your grass for a meadow-like effect. Ensure you do not mow the area until the crocus foliage has completely yellowed and died back.
- Under Shrubs: Use them as a colorful groundcover beneath deciduous shrubs or hedges.
- Rock Gardens: Their compact size makes them perfect for tucking into crevices or small pockets of soil between stones.
Before you dig, take a moment to observe how sunlight hits your yard throughout the day. By placing your crocuses in a spot that balances light exposure with excellent drainage, you create the perfect foundation for a healthy, long-lasting display that signals the true arrival of spring.

Step-by-Step Planting Guide
Successfully planting crocus bulbs requires precision to ensure they establish strong roots before the winter freeze. Proper placement is the foundation of a vibrant spring display, so take your time to prepare the soil and position each bulb correctly.
Before you begin, ensure you are wearing sturdy gardening gloves. These protect your skin from abrasions, blisters, and potential irritants found in the soil, while also providing a better grip on your tools.
Follow these steps to plant your bulbs effectively:
- Prepare the site: Loosen the soil to a depth of about 6 inches to allow for easy root penetration. Ensure the area has excellent drainage, as crocus bulbs will rot in standing water.
- Digging: Use a trowel or a dedicated bulb planter to create individual holes. Aim for a depth of 3 to 4 inches. If you are planting in groups for a naturalized look, you can dig a wider trench to the same depth.
- Positioning: Place each bulb in the hole with the pointed, “nose” end facing upward. If you are unsure which side is up, plant the bulb on its side; the sprout will naturally find its way toward the surface.
- Spacing: Space the bulbs approximately 3 inches apart. This density provides enough room for the plants to thrive without competing for nutrients, while still creating a lush, clumped appearance.
- Covering: Gently backfill the hole with loose soil and press down lightly to eliminate large air pockets. Water the area lightly to settle the soil around the bulbs.
Once your planting is complete, clean your garden tools immediately. Wipe away excess dirt with a damp cloth and dry them thoroughly to prevent rust. If you used a bulb planter, clear any soil trapped inside the cylinder to maintain its efficiency. Store all tools in a dry, secure location out of reach of children or pets, ensuring they are ready for your next gardening project.
Safety and Handling Tips
When you are ready to plant your crocuses, prioritizing safety ensures a productive and injury-free experience. While these bulbs are a delight to grow, they require careful handling to protect your skin and eyes during the installation process.
Some crocus species contain calcium oxalate crystals, which can cause skin irritation, redness, or dermatitis upon direct contact. To prevent these reactions, always wear gardening gloves when handling bulbs. If you accidentally touch a bulb with your bare hands, wash the area thoroughly with soap and water immediately to remove any potential irritants.
For gardeners planting large drifts of crocuses, power-assisted digging tools like bulb augers can significantly reduce physical strain. However, these tools require extra caution. Follow these essential safety practices:
- Read the manual: Always review the manufacturer’s safety instructions specific to your tool before beginning.
- Wear eye protection: Safety glasses or goggles are non-negotiable. They shield your eyes from flying soil, small rocks, and debris kicked up by power drills or augers.
- Maintain a firm grip: Use both hands to control the tool, ensuring a stable stance to prevent the drill from catching or twisting unexpectedly in dense soil.
- Clear the area: Ensure children and pets are kept at a safe distance while power equipment is in operation.
If you are using manual tools, such as a trowel or a long-handled bulb planter, keep your workspace organized to avoid tripping hazards. Ensure your tools are clean and sharp to make the digging process smoother and reduce the force required, which helps prevent repetitive strain injuries.
Finally, remember that crocuses are toxic if ingested. Keep your supply of bulbs stored securely away from curious children and household pets until they are safely buried in the ground. By taking these simple, proactive steps, you can focus on the rewarding task of preparing your garden for a vibrant spring display without compromising your personal safety.

Follow-up Care and Common Questions
Once your crocuses are in the ground, the initial maintenance is straightforward. Immediately after planting, give the area a thorough, gentle watering. This settles the soil around the bulbs, eliminates air pockets, and encourages early root development before the winter dormancy period begins.
As spring arrives and your crocuses finish blooming, it is tempting to tidy up the garden by trimming the fading leaves. However, you must resist this urge. The foliage is essential for the plant’s survival, as it performs photosynthesis to store energy in the bulb for next year’s growth. Wait until the leaves turn yellow and wither completely before removing them.
Gardeners often face challenges with local wildlife, particularly squirrels and chipmunks that view freshly planted bulbs as a snack. If you notice signs of digging, implement these protective measures:
- Lay a piece of chicken wire or hardware cloth over the planting site and secure it with landscape staples.
- Cover the wire with a light layer of mulch or soil to keep the garden looking natural.
- Leave the barrier in place until the ground freezes, which makes the soil too hard for pests to excavate.
If you find that your bulbs are not returning in subsequent years, consider the environmental conditions of your garden. Crocuses require well-draining soil; if they sit in standing water during the winter, the bulbs will likely rot. If you observe poor drainage or persistent issues with plant health, consult a local nursery. They can provide site-specific advice based on your local soil composition and climate patterns.
By allowing the plants to complete their natural life cycle and protecting them from early interference, you ensure a reliable, vibrant display of color every spring. Consistent, low-intervention care is the secret to a thriving crocus patch that expands and multiplies over time, rewarding your patience with an increasingly impressive floral show each season.

Dedicated team of gardening enthusiasts with years of hands-on experience testing lawn mowers, gardening tools, and outdoor equipment. We help home gardeners and professionals alike make informed buying decisions with honest, thorough reviews. From push mowers to pruning shears, we test it all so you don’t have to. Got a gardening tool you’d like us to review? Get in touch!