
You should plant crocus corms in the autumn, ideally six to eight weeks before the first hard frost. While many gardeners search for crocus seeds, these popular spring bloomers are almost exclusively grown from corms, which are bulb-like storage organs that ensure reliable flowering and faster establishment in your garden soil.
Growing crocuses from actual seeds is a difficult, multi-year process that rarely produces consistent results for home gardeners. By choosing high-quality corms instead, you gain a significant head start. These sturdy structures already contain the energy reserves necessary to survive winter dormancy and emerge as vibrant, early-season color once the snow melts.
This guide clarifies the optimal planting timeline for your climate and explains why corms are the superior choice for your landscape. We will walk you through the practical steps of site selection, soil preparation, and proper planting depth. Follow these expert tips to ensure your garden enjoys a beautiful, long-lasting display of early spring flowers.
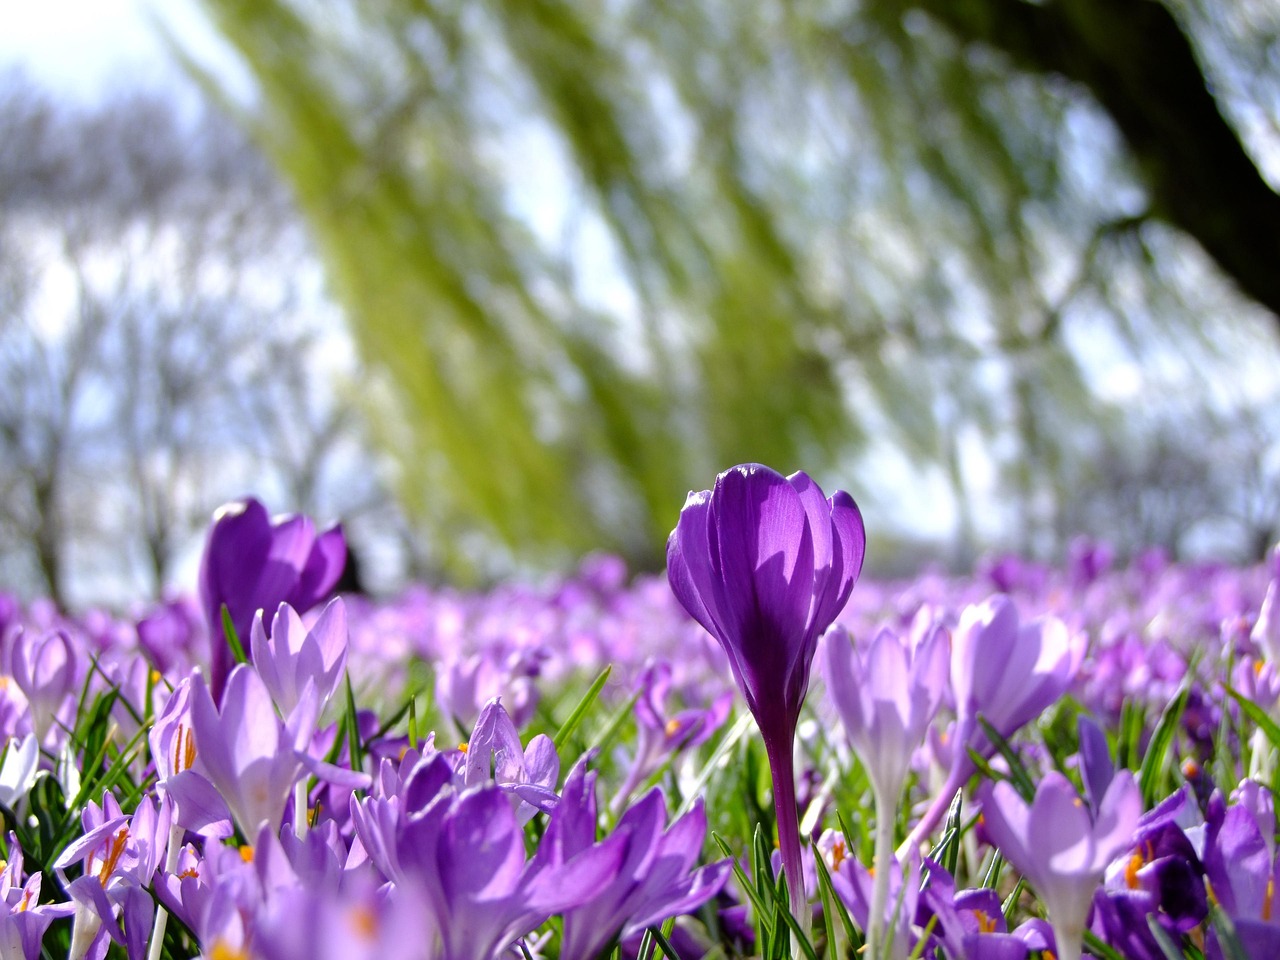
Understanding the Planting Timeline
Timing is the most critical factor in successfully growing crocuses. Because these plants are hardy perennials, they require a specific period of cold dormancy to trigger their spring bloom. Whether you are planting corms or rare seeds, you must provide them with enough time to establish a robust root system before the soil freezes solid.
The ideal window for planting is during the autumn, typically between September and November. In regions with earlier, harsher winters, aim for the earlier side of this window. If you live in a climate with milder winters, you can safely plant as late as November.
To ensure your crocuses thrive, follow these timing guidelines:
- Monitor soil temperatures: Wait until the soil has cooled down significantly, ideally dropping below 60°F (15°C). Planting too early in the heat of late summer can cause the bulbs or seeds to rot before they take root.
- Prioritize root development: Aim to get your plants in the ground at least six weeks before the first hard frost. This buffer period allows the roots to anchor themselves, which is essential for surviving the winter and fueling rapid growth when the snow melts.
- Avoid frozen ground: Never attempt to plant if the ground has already hardened. If you missed the autumn window and the soil is frozen, it is better to store your corms in a cool, dark, and dry place until the following season rather than attempting to force them into frozen earth.
Patience is a virtue when working with crocuses. If you are starting from seeds, keep in mind that they often require a longer maturation period than corms and may not produce flowers in their first year. By respecting the natural autumn cooling cycle, you provide the necessary foundation for a vibrant, reliable display that signals the true arrival of spring. Once established, these resilient plants will return year after year, often naturalizing and spreading to create a lush carpet of color in your garden.
Corms vs. Seeds: Why Most Gardeners Choose Corms
While it is technically possible to grow crocuses from seeds, it is rarely the best choice for the home gardener. Growing from seed is an exceptionally slow process; it typically takes three to four years of dedicated care before a plant produces its first flower. Because of this long wait time and the high failure rate associated with germination, most gardeners prefer to use corms.
Corms are not true bulbs, but rather bulb-like storage organs that house the plant’s energy reserves. When you purchase corms, you are essentially buying a “pre-packaged” plant that has already matured enough to bloom. By planting these in the fall, you ensure a reliable, vibrant display of color in your garden the following spring.
Choosing corms over seeds offers several distinct advantages for your landscape:
- Predictability: You know exactly where your flowers will appear, allowing for precise garden design and color coordination.
- Efficiency: Corms establish roots quickly during the cool autumn months, ensuring they are ready to emerge as soon as the frost thaws.
- Success Rate: Because the energy needed for initial growth is already stored within the corm, they are far more resilient than fragile seedlings.
- Naturalization: Healthy corms will multiply over time, creating larger, denser patches of flowers year after year without any extra effort on your part.
For the most successful results, look for firm, healthy corms that feel heavy for their size and show no signs of mold or soft spots. Avoid any that appear shriveled or damaged, as these will struggle to establish themselves in the soil. By opting for high-quality corms, you bypass the years of waiting required by seeds and secure a beautiful, seasonal reward for your efforts. This simple switch ensures that your spring garden is filled with the iconic, early-blooming color that makes crocuses a favorite among gardeners worldwide.

Step-by-Step Planting Process
Successful crocus growth begins with site selection. Choose a location that receives full to partial sun throughout the day. The soil must be well-draining; crocus corms will rot quickly if left in standing water or heavy, compacted clay. If your garden soil is dense, mix in organic compost or grit to improve drainage before you begin.
Before handling any tools, put on a pair of sturdy gardening gloves. This simple step protects your skin from blisters caused by repetitive digging and shields your hands from sharp rocks, glass, or hidden debris often found in garden soil.
Once your site is prepared, follow these steps for proper planting:
- Digging: Use a garden trowel or a bulb planter to create holes approximately 3 to 4 inches deep.
- Spacing: Ensure each hole is spaced about 3 inches apart. This provides enough room for the plants to thrive without competing for nutrients.
- Positioning: Place the corm into the hole with the pointed end facing upward. If you are unsure which side is the top, look for the small, root-like protrusions on the bottom; these should always face down toward the soil.
- Covering: Gently backfill the hole with soil, pressing down lightly to remove large air pockets.
After planting, water the area lightly to help settle the soil around the corms. Avoid over-saturating the bed, as the goal is merely to provide enough moisture to initiate root development. If you are planting in the autumn, a light layer of mulch can help regulate soil temperature and protect the corms from extreme frost during the winter months. By following this precise depth and spacing, you ensure that your crocuses have the structural support and environmental conditions necessary to emerge vigorously when spring arrives. Always clean your tools after use to prevent the spread of soil-borne pathogens, and store your gloves in a dry place to maintain their integrity for future gardening tasks.
Safety and Tool Care
Gardening is a rewarding hobby, but the physical act of preparing soil for crocus seeds requires attention to safety. Before you begin digging, take a moment to assess your workspace. Remove garden hoses, stray pots, or debris from your path to eliminate tripping hazards. A clear workspace allows you to focus entirely on the precision required for planting small bulbs and seeds.
Your tools are your most important assets, but they can also be dangerous if mishandled. Always use sharp trowels and hand cultivators with care, keeping your fingers well away from the cutting edges. A sharp tool actually increases safety by requiring less force to penetrate the soil, which reduces the risk of slipping. However, ensure that your movements are controlled and deliberate.
To maintain your equipment and your personal safety, follow these best practices:
- Clean after use: Wipe soil and moisture off metal blades immediately after gardening to prevent rust and maintain a clean edge.
- Secure storage: Store sharp tools in a dedicated shed, wall rack, or locked box. Never leave them lying in the grass where they could be stepped on or hidden by foliage.
- Sharpen regularly: Use a whetstone or file to keep edges keen, as dull tools are prone to slipping and causing hand strain.
- Inspect handles: Check wooden or composite handles for splinters or cracks before every use to avoid injury to your palms.
Environmental factors also play a role in your well-being. If you are working in dry, dusty soil conditions, the air may contain fine particulates that can irritate your respiratory system. If you suffer from seasonal allergies or asthma, wear a light, comfortable dust mask while turning over your garden beds. This simple step prevents the inhalation of dust and pollen, ensuring that your time spent preparing for spring blooms remains healthy and enjoyable. Always wash your hands thoroughly with soap and water once you have finished your planting tasks to remove lingering soil and garden debris.

Follow-up Care and Troubleshooting
Once you have planted your crocus seeds or corms, give the area a thorough watering. This settles the soil around the base, eliminating air pockets that could dry out the plant. Throughout the winter, nature typically provides enough moisture, but if you experience an exceptionally dry season, a light watering during a thaw can be beneficial.
Patience is essential when spring arrives. As the foliage emerges and eventually begins to fade, resist the urge to trim it back prematurely. The leaves are the plant’s solar panels; they must remain intact until they turn yellow and wither naturally. This process allows the plant to photosynthesize and store the energy required to recharge the corm for a robust bloom next year.
If you notice sparse growth or missing plants, investigate these common issues:
- Drainage: Crocuses thrive in well-draining soil. If water pools in your planting site, the corms may rot. Amend heavy clay soil with organic matter or compost to improve aeration.
- Rodent Activity: Squirrels, chipmunks, and voles are notorious for digging up and eating crocus corms. If you notice disturbed soil, your plants are likely being treated as a snack.
To prevent wildlife interference, install protective measures during the initial planting phase. Placing a piece of hardware cloth or fine-gauge wire mesh just below the soil surface—directly over the corms—acts as an effective physical barrier. The shoots will easily grow through the mesh, but the corms will remain safely out of reach from hungry garden visitors.
By allowing the foliage to die back naturally and protecting your planting site from pests, you ensure that your crocuses return year after year. Monitoring these simple environmental factors is the best way to guarantee a vibrant, healthy display in your landscape each spring.

Dedicated team of gardening enthusiasts with years of hands-on experience testing lawn mowers, gardening tools, and outdoor equipment. We help home gardeners and professionals alike make informed buying decisions with honest, thorough reviews. From push mowers to pruning shears, we test it all so you don’t have to. Got a gardening tool you’d like us to review? Get in touch!