
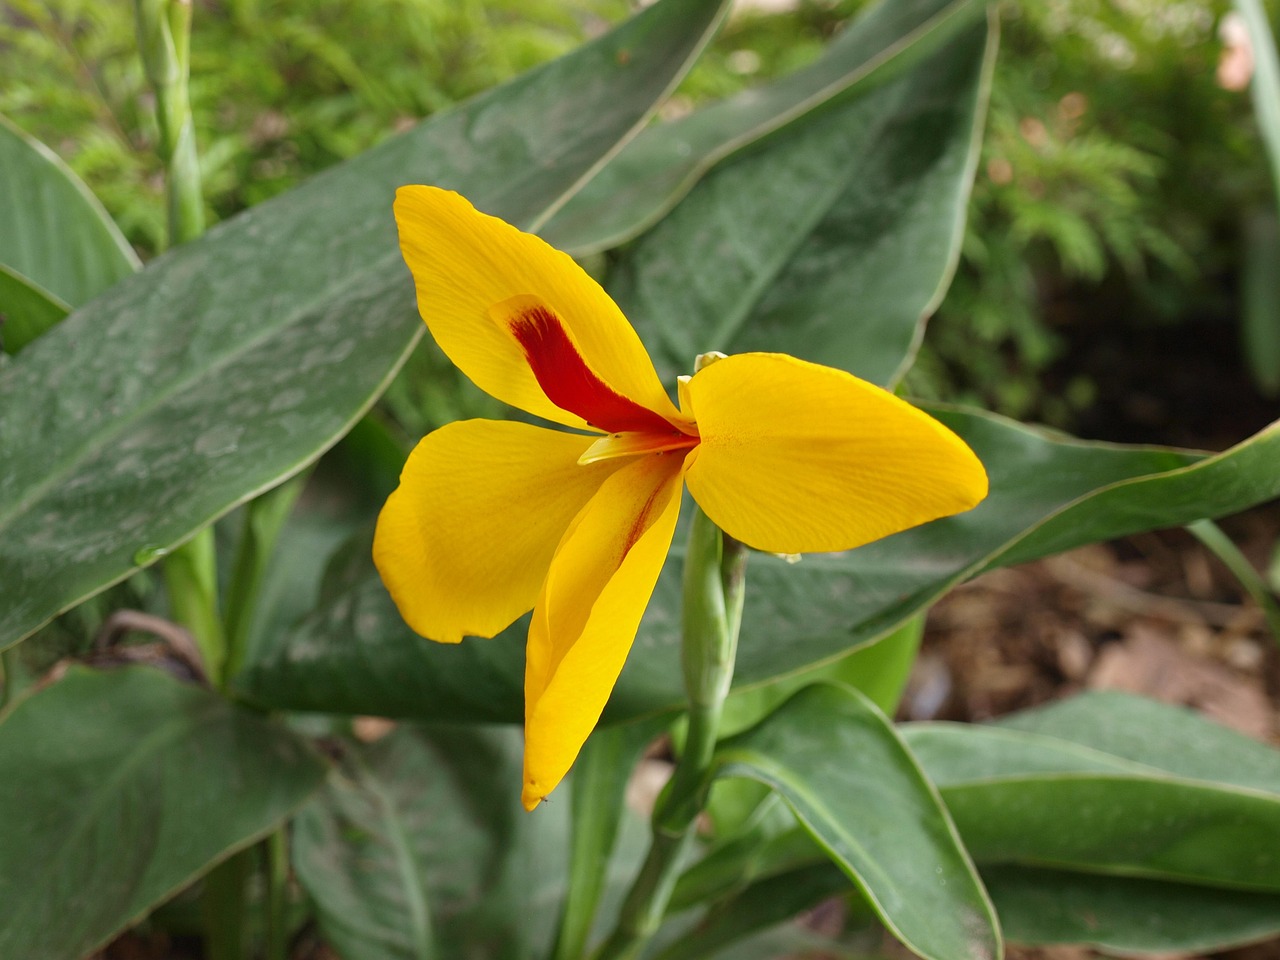
Canna lilies are tropical favorites that bring bold, architectural foliage and brilliant blooms to any landscape. Timing your planting correctly is the secret to ensuring these heat-loving perennials thrive, so you should plant your bulbs once the soil has fully warmed and all danger of spring frost has passed in your specific region.
Because these plants originate from warmer climates, they are highly sensitive to cold temperatures and will not sprout until the earth reaches at least 60 degrees Fahrenheit. If you live in a colder zone, you can jump-start the growing season by potting your rhizomes indoors several weeks before moving them outside for the summer.
This guide covers exactly when to get your rhizomes in the ground based on your climate and how to set them up for success. We will walk you through the essential steps for soil preparation, proper planting depth, and the consistent watering habits required to keep your vibrant canna lilies blooming all season long.

Understanding the Ideal Planting Window
Canna lilies are tropical perennials that thrive in heat and sunshine. Because they are highly sensitive to frost, timing is the most critical factor in their successful cultivation. If you plant your rhizomes too early, the cold, damp soil can cause them to rot before they ever have the chance to sprout.
The ideal time to plant canna lily bulbs is in late spring. You should wait until all danger of frost has passed in your specific region. Beyond just the calendar date, you must ensure the soil has warmed up sufficiently to support active growth.
Follow these guidelines to determine if your garden is ready:
- Check soil temperature: Wait until the soil has consistently reached at least 60 degrees Fahrenheit. You can use a simple soil thermometer to get an accurate reading a few inches below the surface.
- Monitor the weather: Look for a stable forecast. If you experience a cold snap after planting, the rhizomes may remain dormant or succumb to fungal issues.
- Assess soil drainage: Canna lilies require well-draining soil. If your garden remains waterlogged from spring rains, wait for the ground to dry out before planting to prevent rot.
If you live in a climate with a short growing season, you can get a head start by “starting” your cannas indoors. Plant the rhizomes in pots filled with moist, sterile potting mix about four to six weeks before your last expected frost date. Keep the pots in a warm, sunny location, such as a greenhouse or a bright windowsill.
By the time the soil outdoors warms to the required 60 degrees, your plants will already have established roots and perhaps even a few green shoots. This jump-start ensures that your cannas will bloom earlier in the summer and provide a more robust display throughout the season. When transitioning them outdoors, harden them off gradually over a week to prevent transplant shock.
Preparing Your Tools and Safety Measures
Before you begin planting your canna lily bulbs, gather the correct equipment to ensure the process is efficient and safe. Having your gear organized beforehand prevents unnecessary trips back and forth to the shed, allowing you to focus entirely on proper bulb placement.
You will need a sturdy garden spade or a long-handled shovel for digging the planting holes, as canna rhizomes require a depth of approximately three to five inches. For smaller garden beds or container gardening, a durable hand trowel is sufficient for precision work.
Safety should always be your priority when working with garden tools. Follow these essential guidelines to protect yourself while preparing your flower beds:
- Wear durable gardening gloves: Thick, puncture-resistant gloves protect your hands from blisters, soil irritation, and potential nicks from sharp tool edges or hidden debris in the dirt.
- Choose appropriate footwear: If you are digging in areas with rocky or compacted soil, always wear closed-toe shoes or boots. This prevents foot injuries from accidental slips or dropped tools.
- Maintain tool hygiene: Keep your spade and trowel clean by wiping away excess soil after each use. This prevents rust and ensures your tools remain in good working order for future seasons.
- Prioritize storage: Once you have finished planting, clean and store your tools immediately in a shed or secure rack. Leaving metal tools lying in the grass creates a significant tripping hazard for you and your family.
By keeping your workspace clear and your equipment well-maintained, you create a safer environment for your planting project. Always inspect your tools for loose handles or dull blades before starting, as damaged equipment is more likely to cause strain or accidents. Proper preparation not only protects your physical well-being but also ensures that your canna lily bulbs are planted with the care they need to thrive throughout the growing season.

Step-by-Step Planting Guide
Successfully planting canna lily rhizomes begins with choosing the right environment. These tropical perennials thrive in warmth and light, so select a location in your garden that receives full sun. Cannas require at least six to eight hours of direct sunlight daily to produce their signature vibrant blooms and lush foliage.
Once you have selected the perfect spot, follow these steps to ensure your rhizomes establish a strong root system:
- Prepare the hole: Dig a hole approximately 3 to 5 inches deep. Ensure the soil is loose and well-draining to prevent the rhizome from rotting.
- Position the rhizome: Place the rhizome horizontally into the hole. It is critical to ensure the “eyes,” or small bumps where the new growth will emerge, are facing upward toward the soil surface.
- Cover and firm: Gently cover the rhizome with soil. Use your hands to pat the surface down lightly, which removes large air pockets without compacting the earth too tightly.
- Water: Give the area a thorough watering immediately after planting to help settle the soil around the rhizome.
If you are planting multiple rhizomes, spacing is essential for plant health. Space each bulb 12 to 18 inches apart. This distance is not just for aesthetics; it provides the necessary airflow to prevent fungal issues and ensures the plants have enough room to spread as they mature throughout the growing season.
After planting, keep the soil consistently moist but not waterlogged. While cannas are relatively low-maintenance once established, they are heavy feeders. Consider mixing a small amount of compost or a balanced, slow-release fertilizer into the soil at the time of planting to provide a steady stream of nutrients. With the right placement and proper planting depth, your canna lilies will be well-positioned to reward your garden with dramatic height and bold, tropical color all summer long.
Regional Considerations for Different Climates
Your local climate plays a significant role in determining when your canna lilies will thrive. These tropical perennials require warm soil and consistent temperatures to break dormancy and begin active growth. If you live in a region with a short growing season or late spring frosts, waiting for the ground to warm naturally may delay your blooms until late summer or early autumn.
To bypass this limitation, you can “jump-start” your garden by starting canna rhizomes indoors. This method effectively extends your growing season, ensuring your plants are well-established before they hit the garden bed.
Follow these steps for successful indoor starting:
- Timing: Begin the process four to six weeks before your area’s average last frost date.
- Potting: Use a well-draining potting mix and containers with drainage holes. Plant the rhizomes horizontally, about two to three inches deep.
- Environment: Place the pots in a warm, sunny location, such as a south-facing window or under grow lights. Cannas need warmth to sprout; temperatures consistently above 70°F (21°C) are ideal.
- Watering: Keep the soil lightly moist but not waterlogged. Overwatering before the plant has developed leaves can cause the rhizome to rot.
Once outdoor temperatures remain consistently warm—both day and night—you can transition your plants to the garden. Before transplanting, it is essential to “harden off” your cannas. Gradually expose them to outdoor conditions over the course of a week, increasing their time outside each day to prevent transplant shock.
When moving them into the garden, dig a hole slightly larger than the pot and handle the root ball gently. Planting established starts rather than dormant rhizomes provides a head start that typically results in earlier, more vigorous blooms. This proactive approach ensures that even gardeners in cooler zones can enjoy the bold, tropical foliage and vibrant flowers that make canna lilies a landscape favorite.
Follow-up Care and Troubleshooting
Once your canna rhizomes are in the ground, immediate care is vital for successful establishment. Water the planting area thoroughly to settle the soil around the rhizomes and eliminate large air pockets. As the shoots begin to emerge, maintain consistent soil moisture. The goal is to keep the earth damp, similar to a wrung-out sponge, but never waterlogged. Excessively soggy soil can lead to rot before the plant has a chance to thrive.
Monitor your plants closely as they grow. If you notice the foliage turning yellow, it is often a primary indicator of overwatering or poor drainage. If your soil is heavy clay, ensure you have amended it with organic matter to improve aeration. If the yellowing persists, reduce your watering frequency and check that the site is not pooling water after rainfall.
For gardeners in colder climates, remember that cannas are not winter-hardy. They cannot survive freezing temperatures in the ground. Follow these steps to protect your investment for the following season:
- Wait until the first hard frost kills the foliage in autumn.
- Carefully lift the rhizomes from the soil using a garden fork to avoid damaging the roots.
- Gently shake off excess dirt and allow the rhizomes to air-dry in a shaded, protected area for a few days.
- Store the cleaned rhizomes in a container filled with peat moss or vermiculite.
- Keep the container in a cool, dry, and dark location, such as a basement or garage, where temperatures remain above freezing throughout the winter.
While cannas are generally robust, they can occasionally fall victim to pests like leaf rollers, which create unsightly rolls in the foliage. If you spot significant damage, avoid reaching for harsh synthetic chemicals immediately. Instead, contact your local agricultural extension office. They provide region-specific, science-backed advice on organic management strategies that protect your garden’s ecosystem while effectively controlling infestations. Consistent observation throughout the growing season is the most effective way to catch these issues before they impact your plant’s overall health and bloom production.

Dedicated team of gardening enthusiasts with years of hands-on experience testing lawn mowers, gardening tools, and outdoor equipment. We help home gardeners and professionals alike make informed buying decisions with honest, thorough reviews. From push mowers to pruning shears, we test it all so you don’t have to. Got a gardening tool you’d like us to review? Get in touch!