
You should plant Camassia bulbs in the autumn, ideally between September and November, before the ground freezes. This timing allows the bulbs to establish a strong root system during the cooler months, ensuring they are ready to produce their signature star-shaped blooms when the spring warmth finally arrives in your garden.
While these perennials are remarkably hardy and reliable, they do require a period of winter dormancy to trigger their flowering cycle. Understanding your local frost dates is essential, as planting too early in unseasonably warm soil can encourage premature growth that may be damaged by harsh winter temperatures later on.
In the following sections, we will walk you through the practical steps for preparing your soil and selecting the perfect spot for these striking plants. From proper planting depth to essential post-planting care, our comprehensive guide provides everything you need to help your Camassia bulbs thrive and return year after year.

The Ideal Planting Window
The secret to a successful Camassia display lies in timing. Because these bulbs are native to regions with distinct seasonal shifts, they require a period of cool, moist soil to trigger root development. The ideal window for planting is during the autumn, specifically between September and November.
Planting during this period allows the bulbs to establish a robust root system before the ground freezes. By settling in while the soil is still workable, the bulbs can anchor themselves firmly, which is essential for surviving the winter dormancy phase and preparing for a vigorous spring bloom.
To ensure your Camassia bulbs have the best possible start, follow these timing guidelines:
- Aim for six weeks: Try to get your bulbs into the ground at least six weeks before the first hard frost in your area. This gives them enough time to acclimate without the stress of frozen soil.
- Monitor soil temperatures: If you live in a region with a late autumn, wait until the soil temperature has dropped below 60°F (15°C). Planting in soil that is too warm can encourage premature top growth, which is susceptible to frost damage.
- Avoid frozen ground: Never attempt to plant bulbs if the ground is already frozen or saturated with ice. If you missed the optimal window and the ground has hardened, it is better to store the bulbs in a cool, dark, and dry place until the following year rather than forcing them into frozen earth.
By respecting these seasonal cues, you provide your bulbs with the environment they need to thrive. Once planted, the bulbs will remain dormant throughout the winter, conserving their energy to produce those iconic, star-shaped flower spikes as soon as the spring temperatures begin to rise. Consistent moisture during this autumn establishment period is key, so ensure the planting site is well-drained to prevent the bulbs from rotting before they have a chance to wake up in the spring.
Essential Tools and Safety Precautions
Preparing to plant your Camassia bulbs requires only a few reliable tools. To ensure you reach the proper depth—typically four to six inches—use a sturdy hand trowel or a dedicated bulb planter. A bulb planter is particularly useful if you are planting in soft, cultivated soil, as it removes a neat plug of earth, allowing you to place the bulb at the exact required level before replacing the soil.
Safety should remain your top priority throughout the process. Before you begin digging, equip yourself with a pair of durable gardening gloves. These protect your skin from abrasions, potential allergens, and soil-borne bacteria that can cause infections in minor cuts.
When working with your tools, follow these safety guidelines to prevent accidents:
- Maintain a firm grip: Always hold your trowel or planter by the handle, keeping your fingers well away from the digging edge or blade.
- Mind your footing: If your garden soil contains rocks or heavy debris, wear sturdy, closed-toe shoes. This provides stability and shields your feet if you happen to drop a heavy tool.
- Clear your workspace: Keep your path clear of stray bulbs, pots, or bags of soil to prevent tripping while you are focused on planting.
- Ergonomic posture: If you have a large number of bulbs to plant, use a kneeling pad or a garden stool to reduce strain on your lower back and knees.
Before you start, inspect your tools for any loose handles or rusted edges. A well-maintained tool is not only more efficient at slicing through the earth but also significantly safer to operate. If you encounter extremely compacted or rocky soil, do not force the tool with excessive pressure, as this can lead to hand fatigue or tool breakage. Instead, loosen the area slightly with a garden fork first. By taking these simple precautions, you ensure that your planting process is efficient, comfortable, and injury-free, setting the stage for a successful Camassia display next spring.
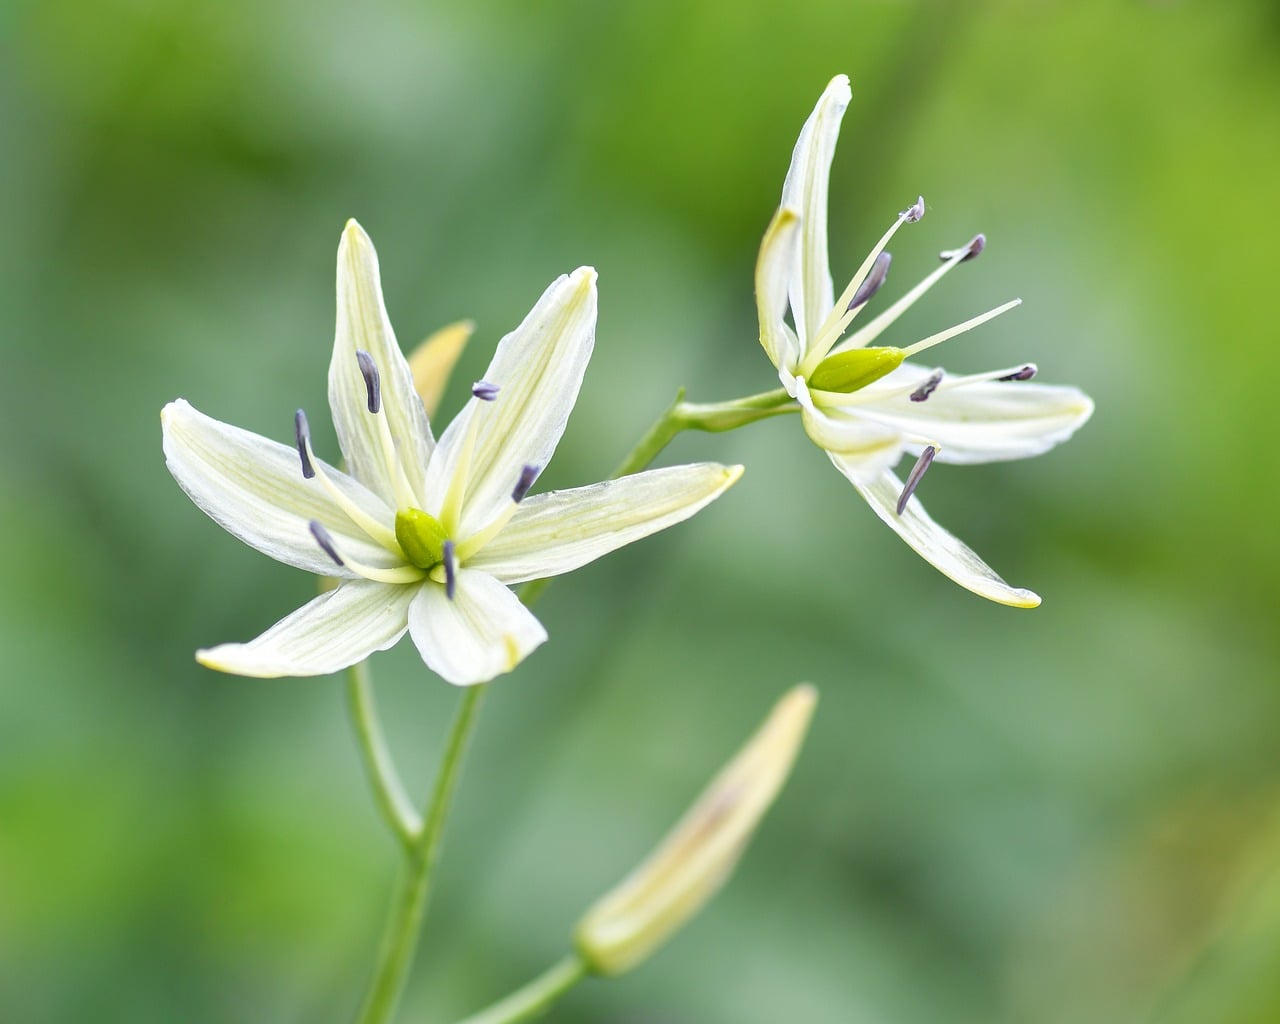
Selecting the Right Location
Choosing the ideal location is the most critical step in ensuring your Camassia bulbs establish successfully. These native North American perennials are unique because they tolerate—and even prefer—conditions that would rot many other spring-flowering bulbs.
For the best results, look for a site that receives full sun to partial shade. While Camassia can handle dappled light, they produce the most vigorous blooms when given at least six hours of direct sunlight daily.
The most important factor to consider is soil moisture. Unlike tulips or daffodils that require dry summer soil, Camassia bulbs thrive in areas that remain consistently moist during the spring growing season. Consider these ideal planting spots:
- Low-lying areas of the garden that naturally collect runoff.
- The margins of a pond or a rain garden.
- Heavy clay soils that hold moisture, provided they are not waterlogged.
While moisture is essential, drainage is equally vital. Avoid planting in spots where water pools and sits for extended periods, as this can cause the bulbs to rot. If your soil is heavy, incorporate organic matter like compost to improve drainage while maintaining the necessary moisture-retentive qualities.
Be mindful of your garden’s summer cycle. Avoid sites that become bone-dry or bake in the heat during mid-summer. If a site loses all moisture too quickly after the foliage dies back, the bulbs may go dormant prematurely. This stress can weaken the plant, leading to poor flowering performance in the following spring. If you must plant in an area that dries out, consider applying a layer of organic mulch to keep the soil cool and preserve subsurface moisture.
By mimicking their natural habitat—moist, meadow-like conditions that transition into a drier summer dormancy—you provide the perfect environment for your Camassia to naturalize and return year after year. Observe your garden during a spring rain to identify these naturally damp zones before you begin planting.
Proper Planting Depth and Spacing
Achieving the best results with Camassia begins with proper placement in the soil. To ensure the shoots emerge correctly, always position the bulbs with the pointed end facing upward. If you are unsure which end is the top, planting them on their side is a safe alternative, as the plant will naturally correct its growth direction.
Dig your planting holes approximately 4 to 6 inches deep. This depth is critical because it insulates the bulbs against harsh temperature fluctuations, protecting them from both freezing winter soil and the intense heat of summer. Consistent soil temperatures help the bulbs establish strong root systems before they enter their active spring growth phase.
Spacing is equally important for long-term health and aesthetic appeal. Camassia bulbs thrive when they have enough room to naturalize and multiply over time. Follow these guidelines for optimal spacing:
- Individual Spacing: Place bulbs 4 to 6 inches apart. This distance provides adequate airflow, which helps prevent fungal issues and keeps the foliage healthy.
- Clumping: If you prefer a dense, meadow-like look, you can plant them slightly closer, but ensure they have at least 3 inches of breathing room to avoid nutrient competition.
- Groupings: For the most visual impact, plant Camassia in clusters of 5 to 10 bulbs rather than in straight, single rows.
Once the bulbs are positioned, backfill the hole with soil. Use your hands to firm the earth down gently. This step is vital because it removes large air pockets that could otherwise dry out the roots or allow water to pool around the bulb, which may lead to rot. After firming the soil, provide a thorough, gentle watering to help settle the bulbs into their new environment. Avoid over-compacting the soil, as loose, well-draining earth is essential for Camassia to thrive and return year after year.

Follow-up Care and Common Questions
Once you have finished planting your Camassia bulbs, give the area a thorough soaking. This initial watering helps settle the soil around the bulbs, eliminating air pockets and encouraging early root development. Because these plants are generally low-maintenance, they do not require excessive intervention, but a light layer of organic mulch—such as shredded bark or compost—is highly beneficial. This layer helps regulate soil temperature and retains essential moisture during the growing season.
As the blooming season concludes, you may notice the foliage beginning to yellow. It is vital to resist the urge to trim this away immediately. The leaves must remain intact until they turn completely brown and wither, as this process allows the plant to photosynthesize and store energy in the bulb for next year’s growth. Removing green foliage prematurely can weaken the bulb and result in poor flowering the following spring.
If you find that your Camassia bulbs fail to produce blooms after several years, they have likely become overcrowded. When bulbs are packed too tightly, they compete for nutrients and space, which inhibits flowering. You can easily resolve this by following these steps:
- Wait until late summer when the foliage has fully died back and the plant is dormant.
- Carefully lift the clumps from the soil using a garden fork, taking care not to damage the bulbs.
- Gently separate the individual bulbs or smaller clusters.
- Replant the bulbs at the recommended depth and spacing in fresh, nutrient-rich soil.
By dividing your bulbs every three to five years, you ensure that your Camassia remains vigorous and continues to produce those signature, star-shaped flower spikes year after year. If you live in an area with particularly harsh winters, ensure your mulch layer is replenished in late autumn to provide extra insulation for the dormant bulbs. With this simple, consistent care, your Camassia will thrive and naturalize beautifully in your garden landscape.

Dedicated team of gardening enthusiasts with years of hands-on experience testing lawn mowers, gardening tools, and outdoor equipment. We help home gardeners and professionals alike make informed buying decisions with honest, thorough reviews. From push mowers to pruning shears, we test it all so you don’t have to. Got a gardening tool you’d like us to review? Get in touch!