
You should plant blazing star bulbs in the spring after the danger of frost has passed. Aim to get your Liatris corms into the soil once the ground has warmed, typically between April and May, to ensure they establish strong roots before the heat of summer arrives for a vibrant, reliable bloom.
While these hardy perennials are relatively low-maintenance, they do require specific conditions to thrive throughout the growing season. Successful growth depends on selecting a spot with full sun and well-draining soil, as these plants are prone to rot if left in standing water. Patience is key when waiting for their signature spikes.
In the following sections, we provide a comprehensive guide to mastering your home gardening routine with these stunning flowers. From choosing the best bulb depth to managing watering schedules and seasonal care, you will learn everything necessary to cultivate a healthy, vertical display that returns to your landscape year after year.
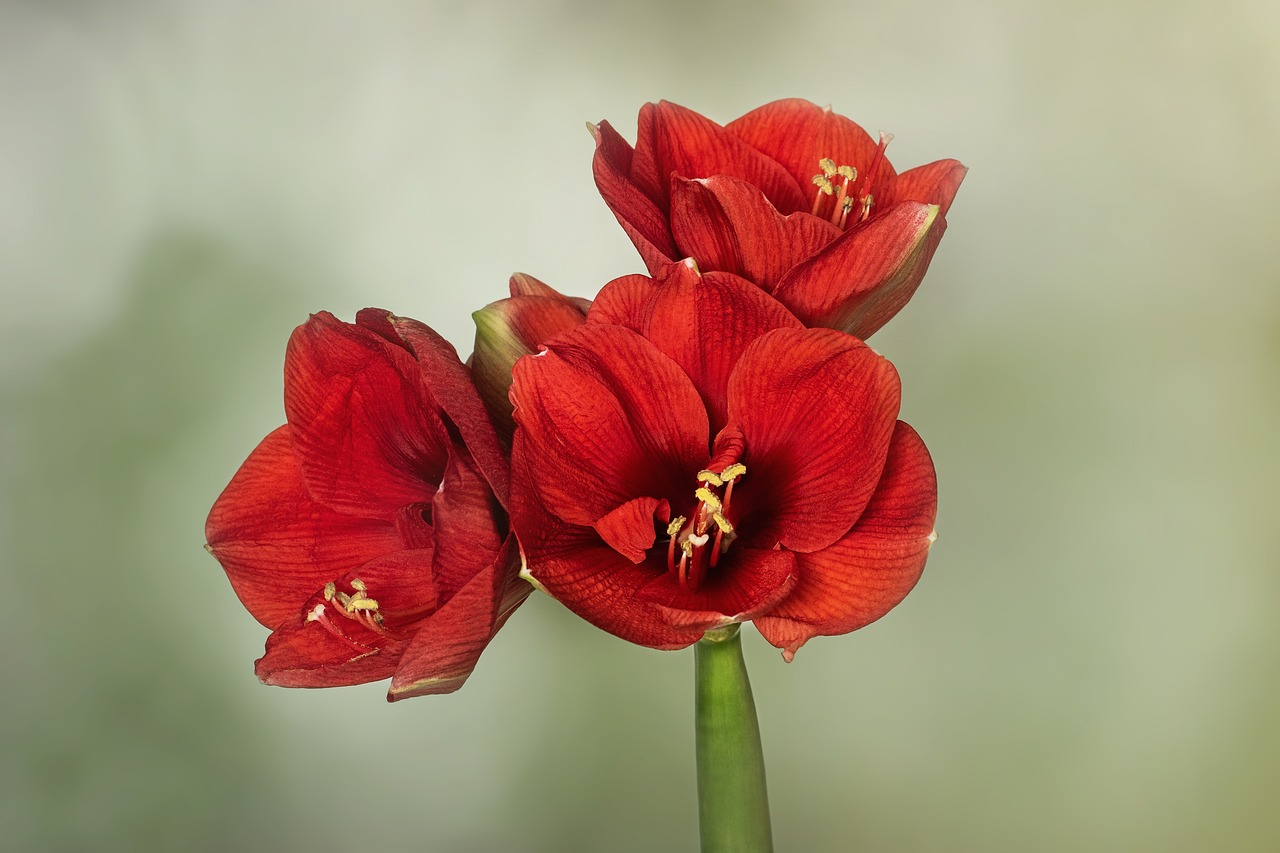
The Ideal Planting Window for Blazing Star
The success of your Blazing Star (Liatris) display depends heavily on timing. Because these plants grow from corms—bulb-like storage organs—they require the soil to reach a specific temperature range to break dormancy and initiate healthy root growth.
For the vast majority of gardeners, spring is the optimal time for planting. You should aim to get your corms into the ground once the danger of hard frost has passed and the soil has begun to warm, typically when daytime temperatures consistently reach the 60s°F (15°C–20°C).
Planting during this window offers several distinct advantages:
- Root Establishment: Spring planting gives the corms ample time to develop a robust root system before the intense heat of mid-summer arrives.
- Moisture Management: Spring soil usually retains enough natural moisture to support early growth without risking the rot that can occur in cold, waterlogged winter soil.
- Predictable Bloom Cycles: Establishing the plants in spring aligns with their natural growth habit, ensuring they have the energy reserves needed to produce their signature feathery flower spikes later in the season.
If you live in a region with extremely mild winters—specifically USDA zones 8 and above—you may be able to plant in the fall. However, even in these climates, spring remains the most reliable timing. Fall planting carries a higher risk of the corms rotting if the soil remains too wet or if an unexpected cold snap occurs before the roots have stabilized.
To determine if your soil is ready, perform a simple check: if the ground is workable and not frozen or saturated with standing water, it is generally safe to proceed. If you are starting your garden in an area with heavy clay soil, ensure you amend the site with organic matter to improve drainage before planting. Once in the ground, cover your corms with two to three inches of soil, water them thoroughly, and keep the area consistently moist until you see the first signs of green shoots emerging.
Essential Tools and Safety Precautions
Planting Liatris, or blazing star, requires minimal equipment, but using the right tools makes the process more efficient and protects your plants. Before you begin, gather a sturdy garden trowel or a dedicated bulb planter. A bulb planter is particularly useful if you are tucking corms into established garden beds, as it removes a precise plug of soil without disturbing surrounding roots.
Safety should always be your priority when working in the soil. Follow these essential precautions to ensure a smooth planting session:
- Wear protective gloves: Always use durable gardening gloves. These protect your skin from abrasions, sharp rocks, and potential soil-borne bacteria.
- Check for utilities: If you are planning a larger display and intend to use a mechanical auger, contact your local utility company first. Ensure there are no underground gas, water, or electrical lines in your chosen planting site.
- Use eye protection: When operating power equipment like an auger, wear safety goggles. These prevent eye injuries from flying debris or soil particles.
- Maintain your tools: Keep your trowels and hand tools clean and sharp. Dull tools require more force, which increases the risk of slipping and causing injury.
Ergonomics also play a role in safe gardening. If you are planting a large number of blazing star corms, consider using a kneeling pad to reduce strain on your joints. Take frequent breaks to stretch, especially if you are working on uneven terrain.
Finally, organization is a key safety practice. Never leave sharp tools lying on the ground where they could be stepped on or hidden by mulch. Once you have finished planting, clean your tools to remove residual soil and moisture, then store them securely in a shed or garage. Keeping your workspace tidy prevents tripping hazards and ensures your equipment remains in good condition for the next growing season. By preparing your tools and workspace correctly, you create a safe environment that allows you to focus entirely on establishing your beautiful blazing star display.

Step-by-Step Planting Guide
Successfully establishing Liatris, commonly known as blazing star, begins with selecting the right environment. These perennials thrive in locations that receive full sun—at least six to eight hours of direct light daily—and require soil with excellent drainage. Avoid areas where water tends to pool after rain, as damp conditions can cause the corms to rot before they sprout.
Once you have prepared your site, follow these steps to ensure proper planting:
- Digging: Create a hole approximately 2 to 4 inches deep. If you are planting multiple bulbs, space them about 12 to 15 inches apart to allow for healthy air circulation.
- Orientation: Place the corm in the hole with the root side facing down. If you have difficulty identifying the top, look closely for small indentations, rough patches, or remnants of old stems; these indicate the top where growth will emerge.
- Covering: Fill the hole with soil, ensuring the corm is completely buried. Gently firm the earth down with your hands to remove large air pockets without compacting the soil too tightly.
- Watering: Provide a thorough initial watering immediately after planting. This helps settle the soil around the corm and signals the plant to begin its growth cycle.
After planting, keep the area moderately moist until you see green shoots emerging above the soil line. Once the plants are established, they are remarkably drought-tolerant and will require minimal supplemental watering. Avoid adding heavy mulch directly over the crown of the plant, as this can trap excess moisture and lead to decay. Instead, apply a light layer of organic compost around the base to suppress weeds and provide slow-release nutrients throughout the growing season. By following these simple steps, you create the ideal foundation for your blazing stars to return year after year, providing vibrant, nectar-rich blooms that attract essential pollinators to your garden.
Soil Preparation and Spacing
Blazing Star (Liatris) is a resilient perennial, but its success begins beneath the surface. These plants are remarkably adaptable and can thrive in average or even poor soil conditions, provided the site offers excellent drainage. Because Blazing Star grows from corms, they are particularly susceptible to rot if left in standing water or saturated earth.
If your garden consists of heavy, dense clay, you must improve the soil structure before planting. Clay traps moisture against the corm, which often leads to decay. To correct this, amend your planting area with organic matter, such as high-quality compost or aged leaf mold. Incorporating these materials helps break up heavy soil particles, allowing water to pass through more freely while still retaining necessary nutrients.
Proper spacing is equally vital for the long-term health of your Blazing Star. When planting your corms, follow these guidelines to ensure optimal growth:
- Maintain Distance: Space individual corms 12 to 15 inches apart. This spacing is not just for root development; it is essential for the health of the foliage.
- Encourage Airflow: Adequate space between plants allows air to circulate freely around the base and stems. Good ventilation is the most effective natural defense against fungal issues like powdery mildew or rust.
- Prevent Crowding: Planting too closely creates a humid microclimate that traps moisture on the leaves, inviting disease. If you are planting in a garden bed, ensure the site receives full sun to further assist in drying the foliage after rainfall.
Before placing your corms into the ground, ensure the planting hole is deep enough to cover the top of the corm with about two to three inches of soil. If you are unsure about your soil’s drainage, perform a simple test: dig a hole, fill it with water, and observe how quickly it drains. If water remains after several hours, you must add more organic matter or consider planting in a raised bed to protect your Blazing Star from moisture-related stress.

Ongoing Care and Troubleshooting
Once your blazing star bulbs are in the ground, consistent moisture is the key to successful establishment. Keep the soil evenly damp until you see the first signs of green shoots emerging. Avoid letting the soil dry out completely during this initial phase, as the developing root system requires steady hydration to thrive.
After the plants are established, Liatris becomes remarkably drought-tolerant. You can gradually reduce your watering frequency, allowing the soil to dry out slightly between sessions. These perennials prefer well-draining soil; sitting in waterlogged ground can lead to root rot and other fungal issues.
If your blazing stars are struggling to bloom, sunlight is usually the culprit. These plants are sun-worshippers and require specific conditions to produce their signature spikes. Ensure your garden bed receives at least six to eight hours of direct, unfiltered sunlight every day. If they are shaded by nearby shrubs or structures, consider transplanting them to a brighter location in the fall.
Monitoring your plants for signs of stress is an essential part of ongoing maintenance. Use these quick diagnostic tips to keep your patch healthy:
- Yellowing leaves: This is a common indicator of overwatering or poor drainage. Check the soil moisture levels and ensure your garden bed isn’t holding excess water after rain.
- Stunted growth: Ensure the crown of the plant is not buried too deeply, as this can inhibit the emergence of flower spikes.
- Pest activity: While generally hardy, Liatris can occasionally attract aphids or powdery mildew.
If you encounter persistent issues that do not resolve with basic adjustments, do not hesitate to contact your local cooperative extension office. These organizations provide science-based, region-specific advice tailored to your local climate and soil conditions. They can help you identify specific pests or diseases common to your area and recommend safe, effective treatments to protect your garden’s overall health.

Dedicated team of gardening enthusiasts with years of hands-on experience testing lawn mowers, gardening tools, and outdoor equipment. We help home gardeners and professionals alike make informed buying decisions with honest, thorough reviews. From push mowers to pruning shears, we test it all so you don’t have to. Got a gardening tool you’d like us to review? Get in touch!