
You should plant astilbe bulbs in early spring as soon as the soil becomes workable and the danger of frost has passed. Planting during this cool window is essential to ensure these moisture-loving perennials establish strong root systems before the intense heat of summer arrives and puts stress on the foliage.
Although commonly referred to as bulbs, astilbes are actually herbaceous perennials grown from rhizomes or root divisions. These shade-loving plants are highly prized for their feathery, plume-like flowers that bring vibrant color to dim garden corners. Understanding their unique growth cycle is the first step toward achieving a lush, healthy display.
In this guide, we provide practical advice on selecting the perfect site and preparing your soil for optimal growth. We will walk you through the step-by-step planting process, covering essential tips for watering and long-term maintenance. Follow these expert recommendations to enjoy reliable, stunning blooms in your garden year after year.
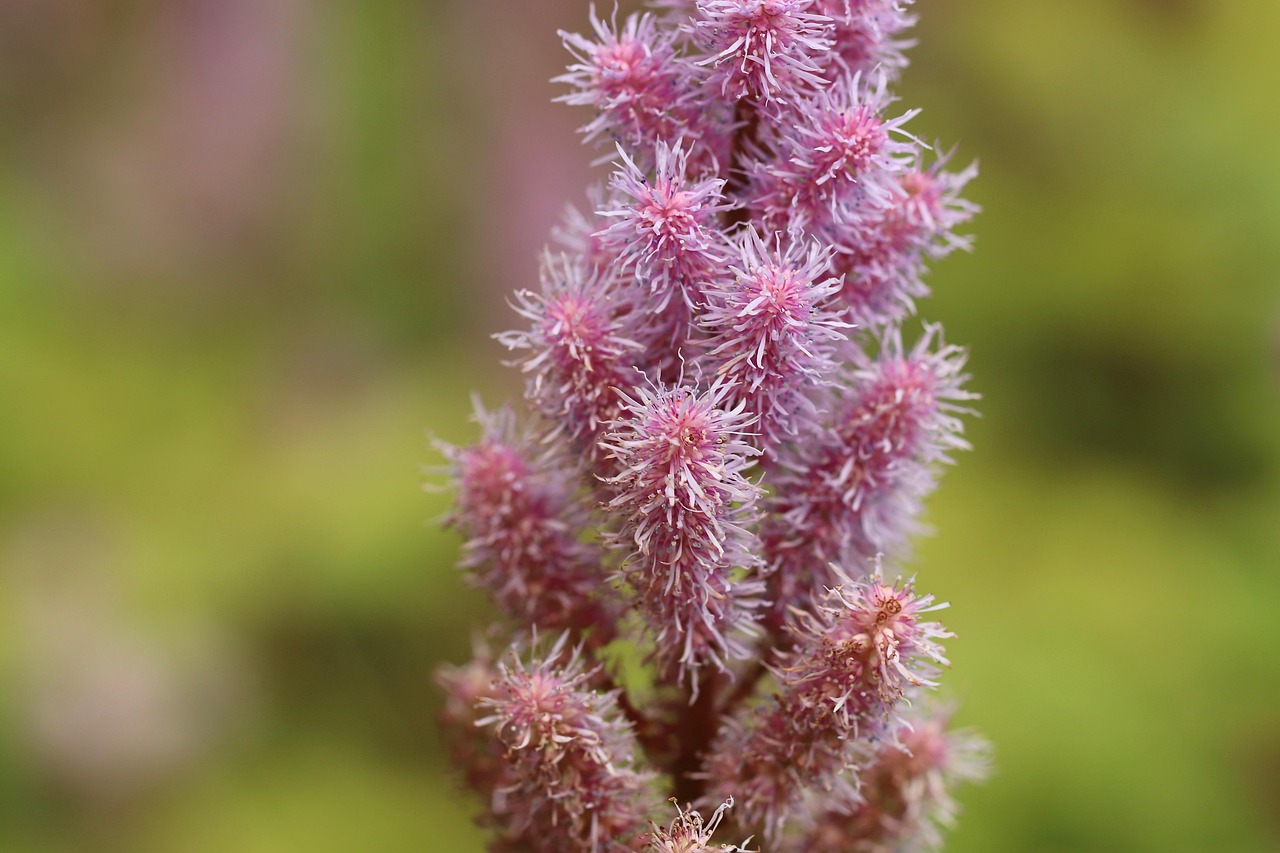
The Ideal Time to Plant Astilbe
The best time to plant astilbe is in early spring, as soon as the soil has thawed and can be worked without clumping. Planting during this window allows the root system to establish itself while the ground remains cool and moist, providing the perfect environment for these shade-loving perennials to thrive before the heat of summer arrives.
To determine if it is the right time to plant in your specific region, follow these guidelines:
- Check the frost date: Ensure the danger of a hard frost has passed. While astilbes are hardy, young roots are vulnerable to extreme temperature fluctuations in the top layer of soil.
- Test the soil consistency: Grab a handful of soil and squeeze it. If it crumbles easily, it is ready. If it forms a sticky, wet ball, wait a few more days to avoid soil compaction.
- Monitor the temperature: Aim for a time when daytime temperatures are consistently rising, but before the soil becomes dry and warm.
In milder climates where winters are not severe, you may also plant astilbe in the fall. This is a viable option as long as the ground remains workable for at least six to eight weeks before the first deep freeze. Fall planting gives the plant enough time to settle in and develop a strong root system before it enters winter dormancy. If you choose to plant in the fall, ensure the area is well-mulched to protect the crown from freezing and thawing cycles.
Regardless of the season, prioritize moisture. Astilbes are water-loving plants; planting them when the soil is naturally damp—typically early spring or late autumn—significantly increases your success rate. Avoid planting during the peak of summer, as the heat and lack of consistent moisture will stress the plant, making it difficult for the roots to establish properly. By aligning your planting schedule with these seasonal cues, you provide your astilbes with the best possible start for a lush, healthy display.
Preparing the Planting Site
Astilbes are woodland plants that require specific soil conditions to thrive. Because they are not drought-tolerant, your primary goal when preparing the site is to create a moisture-retentive environment that does not become waterlogged.
Start by selecting a location that receives partial to full shade. While astilbes can tolerate morning sun in cooler climates, they generally prefer protection from the intense afternoon heat, which can scorch their delicate, fern-like foliage.
Before planting, clear the area completely of weeds, grass, and debris. Competition from weeds can quickly stunt the growth of young astilbe roots. Once the site is clear, use a hand trowel or garden spade to loosen the soil to a depth of 8 to 10 inches. This aeration is essential for root penetration.
To ensure your astilbes have the best start, amend the soil with organic matter. This improves both the nutrient profile and the water-holding capacity of the earth. Follow these steps to prepare your soil effectively:
- Incorporate Compost: Mix in 2 to 3 inches of high-quality compost or well-aged manure into the loosened soil.
- Check Drainage: If your soil is heavy clay, add additional organic material or a small amount of grit to improve drainage, as astilbes do not like to sit in stagnant water.
- Adjust pH: Astilbes prefer slightly acidic to neutral soil. If you are unsure of your soil quality, a simple home test kit can help you determine if amendments are needed.
Once the soil is amended and leveled, it should be loose, dark, and crumbly. Avoid walking on the prepared bed, as this compacts the soil and undoes the work you have just completed. If the soil is very dry, water the area lightly a day before planting to ensure the ground is damp and ready to support the new bulbs. Proper site preparation now will result in more vigorous growth and more reliable blooms come summer.
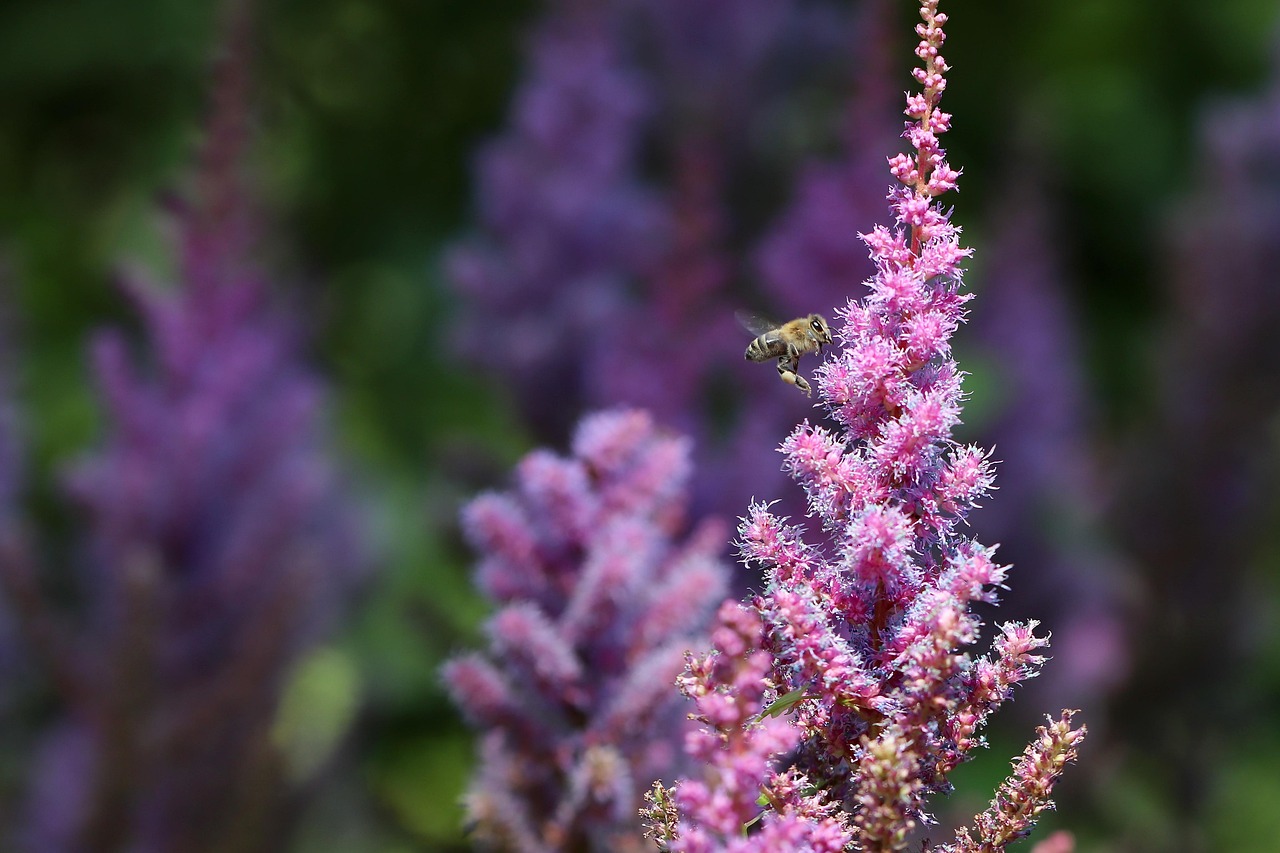
Step-by-Step Planting Guide
Successfully planting astilbe requires careful attention to depth and placement to ensure these shade-loving perennials establish a strong root system. Before you begin, choose a location with rich, moist soil and dappled sunlight, as astilbes struggle in dry, sun-scorched conditions.
Follow these steps to plant your astilbe rhizomes correctly:
- Prepare the hole: Dig a hole that is wide enough to comfortably accommodate the entire root mass without bending or crowding the roots.
- Check the depth: The hole should be deep enough so that the crown of the plant—the area where the roots meet the stems—sits approximately 1 to 2 inches below the soil surface. Planting too shallow can cause the roots to dry out, while planting too deep may hinder new growth.
- Position the rhizome: Place the rhizome in the center of the hole with the “eyes” (the small, pointed pink or reddish buds) facing upward toward the sky.
- Backfill and firm: Gently fill the hole with soil. Use your hands to firm the earth around the rhizome, which helps eliminate large air pockets that could cause the roots to desiccate.
- Water immediately: Provide a thorough soaking right after planting. This step is crucial, as it settles the soil firmly around the root structure and signals to the plant that it is time to begin growing.
Once planted, maintain consistent soil moisture throughout the growing season. Astilbes are not drought-tolerant, so if the weather turns dry, ensure the soil remains damp to the touch. Applying a layer of organic mulch, such as shredded bark or compost, around the base of the plant can help retain moisture and suppress weeds. With the right start and regular hydration, your astilbes will reward you with lush, fern-like foliage and vibrant, plume-like flowers year after year.
Safety Precautions for Garden Work
Preparing your garden beds for astilbe bulbs requires physical effort, making safety a top priority. Before you begin digging or clearing soil, always wear a pair of high-quality, sturdy gardening gloves. These protect your hands from hidden hazards like sharp rocks, broken glass, or jagged debris that may be buried beneath the surface. They also provide a necessary barrier against potential skin irritants found in fertilizers or compost.
When working with tools like spades, trowels, or hand rakes, maintenance is key to preventing injury. Dull tools require significantly more force to penetrate the soil, which increases the risk of muscle strain or accidental slips. Keep your blades clean and sharpened to ensure they cut through the earth smoothly and efficiently. If you feel muscle fatigue, take a break; repetitive motion injuries are common in gardening when you push through discomfort.
Consider these additional safety measures to keep your gardening session productive and injury-free:
- Protect your lungs: If you are working in dry, dusty conditions or handling large bags of potting mix, wear a dust mask to avoid inhaling soil particles or fungal spores.
- Practice proper lifting: When moving heavy bags of soil or mulch, always lift with your legs rather than your back to prevent spinal strain.
- Organize your workspace: Never leave sharp tools lying on the ground where they can be tripped over or stepped on. Store them immediately in a shed or tool rack after use.
- Stay hydrated: Gardening is a physical workout. Drink plenty of water throughout the day, especially if you are working in direct sunlight.
Finally, be mindful of your surroundings. If you are using power equipment like tillers, ensure you are wearing protective eyewear to shield your eyes from flying soil or pebbles. By taking these simple, proactive steps, you ensure that your gardening experience remains enjoyable and that your hands and body stay protected while you prepare the perfect environment for your new astilbe plants.

Follow-up Care and Common Questions
Once your astilbes are in the ground, consistent moisture is the most critical factor for success. These plants are notoriously sensitive to drought, and their foliage will quickly brown and crisp if the soil dries out completely. Aim to keep the ground evenly moist, especially during the first growing season while the root system establishes itself.
To simplify maintenance and protect your plants, apply a two-to-three-inch layer of organic mulch, such as shredded bark or compost, around the base of the astilbes. This layer serves three vital purposes:
- It acts as a reservoir, helping the soil retain moisture for longer periods.
- It suppresses weeds that would otherwise compete for nutrients.
- It insulates the roots against temperature fluctuations.
If you notice your astilbes wilting despite a regular watering schedule, do not immediately assume they need more water. Over-saturated soil can lead to root rot, which mimics the signs of dehydration. First, check the soil drainage; if the area remains soggy, you may need to amend the soil with organic matter to improve aeration. If the drainage seems appropriate but the plant continues to struggle, consult a local nursery expert. They can help you test your soil composition to ensure it has the correct pH and nutrient balance for your specific variety.
Fortunately, astilbes are remarkably low-maintenance once they settle into their environment. They are hardy perennials that do not require complex pruning or frequent fertilization. Simply remove the spent flower stalks in late autumn or early spring to keep the garden tidy. With the right site selection and initial care, your astilbes will reliably return year after year, providing lush, feathery blooms with minimal intervention. By observing your plants closely during their first few weeks, you set the stage for a thriving, long-lived garden feature that requires very little effort to enjoy throughout the season.

Dedicated team of gardening enthusiasts with years of hands-on experience testing lawn mowers, gardening tools, and outdoor equipment. We help home gardeners and professionals alike make informed buying decisions with honest, thorough reviews. From push mowers to pruning shears, we test it all so you don’t have to. Got a gardening tool you’d like us to review? Get in touch!