
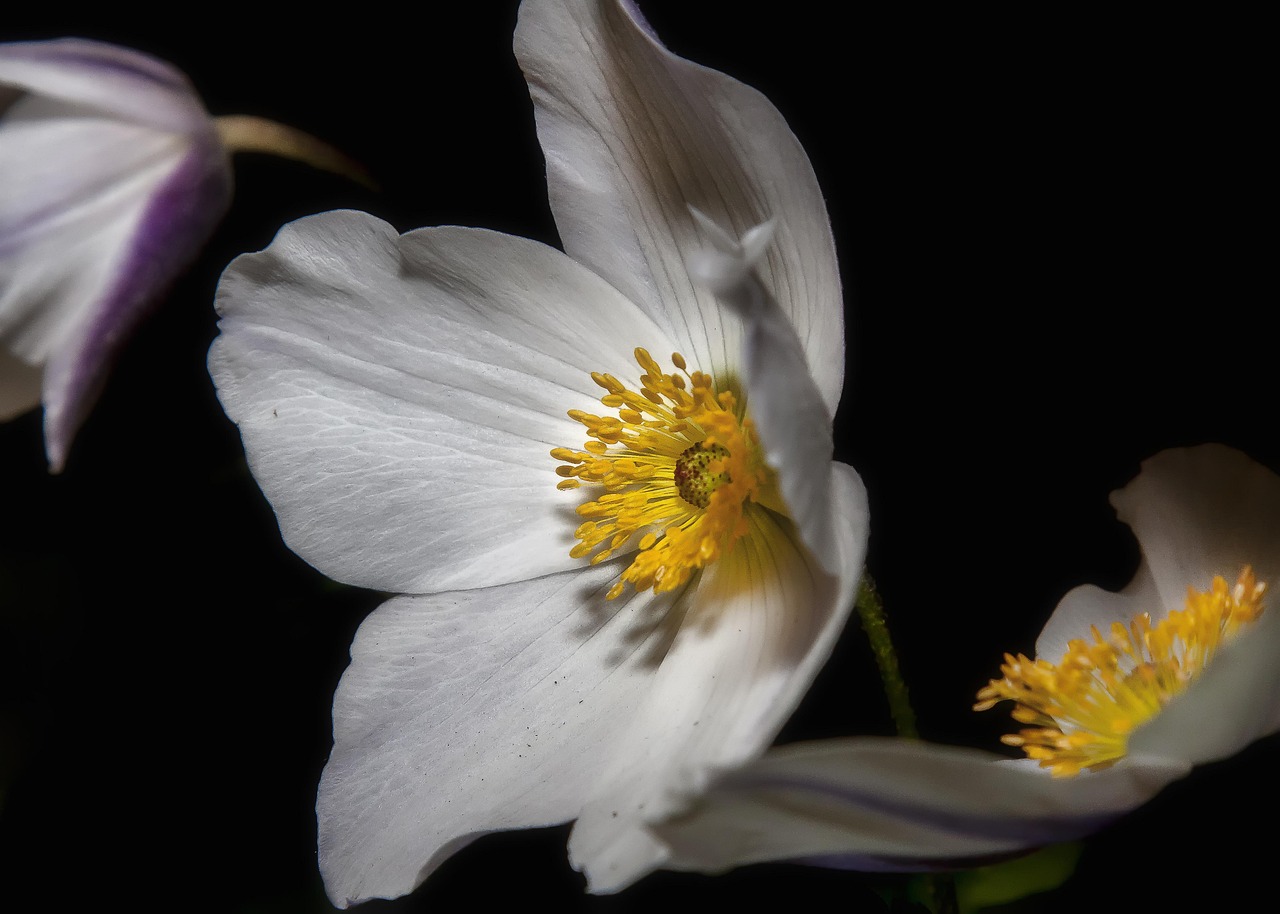
You should plant Anemone blanda corms in the autumn, ideally between September and November. This timing allows the bulbs to establish strong roots before the ground freezes, ensuring they bloom beautifully when spring arrives. Known as the Grecian windflower, this delightful plant adds vibrant, early-season color to your landscape with minimal effort.
While these bulbs are generally hardy, success depends on your local climate and soil conditions. Planting too late can result in poor root development, while planting too early in warm soil may lead to rot. Understanding your specific hardiness zone is key to choosing the perfect window for your gardening project.
This guide provides all the practical tips you need to master your planting process. We will cover essential topics, including proper soil preparation, ideal planting depth, and necessary spacing for optimal growth. Follow these expert recommendations to guarantee a lush, thriving display of Grecian windflowers in your own home garden next season.

Understanding the Ideal Planting Window
Timing is everything when it comes to establishing a successful display of Anemone blanda, commonly known as Grecian windflowers. To ensure these hardy perennials thrive, you must align your planting schedule with the natural cooling cycle of the autumn season.
The ideal window for planting Anemone blanda corms is from September through November. Planting during these months allows the corms to settle into the soil while it remains workable and cool, but before the harsh temperatures of deep winter arrive.
By getting your corms into the ground during this autumn period, you provide them with the necessary time to develop a robust root system. This early establishment is crucial for spring success, as it allows the plants to wake up quickly and bloom vigorously as soon as the soil begins to warm.
To determine the perfect moment for your specific garden, follow these practical guidelines:
- Monitor your local frost dates: Aim to plant at least four to six weeks before your region’s first hard frost. This buffer ensures the corms have enough time to anchor themselves without being damaged by frozen, heaving soil.
- Check soil temperature: These corms prefer cool soil. If you experience an unusually warm autumn, wait until the ground temperature consistently drops below 60°F (15°C) before planting.
- Consider soil moisture: Autumn rains typically provide the moisture needed for growth. If your autumn is exceptionally dry, water the planting area lightly after installation to encourage root development.
If you live in a climate with very mild winters, you can safely plant toward the later end of this window. However, gardeners in colder zones should prioritize earlier planting in September or early October. This ensures the corms are not struggling to establish in soil that has already begun to freeze. By respecting this natural autumn rhythm, you provide your anemones with the best possible foundation for a vibrant, long-lasting spring display.
Essential Tools and Safety Precautions
Before you begin planting your Anemone blanda, gathering the right equipment will make the process more efficient and protect your physical well-being. Having your gear organized ensures you can focus on proper planting depth and spacing without interruption.
For most home gardeners, a sturdy hand trowel is sufficient for creating individual planting holes. If you are planting a large drift of anemones, a dedicated bulb planter can save time and reduce wrist strain. For those working with rocky or compacted soil, a bulb auger attachment for a power drill is a highly effective alternative.
Safety should always be your priority when working in the garden. Keep these essential precautions in mind:
- Wear durable gloves: Always use sturdy gardening gloves to protect your skin from soil-borne irritants, sharp stones, or hidden debris in the garden bed.
- Protect your eyes: If you choose to use a power drill with a bulb auger, you must wear safety goggles. This prevents flying soil, pebbles, or wood chips from causing eye injuries.
- Operate tools correctly: When using power equipment, strictly follow the manufacturer’s safety guidelines. Never force the tool, and ensure your footing is stable before engaging the drill.
- Maintain your equipment: After you finish planting, clean your tools to remove residual soil and moisture, which prevents rust and preserves the integrity of the blades.
Proper storage is the final step in responsible tool care. Once your anemones are safely nestled in the ground, store your trowels, planters, and power tools in a dry, secure location, such as a garden shed or garage. Keeping tools out of reach of children and pets not only extends the lifespan of your equipment but also prevents accidents. By maintaining a clean and organized workspace, you create a safer environment for all your future gardening projects, ensuring that your transition from planting to maintenance is seamless and hazard-free.
Preparing the Planting Site
Success with Anemone blanda begins with preparing an environment that mimics their natural woodland habitat. These charming perennials require soil that drains freely; they will quickly rot if left sitting in waterlogged ground. Before you begin, clear your chosen site of all weeds, grass, and debris to ensure your anemones do not have to compete for nutrients.
If your garden features heavy clay soil, you must improve its structure before planting. Clay holds too much moisture, which is detrimental to these delicate corms. Incorporate several inches of organic matter, such as well-rotted compost or leaf mold, into the top six to eight inches of soil. This amendment creates the loose, aerated texture these plants crave.
Position your planting site in an area that receives partial to full sun. While they are often planted under deciduous trees, they need that early spring sunlight to bloom effectively before the tree canopy fills in. Once the site is prepared, follow these steps to ready your corms:
- Inspect the corms for any signs of mold or soft spots and discard any that appear damaged.
- Place the shriveled, dry corms in a bowl of lukewarm water.
- Allow them to soak for three to four hours.
Soaking is a vital, often overlooked step. Because Anemone blanda corms are sold in a dehydrated state, this rehydration process acts as a jumpstart. It signals to the plant that the dormant period is over and encourages faster root development once they are placed in the ground. Do not soak them for longer than four hours, as excessive water can cause them to become waterlogged and vulnerable to fungal issues before they even have a chance to establish themselves in the soil.
Once rehydrated, the corms should look slightly plump. Plant them immediately while they are still damp, ensuring they are positioned about two to three inches deep in the soil, with the rougher side facing upward if you can distinguish it.
Step-by-Step Planting Instructions
Planting Anemone blanda corms is a straightforward process, but their unique shape often causes confusion. Because these small, knobby tubers look similar on both ends, identifying the “top” can be tricky. Fortunately, you do not need to worry about precise orientation; simply place the corms on their side. This allows the emerging shoots to navigate upward naturally toward the sunlight while the roots grow downward into the soil.
To ensure your anemones establish a strong foundation, follow these planting steps:
- Prepare the site: Select a location with well-draining soil that receives partial to full sun.
- Dig the holes: Space each corm approximately 3 inches apart to provide enough room for them to spread and naturalize over time.
- Set the depth: Bury the corms 2 to 3 inches deep. Planting too shallow can expose them to temperature fluctuations, while planting too deep may delay sprouting.
- Position the corms: Lay each corm horizontally on its side within the hole.
- Cover and firm: Backfill the hole with soil. Use your hands to press down gently on the surface; this removes large air pockets that could dry out the roots.
- Water: Give the area a thorough soaking immediately after planting. This helps settle the soil around the corm and signals the plant to begin its growth cycle.
If you live in an area with heavy soil, consider mixing in a bit of compost or grit before planting to improve drainage. Good drainage is essential for Anemone blanda, as these corms are susceptible to rot if they sit in waterlogged earth during the winter months. Once the area is watered, keep the soil lightly moist until you see the first signs of green foliage poking through the surface in early spring. With this simple approach, your anemones will be well-positioned to provide a vibrant, carpet-like display of color for years to come.

Follow-up Care and Common Questions
Once your Anemone blanda corms are in the ground, mark the planting site clearly with a garden stake or label. Because these bulbs are dormant for much of the year, it is easy to accidentally dig them up while planting annuals or weeding in the spring. Marking the area ensures your investment remains undisturbed as the plants establish their root systems.
Fortunately, these woodland anemones are remarkably low-maintenance. Once established, they naturalize readily, spreading slowly over time to create beautiful carpets of color. They generally do not require supplemental fertilizer, as they thrive in the natural nutrients found in well-draining garden soil.
While they are hardy, you should monitor your garden during the dormant season. If you notice poor growth or failure to emerge, check the soil moisture levels. Anemone blanda requires excellent drainage; if the soil becomes waterlogged during the winter months, the corms may rot. If your soil is heavy clay, consider amending it with organic matter or grit before planting to improve aeration.
To ensure long-term success, keep these practical tips in mind:
- Avoid over-watering: Once the foliage dies back in late spring, these plants prefer a dry summer rest period.
- Leave the foliage: Allow the leaves to yellow and wither naturally after flowering. This process allows the plant to store energy in the corm for next year’s blooms.
- Know your zone: If you are unsure about your specific frost dates or how these bulbs will perform in your climate, contact your local agricultural extension office. They provide expert guidance tailored to your specific hardiness zone and soil conditions.
By providing a well-drained site and leaving the foliage to mature fully, you will be rewarded with a reliable display of daisy-like flowers that return year after year. With minimal intervention, these resilient plants will continue to thrive and multiply, adding early-season charm to your landscape with very little effort on your part.

Dedicated team of gardening enthusiasts with years of hands-on experience testing lawn mowers, gardening tools, and outdoor equipment. We help home gardeners and professionals alike make informed buying decisions with honest, thorough reviews. From push mowers to pruning shears, we test it all so you don’t have to. Got a gardening tool you’d like us to review? Get in touch!