
You should plant crocus bulbs in the fall, specifically between September and November, before the ground freezes. This timing ensures the bulbs receive the necessary chilling period required to bloom when spring arrives. These hardy flowers are often the first signs of the season, frequently pushing through lingering snow to provide vibrant color.
Achieving a reliable, stunning display requires more than just picking a date on the calendar. You must consider your local climate zone and soil conditions to maximize your success. While crocuses are relatively low-maintenance, providing the right environment during their dormant phase is essential for healthy growth and consistent annual flowering displays.
This guide explains exactly when to plant your crocus bulbs and how to set them up for a successful growing season. We will cover critical steps, including optimal planting depth, proper soil drainage, and strategic placement in your landscape. Follow these practical tips to ensure your garden bursts with early color every single year.
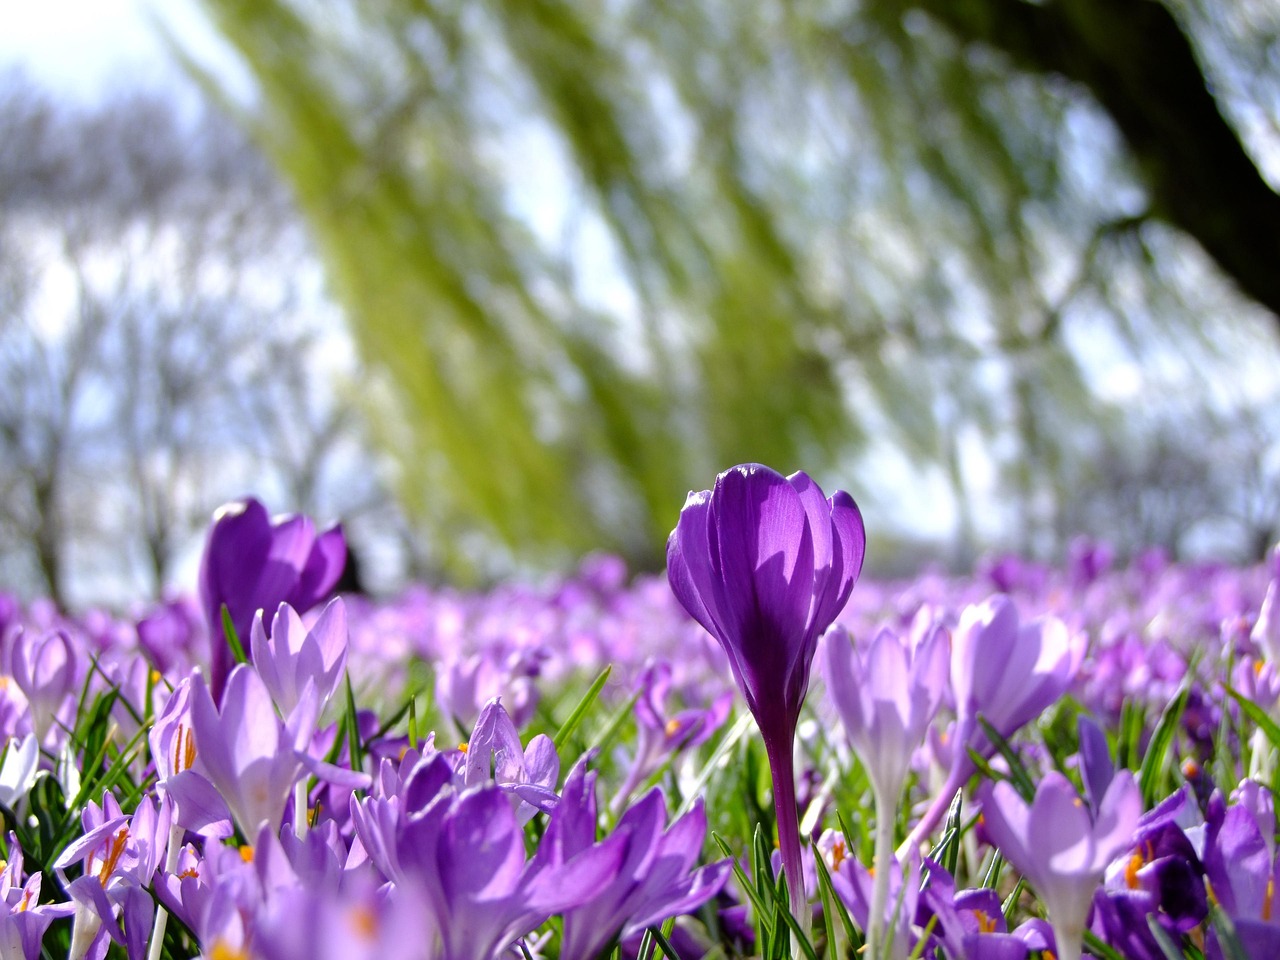
The Ideal Timing for Planting Crocus Bulbs
The secret to a vibrant display of spring color lies in timing your crocus planting during the autumn months. For the best results, aim to get your bulbs into the ground between September and November. Planting during this window ensures that your crocuses have enough time to establish a healthy root system before the ground freezes solid.
Crocus bulbs require a period of cold dormancy to trigger their internal biological clock. This cooling phase is essential for successful root development and the subsequent surge of growth when temperatures rise in early spring. If you plant too early while the soil is still hot, the bulbs may rot or sprout prematurely; if you wait until the ground is frozen, root growth will be severely stunted.
To determine the perfect day for your garden, follow these practical guidelines:
- Check the calendar: Aim to plant at least six weeks before the first hard frost in your region. This provides the ideal buffer for the bulbs to settle in while the soil remains workable.
- Monitor soil temperature: Ideally, you want to plant when the soil temperature has dropped below 60°F (15°C). This cooler environment encourages root activity without stimulating top growth.
- Assess local conditions: If you live in a climate with very early, harsh winters, prioritize planting in September. In milder regions, you can comfortably wait until late October or even early November.
Once planted, ensure the bulbs are covered with two to three inches of soil. If your area experiences heavy winter precipitation, choose a site with excellent drainage to prevent the bulbs from sitting in water, which can lead to decay. By providing this brief period of autumn establishment, you set the stage for a reliable, early-season bloom that signals the true arrival of spring. Once the bulbs are tucked away, they require no further maintenance until they push through the soil surface as the winter thaw begins.
Essential Tools and Safety Precautions
Planting crocus bulbs is a straightforward task, but having the right equipment makes the process efficient and protects your physical well-being. Before you begin digging, ensure you have gathered the following essentials:
- Hand Trowel: Ideal for smaller planting projects or working in tight garden beds.
- Bulb Planter: A specialized tool that removes a precise cylinder of soil, ensuring your bulbs sit at the correct, uniform depth.
- Sturdy Gardening Gloves: Essential for protecting your skin from abrasions, sharp rocks, and potential soil-borne bacteria.
If you are planting a large quantity of bulbs, you might consider using a mechanical bulb auger attachment for your power drill. While this tool significantly reduces the physical strain of digging, it requires extra caution. Always wear safety goggles to shield your eyes from flying soil and debris. Keep your hands and fingers well clear of the rotating bit at all times, and ensure the drill is set to a low speed to maintain control.
Regardless of the tools you choose, your safety remains the priority. When working with sharp implements, always dig away from your body to prevent accidental slips. If you encounter unexpected resistance in the soil, such as buried landscape fabric or heavy roots, stop and clear the obstruction by hand rather than forcing the tool.
Once your planting is complete, take a moment to clean your tools. Removing soil and debris prevents rust and keeps blades sharp for future seasons. Always store your trowels, planters, and augers in a secure, dry location, such as a locked shed or garage. Keeping sharp tools out of reach of children and pets is a critical step in maintaining a safe and organized garden environment. By preparing your workspace correctly, you ensure that planting your spring-blooming crocuses is a productive and injury-free experience.

How to Plant Crocuses for Best Results
To ensure your crocuses thrive and return year after year, site selection is your first priority. These early bloomers require a location with well-draining soil to prevent the bulbs from rotting during the damp winter months. Choose a spot that receives full sun to partial shade; while they can tolerate some light cover, they perform best when they have access to consistent sunlight during their active growing season.
Once you have selected the perfect site, follow these steps to plant your bulbs correctly:
- Depth: Dig holes approximately 3 to 4 inches deep. Planting at this depth protects the bulbs from extreme temperature fluctuations and hungry pests.
- Spacing: Space your bulbs about 3 inches apart. If you prefer a dense, carpet-like display, you can group them closer together, but ensure they have enough room to multiply over time.
- Orientation: Place the bulb in the hole with the pointed end facing upward. This is where the primary shoot will emerge.
If you find it difficult to identify the top of the bulb, do not worry. Simply plant the bulb on its side. Crocuses are remarkably resilient, and the stem will naturally curve upward to find its way toward the surface regardless of the initial orientation.
After placing the bulbs, cover them firmly with soil and water the area lightly to settle the earth around them. Avoid overwatering, as the bulbs are dormant and do not need excess moisture until they begin to sprout in late winter or early spring.
For the best visual impact, plant crocuses in clusters of ten or more rather than in straight lines. This mimics their natural growth pattern in the wild and creates a more vibrant, cohesive splash of color in your landscape. If you are planting in a lawn, consider using a bulb planter to remove small plugs of grass, which can be replaced easily once the bulb is tucked safely underneath. With these simple techniques, you will enjoy a healthy, reliable bloom cycle every spring.
Soil Preparation and Planting Depth
Crocuses are resilient bulbs, but they require specific soil conditions to thrive and return year after year. Before planting, assess your garden soil. These bulbs demand excellent drainage; if your soil is heavy clay, it will hold too much moisture, which often leads to bulb rot during the dormant winter months.
To improve heavy soil, work in two to three inches of organic matter, such as well-rotted compost or leaf mold, to a depth of at least eight inches. This amendment loosens the soil structure, allowing roots to penetrate easily and ensuring excess water drains away from the bulb base. Avoid planting in low-lying areas of your yard where water pools after rain, as consistently damp conditions are the primary cause of planting failure.
Once your soil is prepared, focus on the correct planting depth to protect the bulbs from temperature fluctuations and pests. Follow these guidelines for successful establishment:
- Depth: Plant crocus bulbs three to four inches deep. A general rule of thumb is to plant the bulb at a depth three times its height.
- Spacing: Place bulbs two to three inches apart. For a natural, lush look, plant them in clusters of 10 to 15 rather than in straight rows.
- Orientation: If you can identify the “nose” or pointed end of the bulb, ensure it faces upward. If the bulb is rounded and you are unsure, plant it on its side; the sprout will naturally find its way toward the surface.
After placing the bulbs in the holes, cover them with soil and firm it down gently with your hands to eliminate large air pockets. If you live in an area with active squirrels or chipmunks, consider laying a piece of chicken wire or hardware cloth over the planting area. Secure the edges with landscape staples; this creates a physical barrier that prevents critters from digging up your freshly planted bulbs before they have a chance to establish their root systems in the cool autumn soil.

Follow-up Care and Common Questions
Once you have finished planting your crocus bulbs, water the area thoroughly. This initial soak helps settle the soil around the bulbs, removing air pockets and encouraging early root development before the ground freezes.
As spring arrives and your crocuses finish blooming, resist the urge to tidy up the garden immediately. It is essential to allow the foliage to yellow and wither naturally. During this phase, the leaves perform photosynthesis, sending vital energy back down into the bulb to fuel next year’s growth. Trimming the green leaves too early will weaken the plant and result in fewer flowers the following season.
If you notice your crocuses failing to appear, garden pests are the most likely culprit. Squirrels, chipmunks, and voles are notorious for digging up and eating newly planted bulbs. If you suspect wildlife is interfering with your garden, consider these protective measures:
- Wire Bulb Cages: Encase your bulbs in hardware cloth or pre-made wire cages before planting to create a physical barrier against burrowing animals.
- Strategic Planting: Some gardeners find success by planting crocuses deeper than recommended or layering them with sharp gravel to deter digging.
- Repellents: Apply commercial taste-based repellents if you notice surface-level disturbances, though these are often less effective than physical barriers.
For the best results, keep the soil moderately moist during the autumn planting window, but ensure the area has excellent drainage. Crocus bulbs are prone to rot if left in standing water during the winter months. If your soil is heavy clay, mix in organic matter like compost or grit to improve aeration. By providing this simple care, you ensure your bulbs remain healthy, protected, and ready to provide a vibrant display when the snow begins to melt.

Dedicated team of gardening enthusiasts with years of hands-on experience testing lawn mowers, gardening tools, and outdoor equipment. We help home gardeners and professionals alike make informed buying decisions with honest, thorough reviews. From push mowers to pruning shears, we test it all so you don’t have to. Got a gardening tool you’d like us to review? Get in touch!