
You should plant snowdrop bulbs in the autumn, specifically between September and November, before the ground freezes. This timing is essential because these hardy perennials require a period of cold dormancy to establish their root systems properly before they bloom in late winter or early spring.
While many gardeners opt for dry bulbs, planting them while they are still fresh is crucial for success. If you wait too long into the winter, the bulbs may dry out or struggle to take hold in frozen soil. Providing them with the right conditions now ensures they return reliably every year.
In this guide, we will break down the exact steps for successful planting, including soil preparation and proper depth. You will learn how to select the best site in your garden to encourage naturalizing, ensuring your landscape is filled with beautiful white blooms as soon as the snow begins to melt.
The Best Time to Plant Snowdrop Bulbs
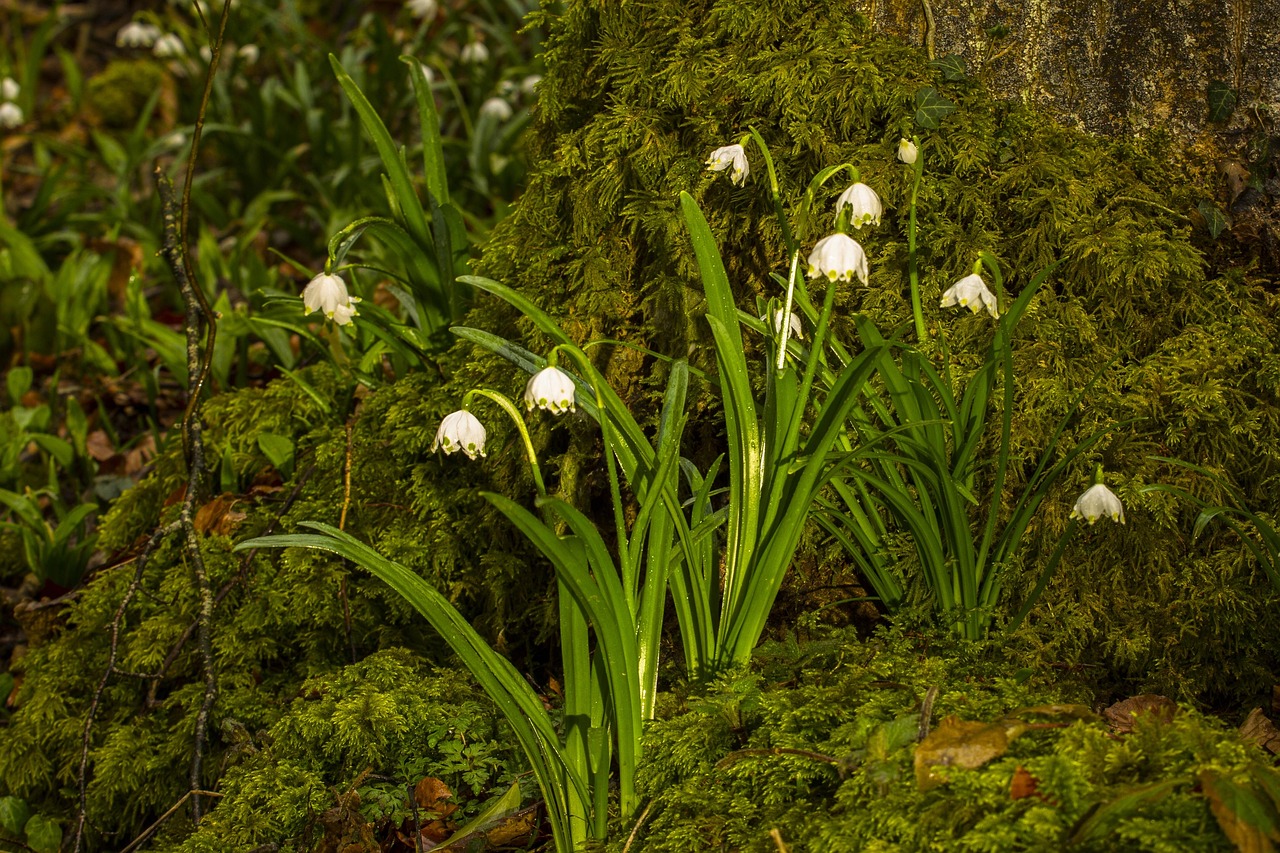
For the best results, timing is critical when planting snowdrops (Galanthus). Unlike many other spring-flowering bulbs, snowdrops do not tolerate being stored as dry, dormant bulbs for long periods. They possess a high moisture content and can easily desiccate, leading to poor establishment or failure to bloom.
The most effective way to establish snowdrops is by planting them “in the green.” This means moving them immediately after they have finished flowering, while the foliage is still green and lush. At this stage, the plant is actively growing, allowing the roots to settle into their new position quickly before the foliage naturally dies back.
If you purchase snowdrops “in the green,” follow these steps for success:
- Plant them immediately upon arrival. Do not let the roots dry out.
- Ensure the soil is moist and well-drained, ideally enriched with organic matter like leaf mold.
- Plant them at the same depth they were previously growing, typically about 3 to 4 inches deep.
- Space them roughly 3 inches apart to allow for natural clumping over time.
If you cannot source plants in the green and must use dry, dormant bulbs, you should plant them as early as possible in late summer or early autumn. This timing is essential because it allows the bulbs to develop a root system during the cooler, moister months before the ground freezes. Once purchased, store dry bulbs in a cool, dark place and plant them without delay.
Regardless of the method, avoid planting snowdrops in areas that become bone-dry during the summer. They prefer sites that remain slightly damp, such as under deciduous trees or shrubs, where they can enjoy full sun in early spring before the canopy fills out, and partial shade during the hotter summer months. By respecting their need for moisture and timing your planting correctly, you will ensure these delicate harbingers of spring return and multiply in your garden year after year.
Essential Tools and Safety Precautions
To successfully plant snowdrop bulbs, you need the right equipment to ensure proper depth and minimal root disturbance. A sturdy hand trowel is often sufficient for small patches, but a dedicated bulb planter is highly recommended if you are planting a large number of bulbs. A bulb planter allows you to remove a precise plug of soil, ensuring each bulb sits at the correct depth for optimal spring growth.
Safety should always be your priority when working in the garden. Follow these essential guidelines to protect yourself during the planting process:
- Wear gardening gloves: Always use durable, moisture-resistant gloves. They protect your skin from abrasions caused by sharp stones or garden debris and act as a barrier against soil-borne bacteria.
- Use eye protection: If you are using a mechanical bulb auger attached to a power drill, safety goggles are mandatory. They prevent eye injuries from flying soil, grit, or small rocks displaced by the drill bit.
- Manage power tools carefully: When using an auger, keep loose clothing, long hair, and jewelry tied back or tucked away to prevent them from becoming entangled in the rotating drill bit.
- Maintain a clear workspace: Ensure your footing is stable before operating any equipment, especially on damp or uneven ground.
If you are planting in heavy or compacted soil, consider using a hand-held soil corer or a dibber to loosen the earth before inserting the bulb. This reduces the physical strain on your wrists and prevents you from having to force the tool into the ground, which can lead to slips. By using the correct tools and adhering to these basic safety precautions, you ensure that the task of planting your snowdrops is efficient, comfortable, and injury-free. Taking these small steps allows you to focus on the long-term success of your garden rather than dealing with avoidable accidents or discomfort.

Step-by-Step Planting Guide
Achieving a successful display of snowdrops begins with choosing the right environment. These resilient bulbs thrive best in spots that offer partial shade, such as under the canopy of deciduous trees or shrubs. Ensure your chosen site features well-draining soil; while snowdrops appreciate moisture, they will rot if left sitting in waterlogged ground during the winter.
Once you have selected the perfect location, follow these steps to plant your bulbs effectively:
- Prepare the hole: Dig a hole approximately 3 inches deep. If you are planting a large drift, it is often easier to clear a small area to the correct depth rather than digging individual holes.
- Positioning: Place the bulb into the soil with the pointed end facing upward. If you are unsure which end is which, planting them on their side is a safe alternative, as the shoots will naturally find their way toward the surface.
- Planting “in the green”: If you are planting snowdrops that have already sprouted (often called “in the green”), ensure the foliage remains entirely above the soil line. Do not bury the green leaves, as they need sunlight to photosynthesize.
- Spacing: Space your bulbs about 3 inches apart. This density allows the snowdrops to establish a natural, clumped appearance as they multiply and spread over the coming years.
After placing the bulbs, gently cover them with soil and firm the area down lightly with your hands to remove any large air pockets. If the soil is particularly dry, a light watering can help settle the bulbs into their new home. Avoid over-compacting the earth, as snowdrops prefer loose, friable soil to push through when they emerge in late winter or early spring.
Once planted, snowdrops require very little maintenance. They are hardy perennials that will happily naturalize in your garden, returning year after year to signal the end of winter. Simply leave the foliage to die back naturally after flowering to ensure the bulb stores enough energy for the next season.
Soil Preparation and Placement
Snowdrops (Galanthus) are woodland plants by nature, meaning they prefer a cool, sheltered environment. To ensure your bulbs establish successfully, soil preparation is the most critical step before planting. These bulbs require a medium that remains consistently moist throughout the growing season but never becomes waterlogged, which can cause the bulbs to rot.
Before planting, assess your soil structure. If you have heavy clay, the bulbs may struggle with winter drainage. If your soil is sandy or thin, it may dry out too quickly. You can improve both conditions by incorporating organic matter into the top six inches of the soil:
- Leaf Mold: This is ideal as it mimics the natural forest floor environment snowdrops prefer.
- Well-Rotted Compost: Use this to boost nutrient levels and improve the soil’s ability to hold moisture without becoming saturated.
- Grit or Horticultural Sand: If drainage is a major concern, mix a small amount into the base of the planting hole to prevent water from pooling around the bulb.
Placement is equally vital. Avoid spots that become bone-dry during the summer months, such as areas directly under the eaves of a house or near aggressive, thirsty tree roots. If the soil dries out completely in July and August, the bulbs may shrivel and perish. Instead, choose a site that receives dappled shade, such as beneath deciduous shrubs or trees.
In these locations, the soil stays naturally cooler and retains more moisture through the summer. Furthermore, the canopy provides the perfect amount of light: full sun in late winter when the trees are bare, followed by protective shade as the weather warms. By mimicking these woodland conditions, you provide the bulbs with the stability they need to return and multiply year after year. Always plant your bulbs at a depth of approximately three inches, ensuring the pointed end is facing upward to encourage healthy, vertical growth.
Follow-up Care and Common Questions
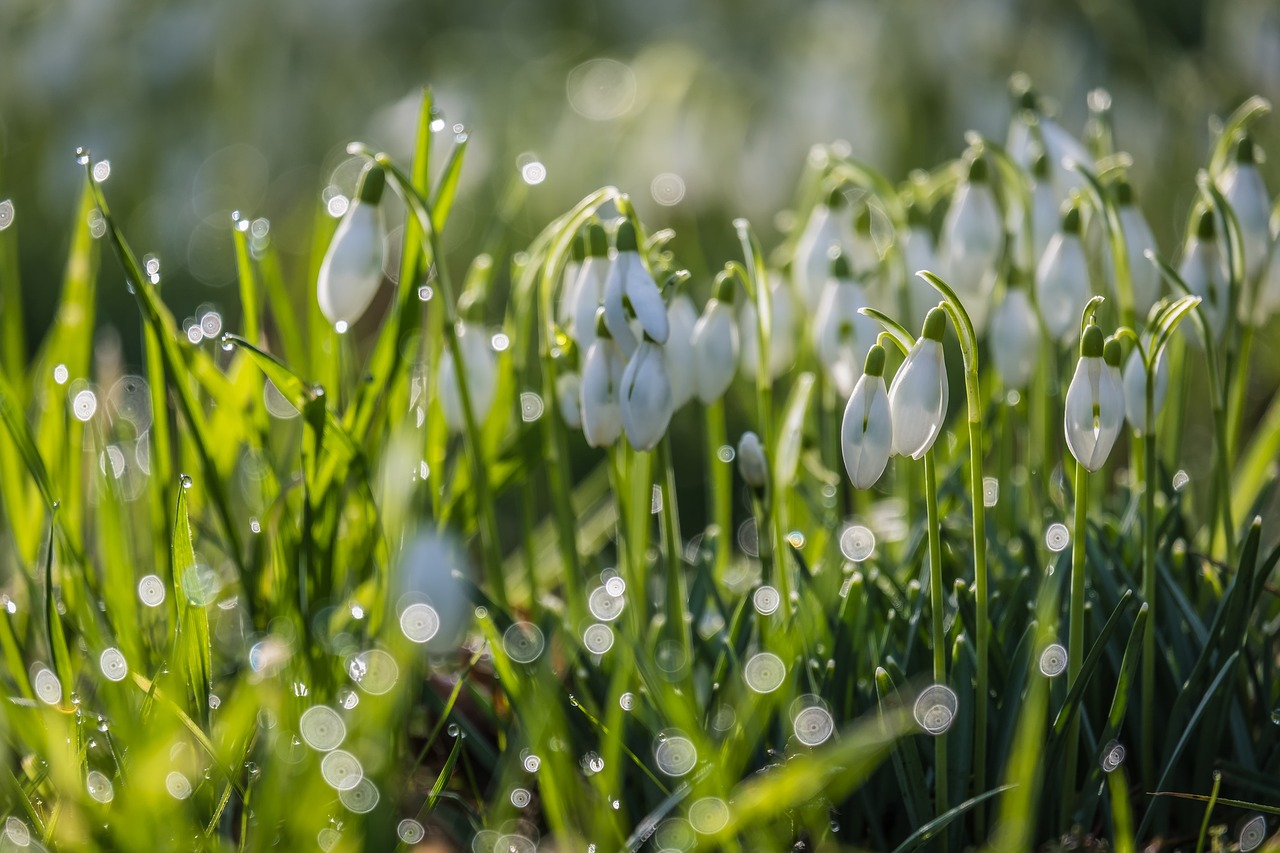
Once your snowdrop bulbs are in the ground, water the area thoroughly. This initial hydration helps settle the soil around the bulbs, eliminating large air pockets and ensuring good contact with the earth. Beyond this first watering, established snowdrops are remarkably self-sufficient and require very little ongoing maintenance.
The most important rule for long-term success is to let the foliage die back naturally. After the flowers fade, the leaves continue to photosynthesize, sending vital energy back down into the bulb to fuel next year’s growth. Avoid the temptation to tidy up or mow the area until the leaves have turned completely yellow and withered.
If you notice your snowdrops producing fewer blooms over time, they have likely become overcrowded. This is a common occurrence as bulbs multiply underground. To restore their vigor, follow these steps:
- Wait until the flowers have faded but the foliage is still visible so you can easily locate the clumps.
- Carefully lift the entire clump using a garden fork, taking care not to pierce the bulbs.
- Gently tease the bulbs apart with your hands.
- Replant the separated bulbs immediately at the same depth they were previously growing.
If you are concerned about your garden’s performance or suspect your soil lacks the necessary nutrients, consider using a local soil test kit. Snowdrops prefer well-drained, humus-rich soil that remains moist but not waterlogged. A simple test will reveal your soil’s pH and nutrient levels, allowing you to make informed amendments if needed.
By providing this minimal intervention, you ensure your snowdrops remain healthy and continue to herald the arrival of spring for years to come. Because they are hardy and adaptable, they generally thrive without the need for supplemental fertilizers or chemical pesticides. Keep the area free of thick, matted weeds to ensure the young shoots can emerge easily when the season turns.

Dedicated team of gardening enthusiasts with years of hands-on experience testing lawn mowers, gardening tools, and outdoor equipment. We help home gardeners and professionals alike make informed buying decisions with honest, thorough reviews. From push mowers to pruning shears, we test it all so you don’t have to. Got a gardening tool you’d like us to review? Get in touch!