
You should plant ranunculus bulbs in the fall if you live in a mild climate, or in early spring if you experience freezing winters. Knowing the right time to plant these corms is the most important step in ensuring a successful harvest. Getting the timing correct prevents bulb rot and encourages strong, healthy growth.
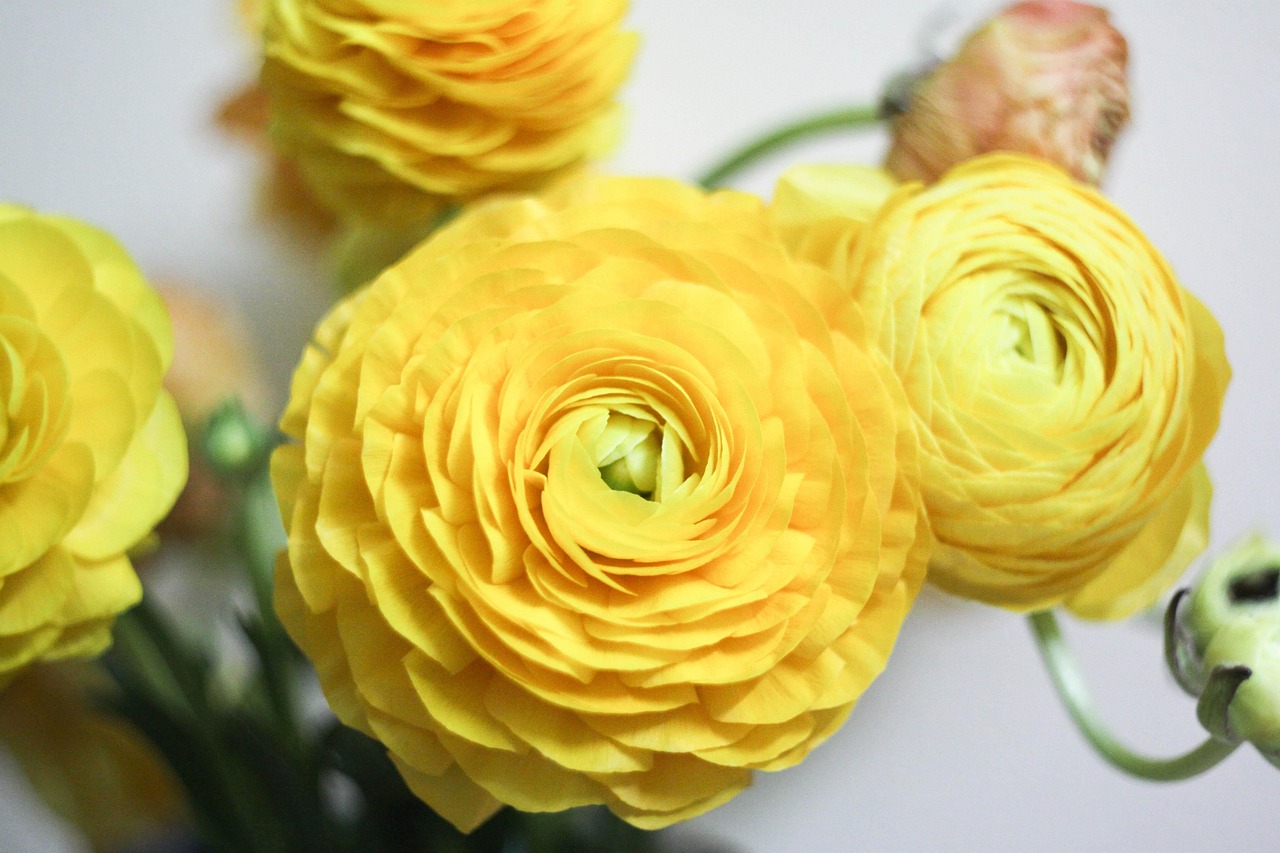
Ranunculus are prized for their rose-like, multi-layered petals and vibrant colors that brighten any garden space. However, these delicate flowers require specific temperature ranges to thrive, typically preferring cool weather during their initial root development. Understanding your local hardiness zone is essential for setting realistic expectations and achieving a stunning, professional-looking flower display.
This guide explains the timing based on your climate zone and provides the practical steps needed to get them in the ground safely. We will cover everything from proper soil preparation and corm soaking techniques to essential spacing requirements. Follow these expert tips to master your home garden and enjoy a bountiful season of blooms.

Understanding Your Climate Zone
The success of your ranunculus display depends almost entirely on your local climate and winter temperatures. These corms are cool-weather lovers, but they are not fully frost-hardy. Understanding your specific USDA hardiness zone is the most important step in determining your planting schedule.
In mild climates, specifically zones 8 through 11, ranunculus act as winter-growing perennials. Because the ground rarely freezes deeply, you should plant your corms in the fall. This allows the plants to establish a strong root system during the cool, moist months. By doing this, you will be rewarded with a vibrant, early spring bloom that arrives before the summer heat causes the foliage to go dormant.
If you live in colder regions (zones 7 and below), your strategy must change. These areas experience hard frosts that can damage or kill developing corms. In these climates, you must wait until late winter or early spring to plant. Specifically, aim for a window where the ground has thawed and the risk of a severe, ground-freezing frost has passed.
To determine the best timing for your garden, follow these practical steps:
- Check your zone: Verify your USDA hardiness zone using an online map based on your zip code.
- Monitor soil temperature: Ranunculus prefer soil temperatures between 50°F and 60°F. If the ground is still frozen or waterlogged, wait for it to dry out and warm slightly.
- Watch the forecast: If you are planting in early spring, keep a frost cloth or row cover handy. Even in spring, unexpected late-season snaps can damage tender emerging shoots.
If you are unsure about your specific microclimate, look at the behavior of other cool-season crops in your neighborhood. If your neighbors are successfully planting pansies or sweet peas, the soil conditions are likely ideal for your ranunculus corms. Proper timing ensures the plants focus their energy on building lush foliage and large, rose-like blooms rather than fighting the elements.
Preparing Your Corms for Success
Ranunculus corms arrive looking like small, dried, woody claws. While they may appear dormant or lifeless, they are simply dehydrated and waiting for the right conditions to wake up. Taking the time to properly prepare these corms before they touch the soil significantly improves your germination rates and overall plant vigor.
To begin, rehydrate your corms by soaking them in a bowl of room-temperature water for three to four hours. Do not exceed this timeframe, as soaking them for too long can cause the corms to rot or become mushy. You will notice them plump up slightly as they absorb moisture, signaling they are ready for planting.
Safety and hygiene are essential during this process. Follow these best practices to protect both yourself and your future blooms:
- Wear gloves: Always use clean gardening gloves when handling corms and working with soil. This creates a necessary barrier against soil-borne bacteria and potential skin irritants.
- Maintain your tools: If you are clearing debris or prepping your garden beds, ensure your tools are sharp and well-maintained. Dull blades require more force, which increases the risk of accidents.
- Prioritize hand safety: When using pruners, trowels, or hand rakes, always keep your fingers well away from cutting edges and pivot points.
Once the corms are plump, plant them immediately. If you have prepared your garden bed, ensure the soil is loose and well-draining. Place the corms with the “claws” facing downward into the soil at a depth of about two inches. Space them roughly six inches apart to allow for adequate airflow as the foliage develops. By starting with hydrated, healthy corms and handling them with care, you set the foundation for a vibrant, productive ranunculus display that will thrive throughout the growing season.
Step-by-Step Planting Guide
Successfully planting ranunculus corms requires precision to ensure they establish a strong root system. Before you begin, inspect your corms; they should look like small, dried, claw-like tubers. The orientation is critical for growth: always position the corm with the “claws” or root protrusions pointing downward into the soil.
To prepare your planting site, follow these steps:
- Clear the area of debris and weeds to ensure the soil is loose and well-draining.
- Use a trowel to dig individual holes approximately two inches deep.
- Space your corms at least six inches apart to allow for proper airflow and root expansion as the plants mature.
- Place the corm in the hole, claws down, and cover it gently with soil, firming it down lightly with your hand.
Safety should remain your priority while working in the garden. When using sharp trowels or hand cultivators to create planting holes, always dig away from your body. This simple habit significantly reduces the risk of accidental injury if the tool slips against a rock or hard clay. Keep your workspace organized by placing tools within reach but away from your immediate planting path to avoid tripping hazards.
Environmental factors also play a role in your comfort and health. If you are working with dry, sandy, or dusty soil, consider wearing a light dust mask. This prevents you from inhaling fine particulates that can cause respiratory irritation. If you are planting in a large bed, take breaks to stretch, especially if you are kneeling for an extended period, to prevent strain on your joints.
Once planted, water the area lightly to settle the soil around the corms. Avoid over-saturating the ground immediately, as ranunculus corms can rot if they sit in standing water before they have begun to sprout. Consistent, moderate moisture is the key to healthy, vibrant spring blooms.
Optimal Soil and Light Conditions
Ranunculus are stunning additions to any garden, but their success depends heavily on where you place them. Because these plants grow from corms—small, claw-like tubers—they are particularly sensitive to moisture levels. Selecting the right spot before you plant is the most effective way to ensure a vibrant spring display.
The ideal environment for ranunculus combines excellent drainage with consistent sunlight. Follow these guidelines to prepare your site:
- Prioritize Drainage: Ranunculus corms will rot quickly if they sit in standing water. If your garden has heavy clay soil, do not plant directly into it. Instead, amend the soil with generous amounts of organic compost or aged manure to improve aeration and water movement. Alternatively, consider planting in raised beds or containers where you can control the soil composition.
- Maximize Sunlight: These flowers crave full sun. Aim for a location that receives at least six to eight hours of direct sunlight daily. In cooler climates, this exposure helps warm the soil, encouraging faster growth and more prolific blooming.
- Check Soil Texture: The soil should be loose and friable. If you can squeeze a handful of soil into a tight, sticky ball, it is too heavy for corms. Adding perlite or coarse sand can further assist in creating the light, porous texture these plants prefer.
Beyond soil quality, consider the airflow of your chosen site. Ranunculus are susceptible to fungal diseases like powdery mildew if they remain damp for too long. Avoid planting them in low-lying areas of the yard where water pools or cold air settles. By choosing a spot that stays well-drained and receives ample light, you significantly reduce the risk of rot and disease.
If you are unsure about your soil’s drainage, perform a simple test: dig a hole six inches deep and fill it with water. If the water is still standing after an hour, you must improve the drainage before planting your corms. Taking these steps early ensures your ranunculus have the best possible start.

Maintenance and Troubleshooting
Once your ranunculus bulbs are in the ground, consistent moisture is the key to success. The soil should remain damp to the touch, similar to a wrung-out sponge, but never waterlogged. Excessively wet soil is the primary cause of bulb rot, which can quickly destroy an entire planting. Always check the soil depth before watering; if the top inch is still moist, hold off on irrigation.
To keep your plants healthy and productive throughout the season, follow these essential maintenance practices:
- Deadhead regularly: Remove spent blooms promptly. Cutting back faded flowers prevents the plant from putting energy into seed production, encouraging it to focus on developing new buds instead.
- Monitor for pests: Keep a close eye on the undersides of leaves and new growth. Aphids are the most common visitors; a gentle blast of water or insecticidal soap is often enough to manage minor infestations.
- Watch for foliage issues: If you notice unusual yellowing, spotting, or wilting, inspect the base of the plant. These can be early indicators of fungal pathogens or drainage problems.
If you encounter persistent issues, such as recurring rot or unexplained discoloration, do not hesitate to seek expert help. Local resources are your best defense against regional gardening challenges.
Your local agricultural extension office is a goldmine of free, science-based information. They can provide advice tailored specifically to your climate, soil type, and common regional pests. If you are struggling with your planting timeline or identifying a specific disease, reaching out to a local Master Gardener program is highly recommended. These volunteers are trained to provide professional, localized guidance that general online advice simply cannot match.
By staying observant and proactive, you can ensure your ranunculus plants remain vibrant and healthy. Remember that gardening is a learning process; if a bulb fails, use it as an opportunity to adjust your soil drainage or watering schedule for the next season. With the right care, your garden will reward you with spectacular, ruffled blooms.

Dedicated team of gardening enthusiasts with years of hands-on experience testing lawn mowers, gardening tools, and outdoor equipment. We help home gardeners and professionals alike make informed buying decisions with honest, thorough reviews. From push mowers to pruning shears, we test it all so you don’t have to. Got a gardening tool you’d like us to review? Get in touch!