
To trim boxwoods into a hedge, you must prune them annually using sharp, sterilized shears to promote dense, outward growth. By shaping the sides so they are slightly wider at the base than the top, you ensure sunlight reaches the lower branches. This simple technique creates a uniform, professional-looking structure for your landscape.
Achieving a perfectly manicured hedge takes patience and consistent care rather than aggressive cutting. Boxwoods are slow-growing shrubs, meaning mistakes can take several seasons to correct. Understanding their growth cycle helps you avoid over-pruning, which can expose woody centers to disease and leave unsightly gaps that take years to fill back in properly.
Learn the professional techniques for shaping boxwoods into a dense, healthy hedge. This guide covers the best timing, essential tools, and safety practices to ensure your shrubs remain vibrant and uniform throughout the growing season. Follow these practical steps to master the art of shaping and maintaining your garden’s most classic evergreen foundation.

The Best Time to Prune Boxwoods
Timing is the most important factor in maintaining the health and structure of your boxwood hedge. Pruning at the wrong time can leave your plants vulnerable to disease, winter damage, or stunted growth. To keep your boxwoods dense and vibrant, you must work in harmony with their natural growth cycles.
The ideal window for pruning boxwoods is in late spring, once the danger of frost has passed. At this stage, the plant has begun its active growth phase, allowing it to recover quickly from the cuts. By pruning before the intense heat of mid-summer arrives, you ensure the plant has enough energy to seal its wounds and produce new foliage without suffering from heat stress.
To ensure your hedge remains healthy throughout the year, follow these timing guidelines:
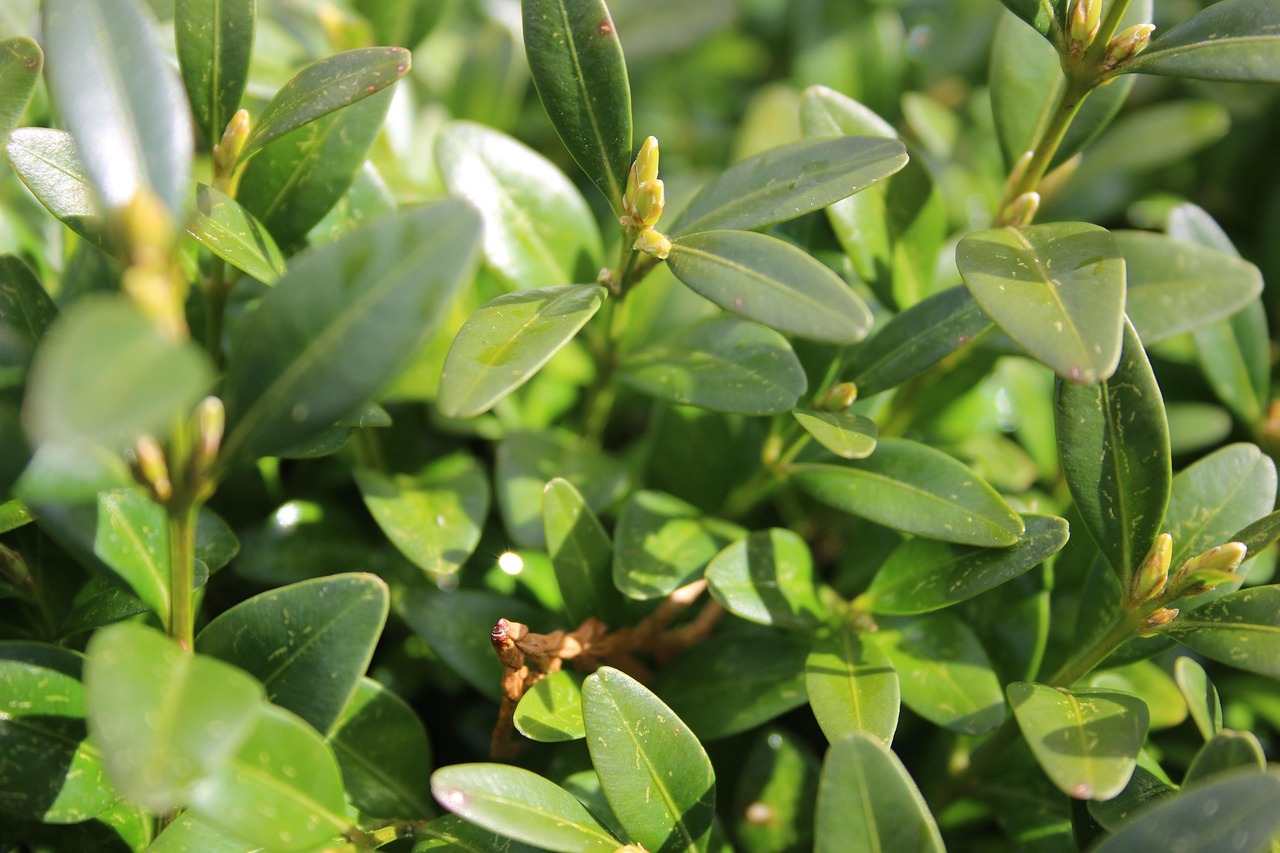
- Late Spring: This is the primary pruning season. Wait until the new, light-green “candles” of growth have emerged, then trim them back to shape the hedge.
- Avoid Mid-Summer: Refrain from heavy pruning during periods of extreme heat or drought. The plant is often conserving energy during this time, and open cuts can lead to excessive moisture loss.
- Avoid Late Autumn: Never prune your boxwoods after mid-August. Cutting late in the season stimulates a flush of tender new growth that will not have time to harden off before the first frost. This soft growth is highly susceptible to winter kill and can lead to dieback that ruins the shape of your hedge.
If you notice a stray, unruly branch during the growing season, feel free to snip it back for aesthetic reasons. However, save your major structural shaping for that late spring window. By respecting these seasonal boundaries, you provide your boxwoods with the best possible environment to thrive. Consistent, well-timed care will result in a lush, thick hedge that stands up to the elements year after year.
Essential Tools and Safety Equipment
Before you begin shaping your boxwoods, gathering the right equipment is essential for achieving a clean cut and maintaining your personal safety. Proper tools ensure you can make precise incisions, which helps the plant heal faster and prevents disease entry points.
You will need the following gear to complete the job efficiently:
- Sharp hedge shears: Use these for the bulk of the shaping to create smooth, uniform lines across the surface of the hedge.
- Bypass pruners: Keep these handy for reaching inside the canopy to remove thicker, woody stems that shears cannot cut cleanly.
- A large tarp: Lay this beneath the hedge before you start. It collects clippings as they fall, making cleanup significantly faster.
Boxwood maintenance requires specific safety precautions. The sap can cause skin irritation or rashes in some individuals, so always wear heavy-duty, long-sleeved gardening gloves. Protective eyewear is mandatory; small, stiff boxwood leaves and twigs can easily fly into your eyes during the trimming process. Additionally, wear sturdy, closed-toe footwear to protect your feet from dropped tools or sharp branch stubs.
If you prefer using power trimmers for larger hedges, your safety protocol must increase. Before plugging in your equipment, perform a thorough inspection of the power cord to ensure there are no nicks, frays, or exposed wires. Because power trimmers operate at high decibel levels, wearing ear protection is vital to prevent long-term hearing damage. Always keep your power cord draped over your shoulder or behind you to prevent accidental cutting, and ensure your footing is stable before engaging the blades.
By preparing your workspace and protecting your body, you set the stage for a successful pruning session. Remember that a sharp tool is a safe tool; dull blades require more force, which increases the risk of slipping and damaging the plant or yourself. Clean your blades with rubbing alcohol after finishing to prevent the spread of any potential pathogens between different shrubs in your landscape.

How to Shape a Uniform Hedge
Achieving a perfectly uniform hedge requires patience and the right tools. Before you begin cutting, you must establish a clear framework to ensure your lines remain straight and symmetrical throughout the entire process.
The most effective method for maintaining consistency is using a string line. This simple guide prevents uneven dips or jagged edges that can ruin the look of your boxwoods.
Follow these steps to set your guide:
- Drive two sturdy stakes into the ground at either end of the hedge row.
- Tie a taut string between the stakes at your desired final height.
- Use a second string line along the side of the hedge to dictate the width and ensure a straight vertical face.
As you trim, use these lines as a visual reference rather than cutting directly against them. This keeps your shears clear of the string and allows you to maintain a consistent depth across the entire length of the plants.
Crucially, you must shape your hedge with a slight taper. Aim to make the top of the hedge narrower than the base. This “A-frame” profile is vital for the long-term health of your boxwoods. If the top is wider than the bottom, it will cast a permanent shadow over the lower branches. Without adequate sunlight, the interior and base of your hedge will become sparse, woody, and eventually turn brown.
When trimming, hold your shears at a slight angle to create this inward slope. Start by trimming the sides first, working from the bottom upward. Once the sides are angled correctly, move to the top, using your string line to level the crown. Regularly step back from the hedge to view the overall shape from a distance; this perspective helps you spot any bulges or uneven areas that aren’t apparent when you are standing right next to the foliage. By maintaining this tapered structure, you ensure that your hedge remains dense, vibrant, and green from top to bottom for years to come.
Proper Pruning Techniques for Density
To achieve a dense, professional-looking boxwood hedge, you must master the balance between surface shearing and interior thinning. While many gardeners rely solely on shearing to create a smooth, formal exterior, this practice can actually be detrimental if performed in isolation. Shearing encourages tight, outer growth that eventually blocks sunlight and airflow from reaching the center of the shrub.
When the interior of a boxwood becomes too crowded and dark, the foliage dies off, leaving a hollow, woody shell. This environment is also a breeding ground for pests and fungal issues, including the dreaded boxwood blight. To maintain a healthy, vigorous hedge, you must incorporate thinning into your routine.
Thinning involves reaching deep into the shrub to selectively remove specific branches. Use sharp, clean bypass pruners to make cuts back to a main branch or the base of the plant. Follow these guidelines for effective thinning:
- Target dead or diseased wood: Always prioritize removing brittle, discolored, or obviously infected branches to improve overall plant hygiene.
- Create “light wells”: Remove a few branches throughout the interior to create small gaps. This allows sunlight to penetrate the center, which stimulates new growth from the inside out.
- Improve airflow: By thinning out congested areas, you reduce humidity trapped within the foliage, significantly lowering the risk of fungal infections.
- Make strategic cuts: Instead of cutting randomly, remove entire stems back to a junction. This prevents the “stubby” look associated with poor pruning and encourages natural, healthy branching patterns.
Think of shearing as your final shaping step and thinning as your maintenance foundation. By thinning your boxwoods at least once a year—ideally in late spring or early summer—you ensure that the plant remains vibrant and dense rather than just superficially green. This combination of techniques ensures that your hedge stays resilient against disease while maintaining a crisp, structured appearance that lasts for years.
Follow-up Care and Troubleshooting
After trimming, your boxwoods need a little extra attention to recover from the stress of pruning. Immediately after shaping, give the plants a deep, slow watering at the base. This helps the roots hydrate and supports the plant as it works to seal its cut stems. Avoid overhead watering, which can encourage fungal growth on fresh cuts.
A light application of a balanced, slow-release fertilizer can provide the necessary nutrients for new growth. Apply this around the drip line of the shrub, but avoid getting fertilizer directly on the foliage or the base of the stems, as this can cause burn.
If you notice brown patches after pruning, don’t panic. Minor browning is often a sign of sunscald or dehydration. Ensure the soil remains consistently moist but not waterlogged. However, if you see extensive dieback, orange-tinted leaves, or white webbing, you may be dealing with boxwood blight or spider mites. In these cases, it is best to consult a professional arborist. They can provide accurate diagnostics and specialized treatments that are often beyond the scope of standard DIY care.
To keep your hedge looking sharp and healthy, follow this maintenance schedule:
- Light maintenance: Perform minor “touch-up” trims every 4 to 6 weeks during the active growing season to maintain a crisp silhouette.
- Deep pruning: Limit major structural shaping to once per year, ideally in late spring after the danger of frost has passed.
- Sanitation: Always disinfect your shears with a solution of one part bleach to nine parts water between different shrubs to prevent the spread of pathogens.
Regular monitoring is the best defense. By keeping the center of the hedge slightly thinner than the base, you allow sunlight and air to reach the inner branches. This simple practice prevents the interior foliage from dying out, keeping your hedge dense, green, and vibrant from top to bottom all season long.

Dedicated team of gardening enthusiasts with years of hands-on experience testing lawn mowers, gardening tools, and outdoor equipment. We help home gardeners and professionals alike make informed buying decisions with honest, thorough reviews. From push mowers to pruning shears, we test it all so you don’t have to. Got a gardening tool you’d like us to review? Get in touch!