
To prune privet to encourage growth, you must trim the outer branches back to stimulate dense, bushy development from the base. This vigorous shrub responds exceptionally well to regular cutting, which forces the plant to redirect its energy into creating a thicker, healthier structure that remains lush from top to bottom.
While privet is incredibly hardy and forgiving, timing is essential for the best results. You should aim to prune during the active growing season to ensure the plant recovers quickly and fills in any gaps. Understanding these natural growth cycles allows you to maintain a neat, professional appearance without stressing your hedge.
In this guide, we provide the essential techniques required to master your pruning routine. You will learn how to properly shape your shrubs, when to perform heavy cuts, and the best tools to use for clean, healthy results. Follow these practical steps to keep your garden hedge thriving and perfectly manicured all year long.

The Best Time to Prune Privet
Timing is the most critical factor when pruning privet. Because privet is a vigorous grower, it responds best to specific seasonal interventions. Pruning at the wrong time can either stunt development or leave the plant vulnerable to frost damage.
For significant structural changes or hard pruning, wait until late winter or very early spring. During this dormant period, the plant is not actively pushing sap, which allows it to recover quickly before the main growing season begins. Cutting back overgrown or leggy branches at this stage stimulates the plant to produce a flush of vigorous new shoots from the base, resulting in a denser, healthier hedge.
Once the growing season is underway, your focus should shift to maintenance and shaping. Regular trimming throughout the summer keeps the hedge tidy and encourages the lateral growth necessary for a thick, uniform appearance. Follow these guidelines for optimal results:
- Late Winter/Early Spring: Perform heavy pruning. You can safely remove up to one-third of the plant’s height if it has become unruly. This is the time to rejuvenate old, woody hedges.
- Late Spring to Summer: Focus on light maintenance. Trim the new green growth to maintain your desired shape. Aim to prune every four to six weeks during the peak growing months to keep the hedge looking sharp.
- Avoid Late Autumn: Do not prune privet in late autumn or early winter. Fresh cuts made during cold weather are susceptible to frost damage, which can lead to dieback or disease entry points.
Always use sharp, clean bypass pruners or hedge shears to ensure clean cuts that heal quickly. If you are performing a hard prune in early spring, consider applying a balanced, slow-release fertilizer immediately afterward. This provides the plant with the necessary nutrients to support the surge of new growth you have triggered. By aligning your pruning schedule with the plant’s natural life cycle, you ensure a robust, lush, and long-lived privet hedge.
Essential Tools and Safety Precautions
Properly maintaining a privet hedge requires the right equipment to ensure clean cuts and healthy regrowth. Using dull or inappropriate tools can crush stems, leaving the plant vulnerable to disease and slowing down its development.
For precision work, use sharp bypass secateurs. These are ideal for removing individual stems, thinning out overcrowded branches, and reaching into the interior of the shrub. For the outer foliage and shaping, long-handled hedge shears provide the necessary reach and control. If you are managing a large or established hedge, power trimmers are efficient, but ensure the blades are sharpened before you begin.
Before starting, prioritize your safety by equipping yourself with the following gear:
- Sturdy gloves: Protect your hands from sharp twigs and potential skin irritants.
- Eye protection: Safety goggles prevent flying debris and dust from causing injury.
- Non-slip footwear: Ensure you have a firm grip on the ground, especially if the area is damp.
Safety extends beyond personal protective equipment. Always inspect the hedge thoroughly for nesting birds or small wildlife before making any cuts. If you discover an active nest, delay your pruning until the fledglings have departed to avoid disturbing local biodiversity.
When using power tools, be hyper-aware of your power cords. Drape the cord over your shoulder or behind you to prevent accidental cutting. If you need to reach the top of a tall hedge, prioritize stability. Use a sturdy, level ladder and always maintain three points of contact. Never overreach; it is safer to climb down and move the ladder than to risk a fall. If you are working on uneven ground, consider using a platform or a long-reach trimmer from the safety of the soil level to avoid the risks associated with ladder work.
By keeping your tools clean and your workspace hazard-free, you create a controlled environment that allows you to focus on the health and shape of your privet.
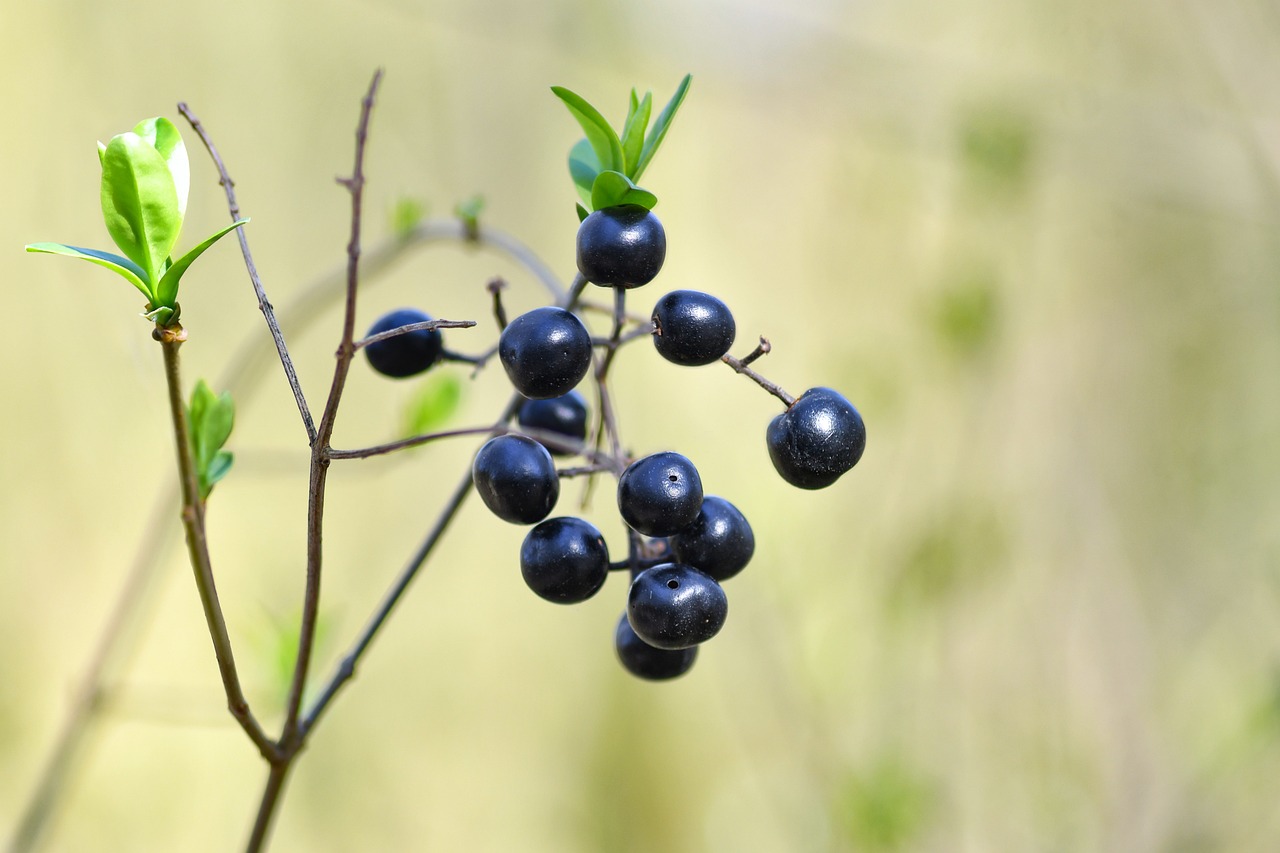
Techniques for Encouraging New Growth
To stimulate vigorous new growth in your privet hedge, you must first improve its internal environment. Over time, dense thickets often become congested, blocking sunlight and airflow from reaching the inner stems. This lack of circulation causes the interior leaves to yellow and drop, leaving you with a hollow, woody core.
Start by thinning out older, thicker branches deep within the hedge. Use sharp, sterilized loppers to remove dead, diseased, or crossing wood. By opening up the center, you allow light to penetrate the inner canopy, which encourages dormant buds along the stems to break and produce fresh, leafy growth.
Once the interior is thinned, focus on the overall shape of the hedge. A common mistake is pruning the top wider than the base, which casts a permanent shadow over the lower branches. To prevent this “leggy” appearance, employ the wedge-shaped cut technique:
- Angle your shears so the sides of the hedge taper inward slightly toward the top.
- Ensure the base remains wider than the crown at all times.
- Maintain a consistent slope from the bottom to the peak on both sides.
This trapezoidal profile is essential for plant health. By keeping the base wider, you ensure that the lower foliage receives the same amount of direct sunlight as the top. When the bottom of the hedge is fully exposed to light, the plant will naturally fill in with dense, healthy foliage, creating a lush, uniform screen from the ground up.
Always make your cuts just above a leaf node or a healthy side shoot. This directs the plant’s energy into the remaining buds rather than leaving unsightly, unproductive stubs. If you are performing a significant rejuvenation prune, limit your removal to no more than one-third of the total foliage in a single season. This prevents the privet from becoming overly stressed while it redirects its resources toward developing new, vibrant branches. With consistent light and strategic shaping, your privet will remain thick, healthy, and perfectly structured for years to come.
Step-by-Step Pruning Process
Pruning your privet correctly is the most effective way to encourage dense, healthy growth. By following a systematic approach, you ensure the plant remains vigorous rather than becoming leggy or sparse.
Start by clearing the base of the shrub. Remove any weeds, grass, or debris that might compete for nutrients or trap moisture against the stems. Next, inspect the interior of the plant to remove any dead, damaged, or diseased wood. Cutting these out first improves airflow and light penetration, which are essential for overall plant health.
Once the interior is clean, begin shaping the sides. Use sharp, clean hedge shears to trim the outer foliage. To encourage the plant to branch out and thicken, always make your cuts just above a leaf node—the point where leaves grow from the stem. Cutting slightly above this node stimulates the dormant buds to sprout, resulting in two new shoots instead of one.
Follow this workflow for the best results:
- Clear the base: Remove weeds and debris to give the roots space to breathe.
- Remove dead wood: Cut back any brown, brittle, or diseased branches to the main stem or ground level.
- Shape the sides: Trim the sides at a slight angle, keeping the base wider than the top so sunlight can reach the lower branches.
- Trim the top: Level off the top last, ensuring you cut just above a leaf node to promote upward branching.
When trimming the top, maintain a slightly tapered shape. If you cut the top wider than the bottom, the lower foliage will be shaded and eventually die back, leaving you with a thin, woody base. If you are aiming for a formal hedge, use a string line as a guide to ensure a perfectly straight top. After pruning, water the privet thoroughly and apply a light layer of mulch around the base to retain moisture and support the new growth cycle. With consistent care, your privet will quickly fill in to create a lush, vibrant screen.

Aftercare and Troubleshooting
Once you have finished pruning, your privet hedge will need a boost to recover and stimulate new, dense growth. Immediately after trimming, water the base of the plants thoroughly. This helps mitigate the stress of the pruning process and ensures the roots have adequate moisture to support the sudden demand for new foliage.
To further encourage recovery, apply a balanced, slow-release granular fertilizer around the base of the hedge. Avoid getting fertilizer directly on the foliage, as this can cause leaf burn. A light layer of organic mulch, such as wood chips or compost, applied around the root zone will help retain soil moisture and suppress weeds that might otherwise compete with your hedge for nutrients.
If you are managing a severely overgrown or neglected hedge, avoid the temptation to cut it back to the ground in a single season. Privet is resilient, but drastic reduction can shock the plant. Instead, aim for a phased approach over two to three years, removing about one-third of the oldest, thickest branches each season.
Keep an eye out for common issues during the recovery phase:
- Pests: Watch for signs of privet thrips or scale insects. If you notice distorted leaves or sticky residue, treat the hedge with horticultural oil or insecticidal soap.
- Disease: If you spot wilting branches or dark spots on leaves, prune away the affected material immediately, ensuring you sterilize your shears between cuts to prevent spreading potential pathogens.
- Uneven Growth: If one side of your hedge is thinning, it is likely not receiving enough sunlight. Ensure the base of the hedge is wider than the top to allow light to reach the lower branches.
For exceptionally tall, ancient, or structurally compromised specimens, it is often safer to consult a professional arborist. If the hedge requires heavy machinery, poses a safety risk, or shows signs of deep-seated root rot, a professional can provide the specialized care needed to restore the plant without risking its long-term health.

Dedicated team of gardening enthusiasts with years of hands-on experience testing lawn mowers, gardening tools, and outdoor equipment. We help home gardeners and professionals alike make informed buying decisions with honest, thorough reviews. From push mowers to pruning shears, we test it all so you don’t have to. Got a gardening tool you’d like us to review? Get in touch!