
Fungus gnats are a common frustration for indoor gardeners, but they are easily managed with the right preventative habits. To stop these pests, you must primarily focus on reducing soil moisture and improving overall drainage. By adjusting your watering routine and creating an environment that discourages larvae, you can quickly eliminate these annoying visitors from your home.
It is important to understand that while gnats are harmless to humans, their larvae can damage delicate plant roots if left unchecked. Complete eradication rarely happens overnight, so consistency is key to success. Most infestations stem from overwatering, which creates the perfect damp breeding ground for gnats to thrive and multiply throughout your indoor collection.
This guide explains why gnats appear and how to keep your indoor garden pest-free using simple cultural practices. We will cover effective soil management techniques, the importance of proper airflow, and natural barriers that prevent future outbreaks. Follow these practical steps to restore your plants to health and enjoy a thriving, bug-free home sanctuary all year long.
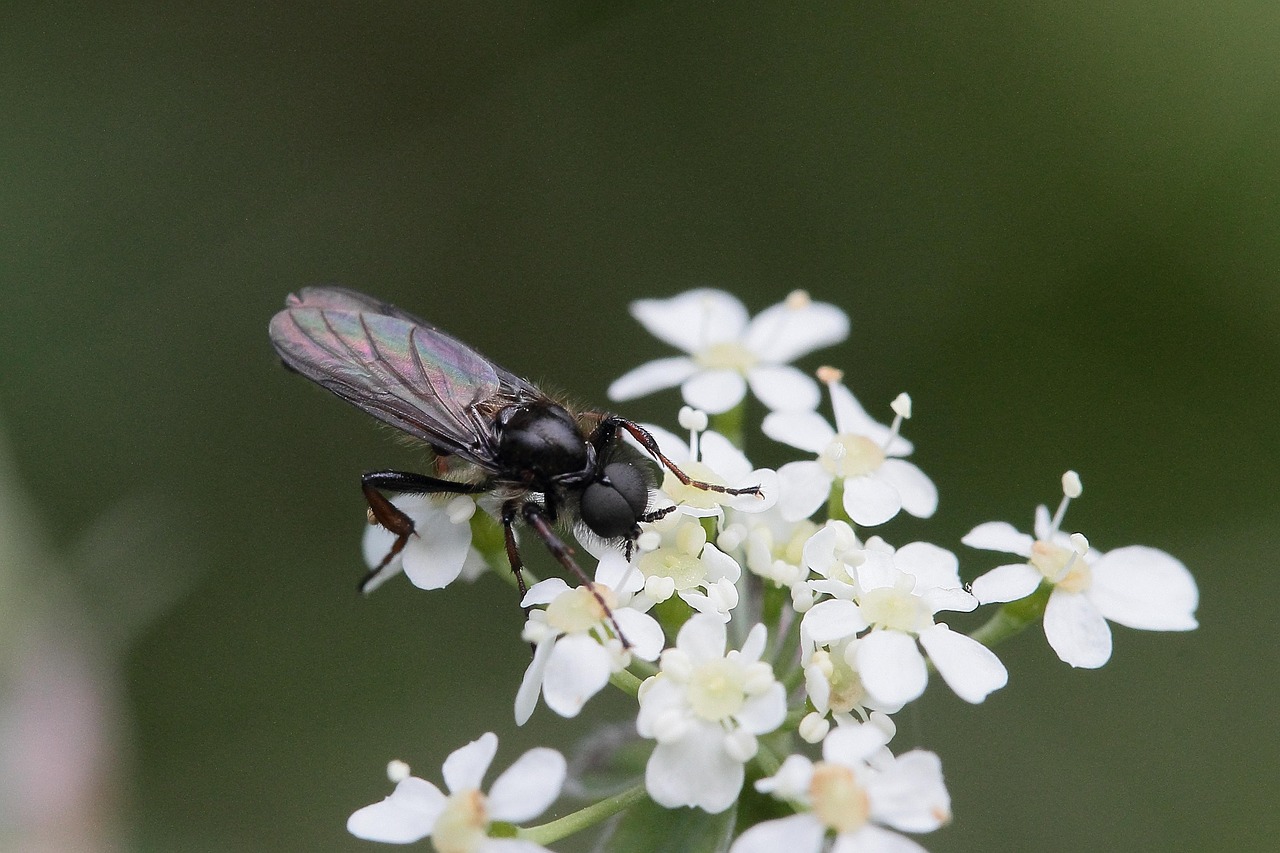
Understanding Why Gnats Infest Your Plants
To effectively stop a gnat infestation, you must first understand what draws them to your indoor garden. The insects you see buzzing around your pots are typically fungus gnats. They are not just a nuisance; they are a clear signal that your plant’s environment has become a breeding ground.
Fungus gnats are primarily attracted to moist, organic-rich soil. When the top layer of potting mix remains consistently wet, it creates the perfect nursery for adult gnats to lay their eggs. Once these eggs hatch, the lifecycle of the infestation begins in earnest.
The larvae are the true culprits behind the damage. They thrive in damp, dark environments where they feed on two main things:
- Decaying organic matter: This includes decomposing leaves, peat moss, and old bark found in potting mixes.
- Plant roots: When organic material is scarce, larvae will begin chewing on the tender root hairs of your plants, which can stunt growth and cause yellowing leaves.
The primary cause of this cycle is almost always overwatering. Many houseplants do not require constant moisture, yet gardeners often water on a strict schedule rather than checking the soil’s actual needs. When the soil stays saturated, it prevents oxygen from reaching the roots and creates the damp, swampy conditions that fungus gnats crave.
Think of the soil surface as a barrier. If you allow the top two inches of your potting mix to dry out completely between waterings, you effectively disrupt the gnat’s lifecycle. Without that consistent layer of moisture, adult gnats cannot easily lay eggs, and existing larvae struggle to survive. By adjusting your watering habits, you remove the primary invitation for these pests to move in.
Ultimately, preventing gnats is less about chemical intervention and more about environmental management. By keeping your soil well-aerated and ensuring it has time to dry out, you create an inhospitable landscape for gnats while promoting healthier, more resilient root systems for your plants.
Mastering Proper Watering Techniques
The most effective way to eliminate fungus gnats is to disrupt their life cycle by managing soil moisture. Fungus gnats thrive in consistently damp environments, as their larvae feed on decaying organic matter and fungi that flourish in soggy soil. By adjusting your watering habits, you make your houseplants an inhospitable environment for these pests.
The golden rule for gnat prevention is to allow the top two inches of soil to dry out completely between waterings. Before reaching for your watering can, perform the “finger test.” Insert your finger about two inches deep into the potting mix. If you feel any dampness, wait a few more days before watering. If the soil feels dry and crumbly, it is safe to proceed.
Proper drainage is equally critical. If water pools at the bottom of a pot, it creates a stagnant, swampy zone that serves as a prime breeding ground for gnats. To ensure your plants stay healthy and pest-free, follow these drainage best practices:
- Use pots with drainage holes: Always choose containers that allow excess water to escape freely.
- Avoid saucers of standing water: After watering, empty any water that collects in the saucer beneath the pot within 15 minutes.
- Use well-draining soil: Incorporate perlite or coarse sand into your potting mix to improve aeration and prevent water retention.
- Elevate your pots: If your pots do not have feet, place them on small risers or “pot toes” to improve airflow beneath the drainage holes.
When you do water, aim to provide a thorough soak that moistens the root ball, but never leave the plant sitting in water. By keeping the surface layer of your soil dry, you effectively starve the larvae and prevent adult gnats from laying new eggs. Consistency is key; once you establish a cycle of drying and watering, you will see a significant reduction in gnat activity within a few weeks.

Implementing Physical Barriers and Soil Care
The most effective way to break the life cycle of fungus gnats is to deny them access to the moist soil where they lay their eggs. By creating a physical barrier on the surface of your potting mix, you prevent adult gnats from reaching the damp organic matter they require for reproduction.
Apply a layer of inorganic material approximately one-half inch thick over the entire soil surface. Excellent options for this top dressing include:
- Coarse horticultural sand: Dries out quickly and creates a jagged surface that is difficult for gnats to navigate.
- Decorative gravel or pebbles: Provides a clean, aesthetic finish while effectively sealing the soil.
- Horticultural grit: Offers superior drainage and durability compared to finer materials.
Ensure the layer is completely uniform and reaches the edges of the pot, leaving no gaps for gnats to slip through. Because these materials do not retain moisture like peat or compost, the surface remains dry, making the environment inhospitable for larvae development.
When purchasing these materials, you will likely be handling heavy bags of soil, sand, or gravel. Protecting your physical health is just as important as protecting your plants. When lifting these heavy items, always follow proper ergonomic techniques:
- Stand close to the bag with your feet shoulder-width apart.
- Bend at your knees—not your waist—to reach the load.
- Keep your back straight and your core engaged as you lift.
- Use the power of your leg muscles to rise, keeping the weight close to your body.
- Avoid twisting your torso while carrying the bag; pivot with your feet instead.
By combining a physical barrier with consistent soil care, you create a hostile environment for pests while maintaining a tidy, professional look for your indoor garden. Remember to continue monitoring your plants, as keeping the top inch of soil dry between waterings remains the best long-term strategy for preventing future infestations.
Maintaining a Clean Growing Environment
Fungus gnats thrive in moist, decaying organic matter. The most effective way to deter them is to maintain a pristine soil surface. Regularly inspect your pots and promptly remove any fallen leaves, flower petals, or other debris. When organic material sits on damp soil, it creates a perfect breeding ground for gnat larvae. By keeping the top layer of soil clear, you eliminate the primary food source and nursery for these pests.
If you notice dead or yellowing foliage on your plants, prune it away immediately. When using small scissors or snips, ensure your tools are clean and sharp. Dull blades can crush plant tissue rather than cutting it, creating ragged wounds that invite bacteria and further decay. Always handle your tools with care to avoid accidental nicks to your own skin or the healthy parts of the plant.
Yellow sticky traps are an essential tool for both monitoring and controlling adult gnat populations. Gnats are naturally attracted to the color yellow, making these traps highly effective at capturing flying adults before they can lay more eggs in your soil.
Follow these steps to place traps safely:
- Positioning: Place the trap near the base of the plant, just above the soil surface. This is where gnats are most active.
- Avoid Foliage: Secure the trap using the provided stake or a small wire. Ensure the adhesive surface does not touch delicate leaves or stems, as this can tear the plant tissue when the trap is eventually removed.
- Monitoring: Check your traps every few days. If a trap becomes covered in gnats, replace it with a fresh one to maintain efficacy.
Consistency is key. While sticky traps manage the adult population, keeping the soil surface tidy and allowing the top inch of soil to dry out between waterings will stop the life cycle in its tracks. By combining sanitation with smart monitoring, you can keep your indoor garden healthy and gnat-free.

Troubleshooting Persistent Infestations
If your initial efforts to manage fungus gnats—such as letting the soil dry out and using yellow sticky traps—fail, you may be dealing with a persistent infestation. At this stage, it is time to escalate your care routine with more targeted interventions.
Biological Controls and Neem Oil
The most effective biological control is Bacillus thuringiensis israelensis (BTI). Available in granular or liquid form, BTI targets gnat larvae specifically without harming your plants or household pets. Simply mix the product into your watering can according to the label instructions. For neem oil, use it as a soil drench rather than a leaf spray; the oil disrupts the larvae’s growth cycle within the potting medium.
When to Repot
If you have tried soil drenches for several weeks without success, the infestation may have reached a critical mass in the root zone. In this case, repotting is your best option:
- Gently remove the plant from its container.
- Wash away as much of the old, infested soil as possible from the root ball.
- Discard the old soil entirely—do not reuse it.
- Repot the plant using fresh, high-quality potting mix.
- Ensure your new pot has adequate drainage holes to prevent future moisture buildup.
Seeking Professional Help
If you have repotted your plant and applied BTI, yet the gnats continue to thrive, the issue might be related to your specific environment or a more resilient pest species. Do not hesitate to contact your local nursery or university extension office. These experts can provide region-specific advice on soil-drenching treatments or systemic insecticides that are safe for indoor use. Bringing a sample of the affected soil or a trapped gnat in a sealed bag can help them accurately identify the problem and provide a tailored solution to save your plant.

Dedicated team of gardening enthusiasts with years of hands-on experience testing lawn mowers, gardening tools, and outdoor equipment. We help home gardeners and professionals alike make informed buying decisions with honest, thorough reviews. From push mowers to pruning shears, we test it all so you don’t have to. Got a gardening tool you’d like us to review? Get in touch!