
Growing golden pothos from cuttings is one of the easiest ways to propagate houseplants. You can successfully turn a single healthy stem into a brand-new plant by using basic pruning tools and simple water or soil propagation methods. This straightforward process allows you to expand your indoor jungle without spending money on new nursery pots.
While pothos is incredibly resilient, achieving consistent root growth requires understanding a few fundamental gardening principles. You will need sharp, clean hand tools to make precise cuts, ensuring the plant remains healthy during the transition. By following these professional lawn and garden maintenance tips, you can avoid common pitfalls like stem rot or stunted development.
This guide provides practical home gardening instructions to help you master the art of propagation. We will walk you through identifying the correct nodes, preparing your cuttings, and choosing the best medium for your environment. Whether you are a beginner or a seasoned enthusiast, these steps ensure your golden pothos cuttings thrive and grow vigorously.

Selecting and Preparing Your Cuttings
The success of your propagation journey begins with selecting the right material. Look for a healthy, vigorous vine on your parent golden pothos. Avoid stems that appear wilted, discolored, or show signs of pest damage. A robust vine with vibrant, variegated leaves is the best candidate for producing a strong new plant.
Before you make any cuts, ensure your tools are clean. Using dull or dirty equipment can crush stem tissue and introduce pathogens that lead to rot. Always wipe your pruning shears or sharp scissors with a cloth dampened in rubbing alcohol both before and after use. This simple habit keeps your garden tools sanitary and prevents the spread of plant diseases between your indoor collection.
Once your tools are sterilized, follow these steps to prepare your cuttings:
- Identify a leaf node: This is the small brown bump or nub located on the stem where a leaf meets the vine. This node contains the meristematic tissue necessary for root development.
- Position your cut: Place your pruning shears approximately 1/4 inch below the chosen node.
- Execute a clean cut: Use a swift, precise motion to sever the stem. A clean cut heals faster and reduces the risk of infection compared to a jagged or crushed edge.
- Trim excess foliage: If your cutting has multiple leaves, remove any leaves near the bottom node that will be submerged in water or buried in soil. This prevents the foliage from decaying and fouling your propagation medium.
For the best results, aim for a cutting that is roughly 4 to 6 inches long with at least two or three nodes. While pothos are incredibly resilient, providing a clean, well-prepared cutting gives your new plant a significant head start. If you are taking multiple cuttings from a single parent plant, remember to wipe your blades between each individual cut to maintain a sterile environment. Once your cuttings are prepared, they are ready to be placed in water or a well-draining potting mix to begin the rooting process. By prioritizing tool maintenance and precise cutting techniques, you ensure that both your parent plant and your new starts remain healthy and thriving throughout the propagation cycle.
Water Propagation Method
Water propagation is the most reliable and rewarding way to expand your golden pothos collection. This method allows you to witness the root development process firsthand, ensuring your new plants are healthy before they ever touch soil. To begin, select a healthy vine and use a pair of sharp, sterilized pruning shears to make a clean cut just below a leaf node—the small, brown bump where the leaf meets the stem.
Once you have your cutting, place the stem into a clean glass jar or vase filled with room-temperature water. It is essential that the leaf node is fully submerged, as this is where the new roots will emerge. Ensure that any remaining leaves stay above the waterline; if leaves sit in the water, they will decay and foul the environment, which can harm the cutting.
To ensure successful growth, follow these practical maintenance steps:
- Light placement: Position your jar in a location that receives bright, indirect sunlight. Avoid harsh, direct sun, which can overheat the water and encourage algae growth.
- Water hygiene: Change the water every three to five days. Fresh water provides necessary oxygen to the developing roots and prevents the buildup of bacteria.
- Clarity check: If the water becomes cloudy or murky, rinse the stem gently and replace the water immediately to keep the cutting in a sterile environment.
You will typically see the first signs of root growth within one to two weeks. While it is tempting to transplant the cutting into a pot with potting mix as soon as you see roots, it is best to wait until the root system is at least two to three inches long. This ensures the plant has a robust enough foundation to transition successfully from an aquatic environment to soil.
When you are ready to move your pothos to a container, choose a pot with adequate drainage holes to prevent root rot. Use a high-quality, well-draining indoor potting mix and handle the delicate new roots with care during the planting process. Keep the soil consistently moist for the first week after transplanting to help the plant adjust to its new medium. With this simple water-first approach, you can easily turn a single vine into a lush, thriving indoor garden.

Soil Propagation Method
If you prefer to skip the water stage, you can propagate golden pothos cuttings directly into soil. This method is often preferred by gardeners who want to avoid the transition shock that sometimes occurs when moving rooted cuttings from water to a permanent container.
To begin, select a small pot with adequate drainage holes. Using a high-quality, well-draining indoor potting mix is essential; a blend containing perlite or peat moss works best to prevent soil compaction and root rot. Ensure your tools, such as a small hand trowel or a dibber, are clean to maintain a sterile environment for the young cutting.
Follow these steps for successful soil propagation:
- Moisten your potting mix slightly before planting so it is damp but not waterlogged.
- Create a small hole in the center of the soil using your finger or a pencil.
- Insert the cutting node approximately one inch deep into the soil.
- Firmly, but gently, press the soil around the stem to secure the cutting in an upright position.
Once planted, your goal is to maintain a stable, humid environment that mimics the pothos’s natural tropical habitat. Covering the pot with a clear plastic bag or placing it inside a small propagation dome creates a localized greenhouse effect. This prevents the leaves from dehydrating while the roots are still developing.
Place the pot in an area with bright, indirect sunlight. Avoid direct sun, as the plastic covering can magnify the heat and burn the foliage. Check the soil moisture every few days; if the surface feels dry to the touch, add a small amount of water.
You will know the propagation is successful when you notice new leaf growth emerging from the vine. This is a clear indicator that the root system has established itself within the potting mix. At this stage, you can remove the plastic cover and transition the plant to your regular care routine. Consistent moisture is key during the first few weeks, but always ensure the soil has a chance to dry out slightly between waterings to keep the roots healthy and oxygenated. With patience and the right environment, your cutting will quickly grow into a thriving, trailing houseplant.
Safety and Tool Maintenance
Propagating golden pothos is a rewarding experience, but successful gardening relies on using the right equipment safely. Whether you are using precision pruning shears or a simple pair of household scissors to take your cuttings, safety should always be your primary concern. Always make cuts away from your body, ensuring your fingers remain well clear of the blade’s path to prevent accidental nicks or deeper lacerations.
If you have sensitive skin, it is wise to wear a pair of durable gardening gloves during the process. While golden pothos is a popular houseplant, its sap contains calcium oxalate crystals. These can cause minor skin irritation or contact dermatitis in some individuals. Gloves provide a necessary barrier, keeping your hands clean and protected while you handle the stems.
Proper tool maintenance is just as important as safe handling. Keeping your equipment in top condition ensures clean, precise cuts that help your pothos cuttings root more effectively. Follow these best practices to maintain your gear and ensure a safe environment for everyone in your home:
- Clean blades: Wipe your shears with rubbing alcohol before and after use to prevent the spread of bacteria or plant pathogens.
- Keep tools sharp: Dull blades crush plant tissue rather than slicing through it, which can hinder the development of new roots.
- Secure storage: Once your gardening tasks are complete, immediately store all sharp tools in a locked cabinet or a high shelf.
- Child and pet safety: Never leave pruning tools lying on a table or potting bench where curious children or pets might reach them.
By treating your gardening tools with respect and following these simple safety protocols, you create a more efficient and enjoyable propagation experience. A well-maintained tool not only lasts longer but also makes the act of pruning your pothos feel effortless. Remember that the best garden maintenance starts with a organized workspace and a focus on personal safety. Keeping your equipment clean, sharp, and properly stored ensures that you are always ready for your next planting project without unnecessary risks. If you notice your shears becoming stiff or showing signs of rust, take a moment to oil the pivot point to keep the mechanism moving smoothly for your future gardening needs.
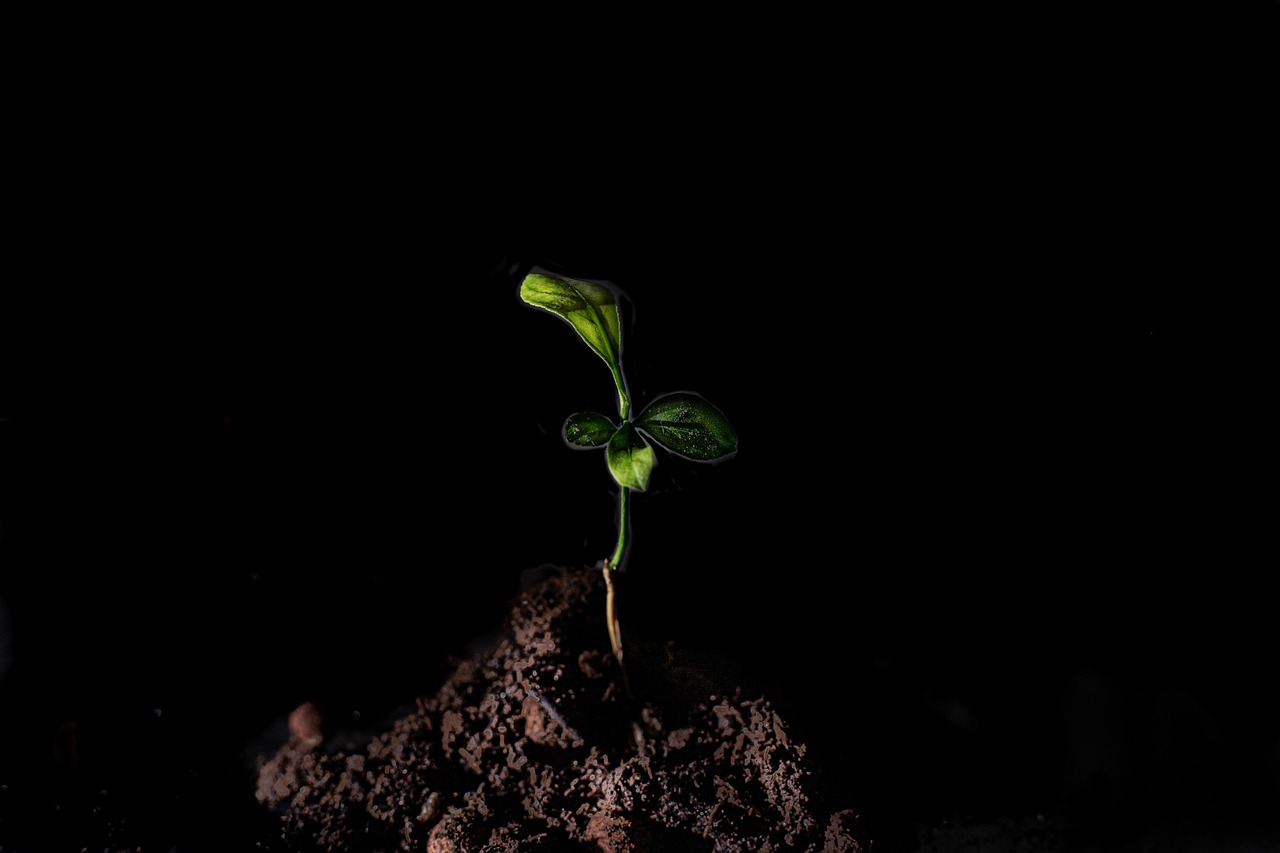
Transplanting and Ongoing Care
Once the roots on your golden pothos cutting reach two to three inches in length, they are ready to transition from water to soil. Using the right tools makes this process smoother and helps your plant establish itself successfully in its new environment.
Select a pot that features adequate drainage holes at the bottom. Proper drainage is essential for preventing waterlogged soil, which is the primary cause of root rot in indoor plants. Fill the container with a high-quality, well-draining indoor potting mix. Using a small hand trowel or a garden scoop will help you transfer the soil without making a mess or compacting the medium too tightly around the delicate roots.
When transplanting, follow these steps to ensure a healthy transition:
- Gently nestle the cutting into the soil, being careful not to snap the brittle roots.
- Lightly firm the soil around the base of the stem to provide stability.
- Water the plant immediately after potting to settle the soil and eliminate large air pockets.
For the first few weeks, keep the soil consistently moist but never soggy. This period is crucial as the plant adjusts from an aquatic environment to a soil-based one. Using a moisture meter or simply checking the top inch of soil with your finger can help you gauge when it is time to water again.
If your cutting fails to thrive or appears wilted shortly after transplanting, take a moment to troubleshoot the environment. First, inspect the plant for signs of root rot, such as mushy or discolored roots, which often indicate overwatering or poor drainage. If the roots look healthy, ensure the plant is receiving bright, indirect light; golden pothos can tolerate lower light, but they grow best when kept out of harsh, direct sun that might scorch their leaves.
If you remain concerned about the health of your cutting, do not hesitate to reach out to a local nursery expert. Staff at garden centers often have specific insights regarding your local climate and humidity levels. With the right care and a bit of patience, your cutting will soon grow into a lush, trailing vine that adds vibrant greenery to your home.

Dedicated team of gardening enthusiasts with years of hands-on experience testing lawn mowers, gardening tools, and outdoor equipment. We help home gardeners and professionals alike make informed buying decisions with honest, thorough reviews. From push mowers to pruning shears, we test it all so you don’t have to. Got a gardening tool you’d like us to review? Get in touch!